Homeschool
- THE HUMAN HEART: WHAT IS IT? WHERE IS IT? WHAT DOES IT LOOK LIKE?
- LET’S LEARN A LITTLE ABOUT OUR BLOOD
- WHAT IS YOUR PULSE?
- THE CIRCULATORY SYSTEM
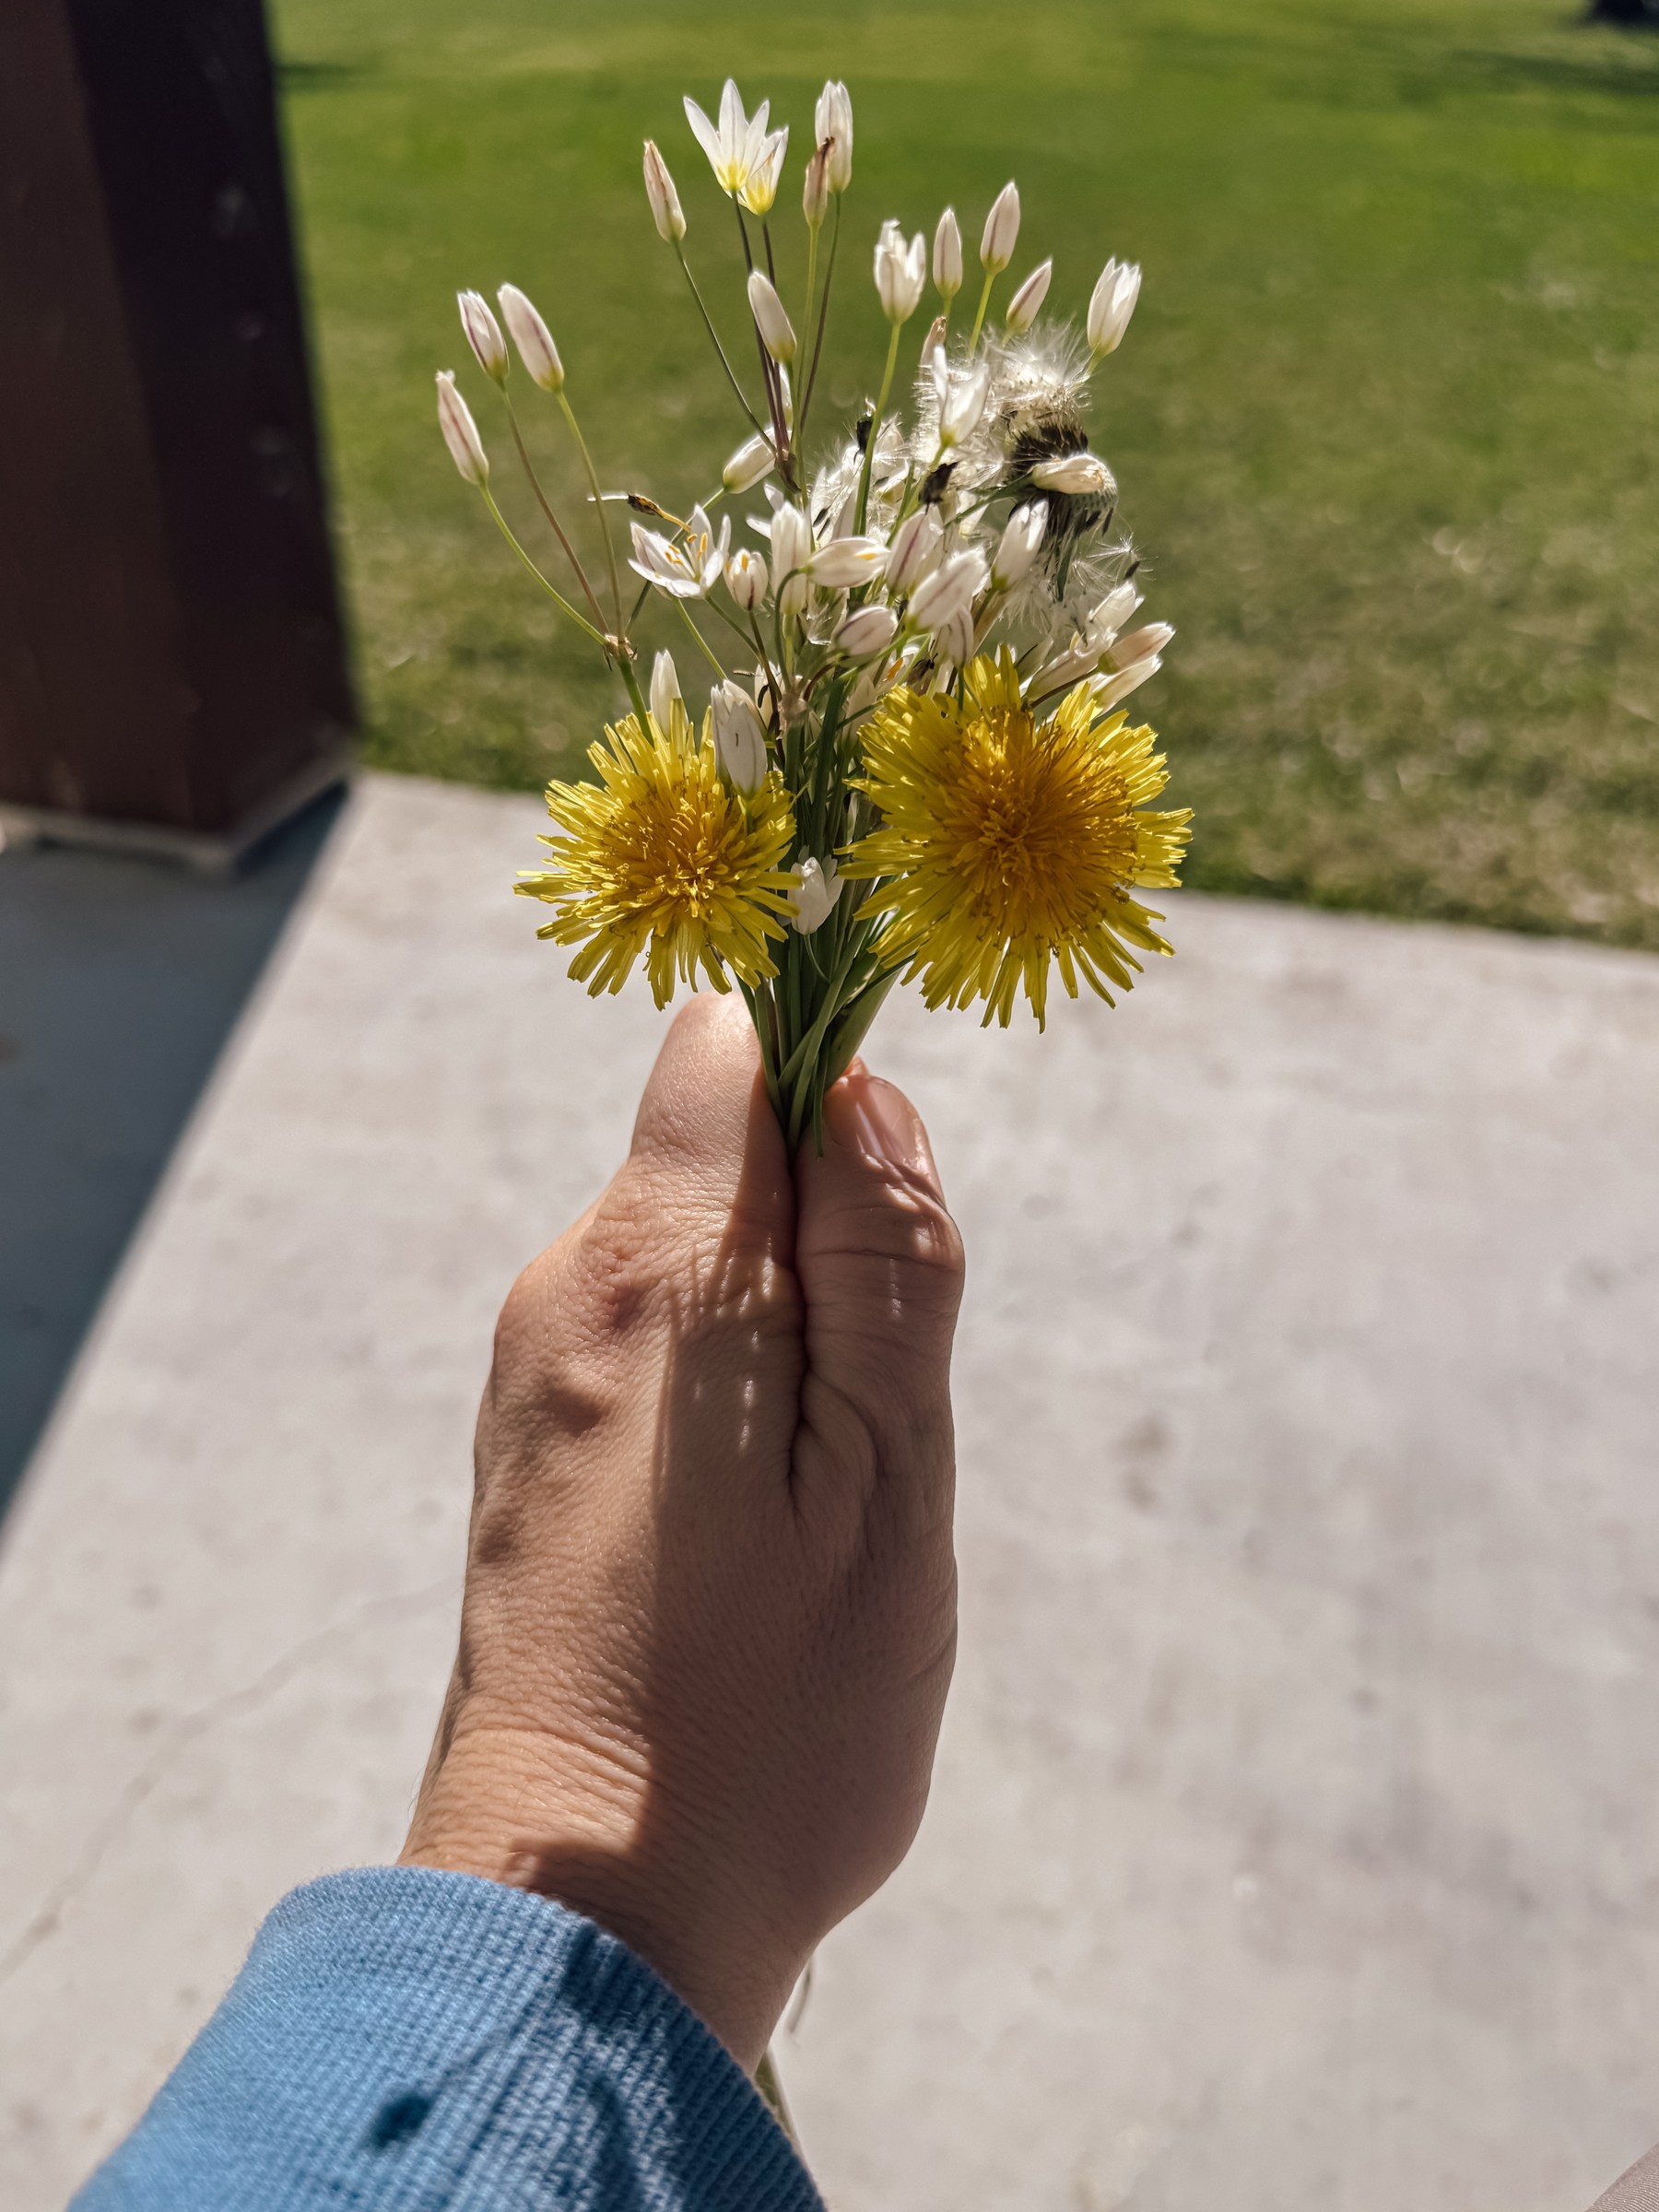
Some impromptu extra “school” time outdoors this afternoon: Finding tracks and identifying them 🦝 + picking dandelions, etc. and watching a timelapse video of how they morph from bloom to seed.

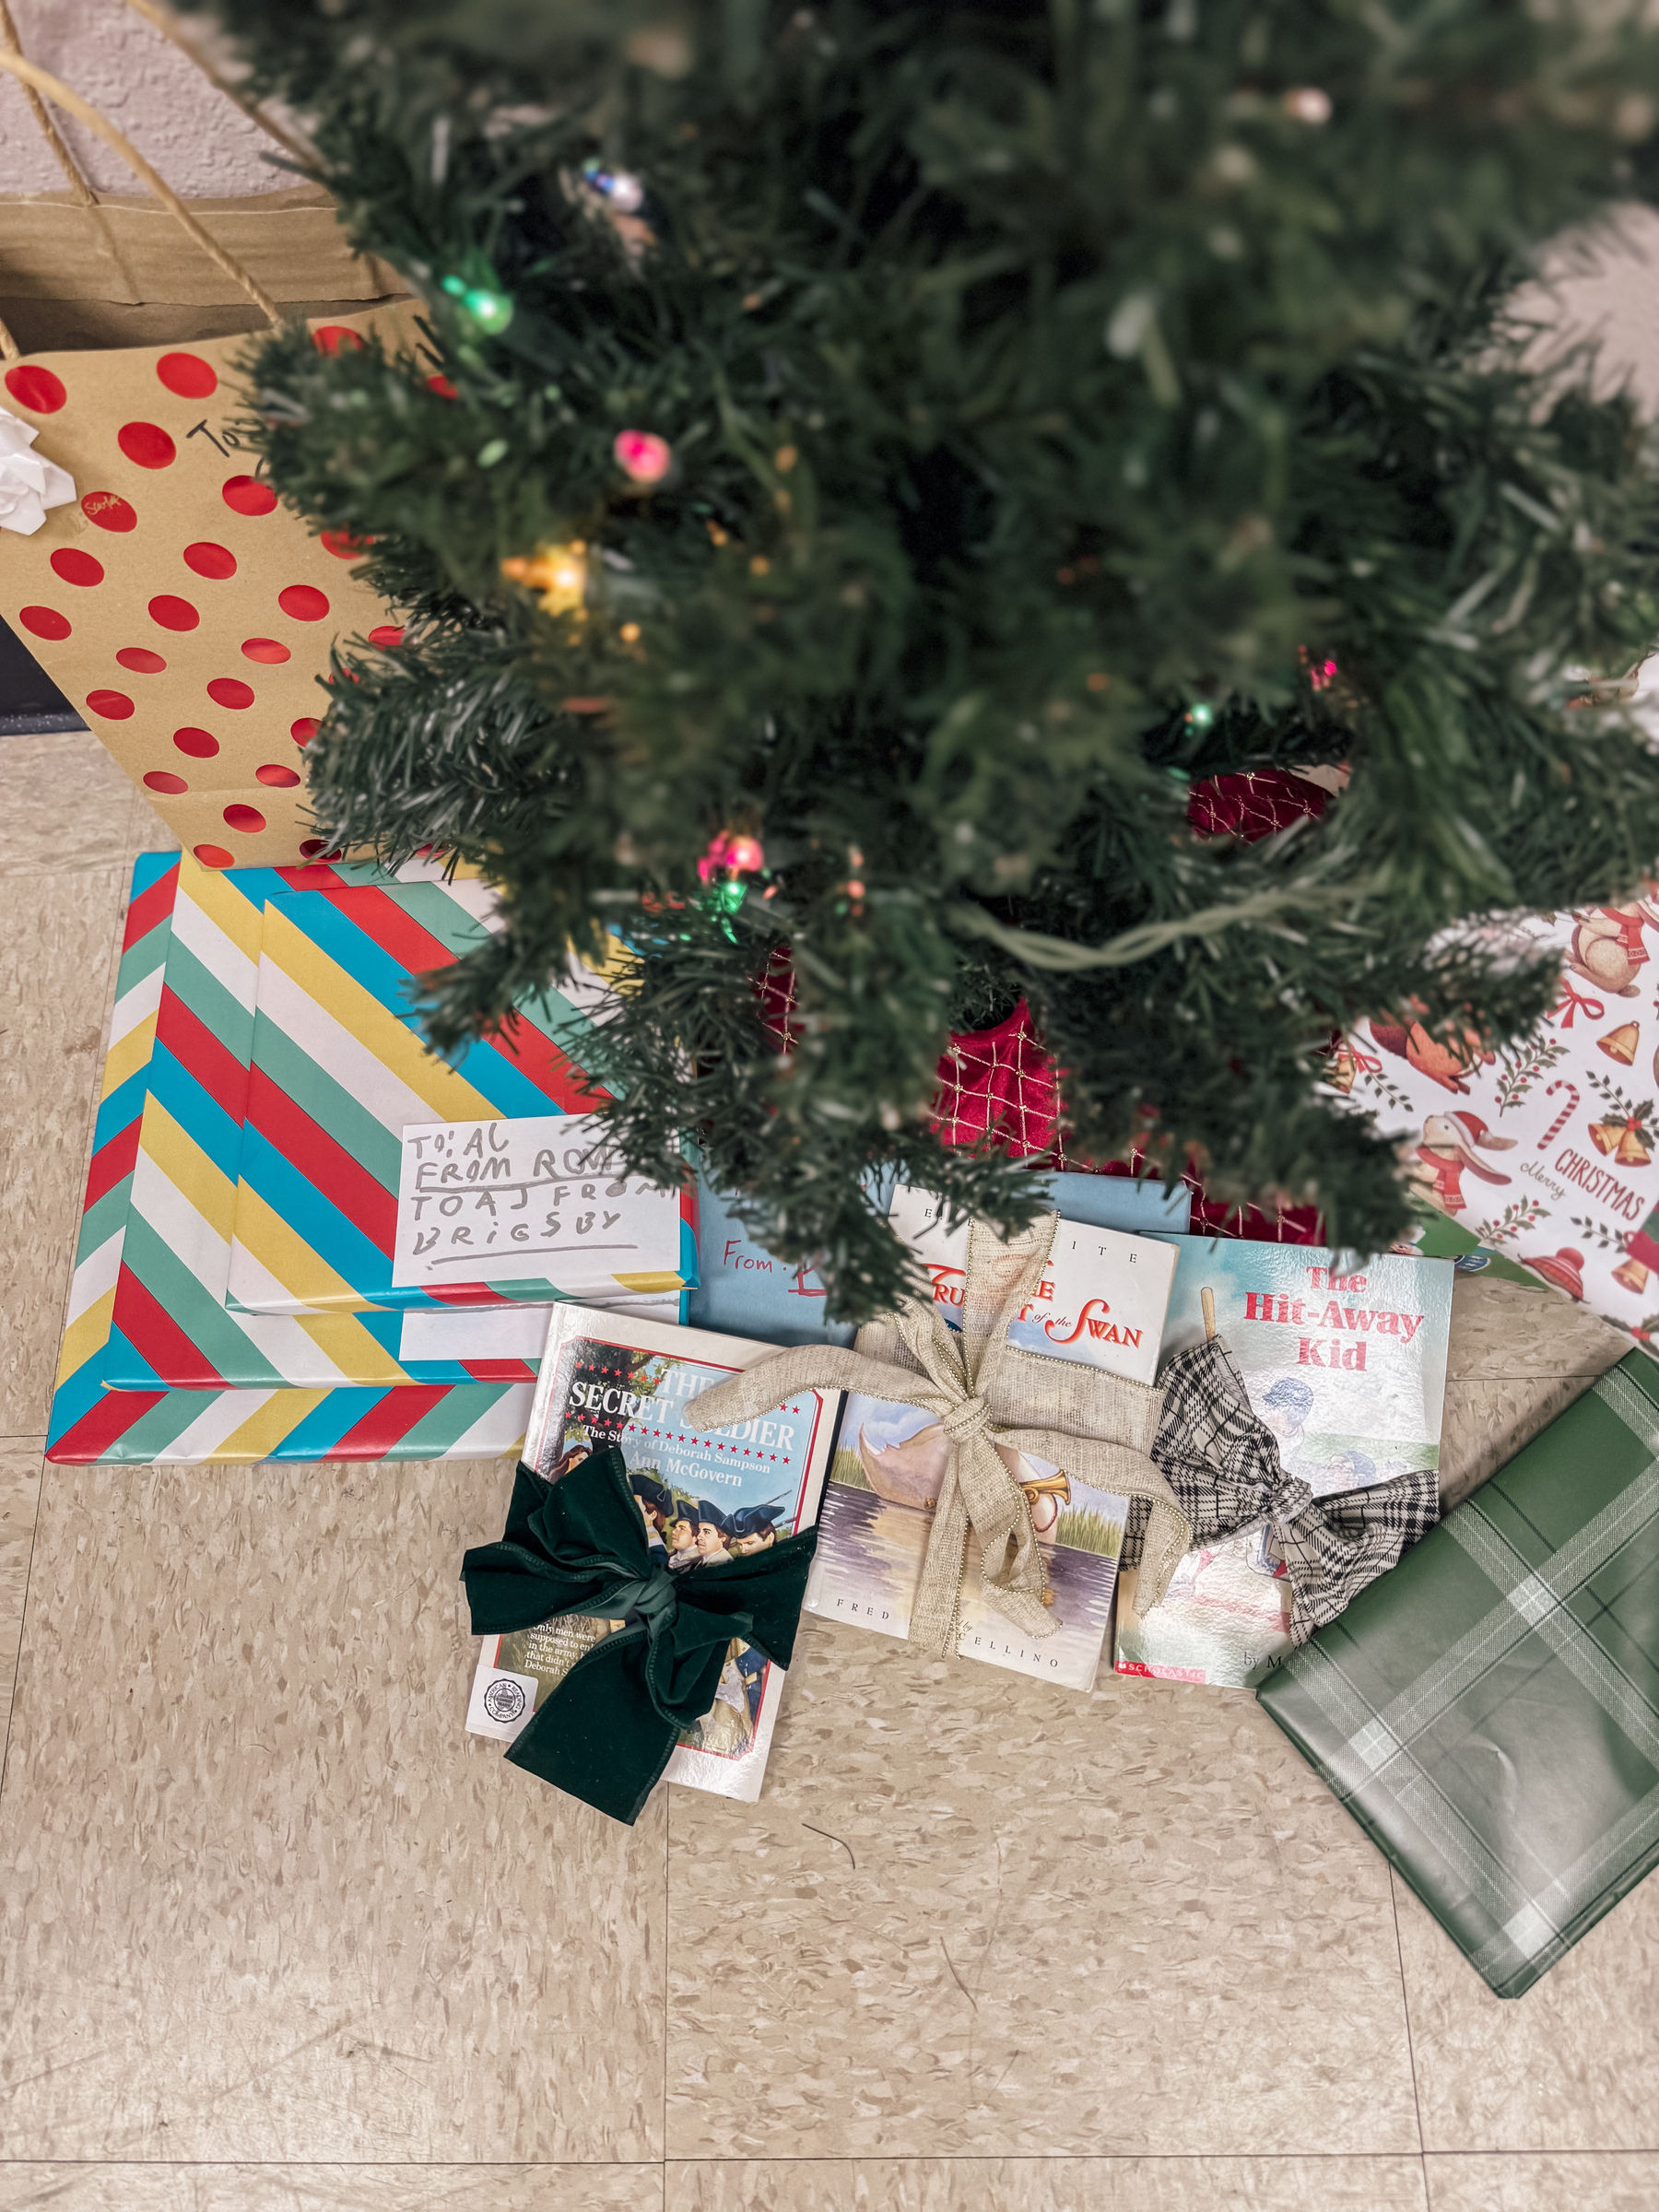
Did a sort of Icelandic Christmas Book Flood at our co-op today (we’re diving into a Christmas Around the World study for the next few weeks). The kids drew names a few weeks ago and found the perfect books for each other, many of which were thrifted. It was simple, but so special.
Co-op This Week | Subject: Babylonian Empire (Ancient Civilizations)
I documented the activities we did at our co-op last week while learning about the Olmec ancient civilization. Decided I’d do the same thing again this week.
To recap the quick details of our co-op: It is small-ish. Nine families. Eleven kids, ages 5-12. Five of the moms rotate lessons for the semester. Most lessons consist of several rounds of sharing information pertinent to the day’s topic and breaking between each sharing session to do a related activity.
This week was my lesson. I was really excited about it because, as I mentioned in my last related post, my family and I recently saw Sight & Sound Theater’s live show, “Daniel,” streamed in a movie theater. Babylon is the location of the entire production. Seeing it inspired me to dive into my lesson early, and I started researching and reading. Even after the lesson now, I still plan to continue reading more. I appreciate the Babylonian Empire’s role in our world’s history, but the connections in the Bible are what completely intrigued me. Spending just a short amount of time (in the grand scheme of things) preparing for my lesson, I learned so much. One of my favorite perks of homeschool. It really is fun to learn WITH my kids.
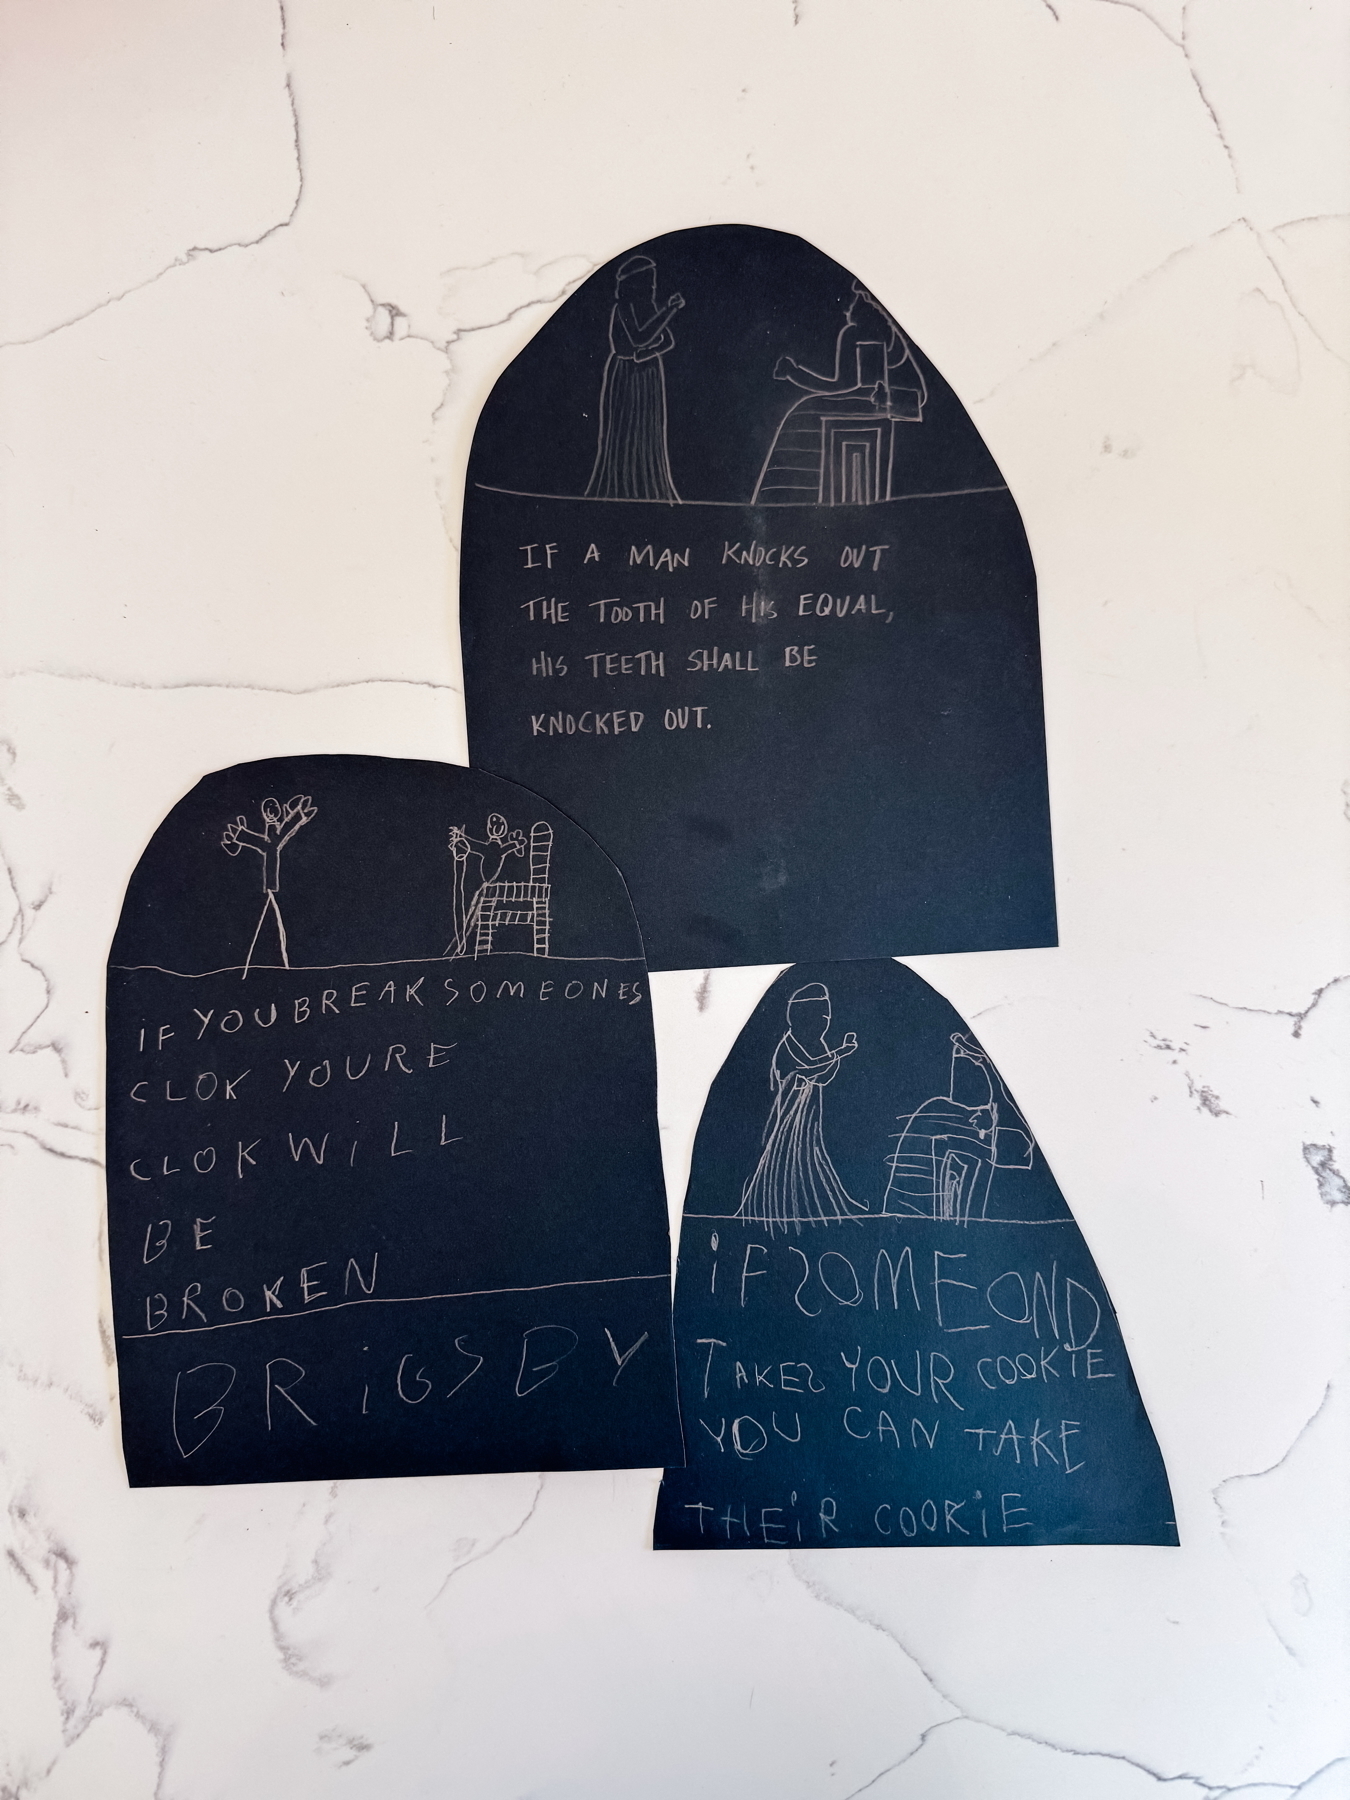
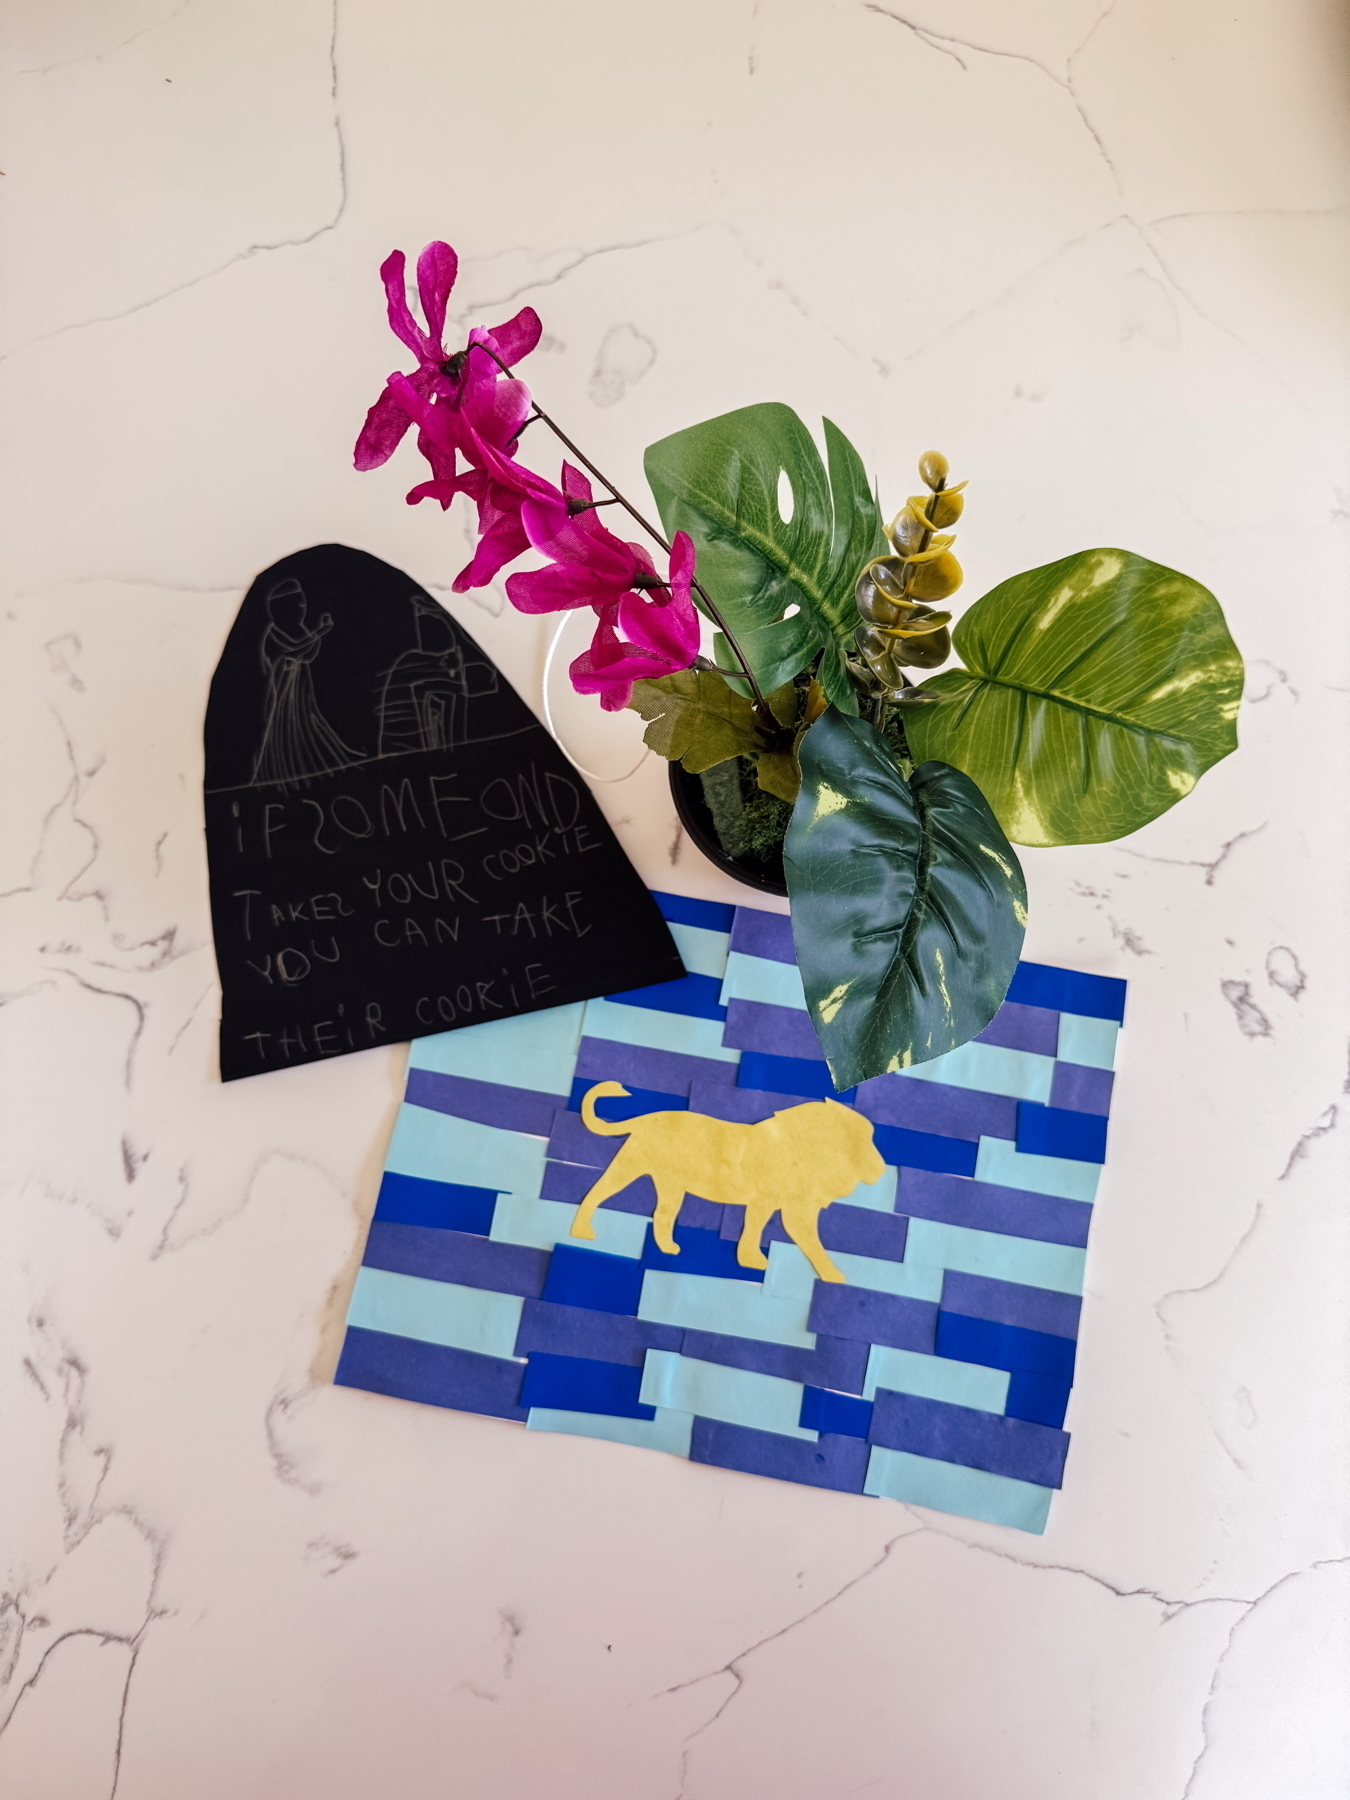 As for the lesson itself, I opened with a short video that somewhat cheesily summarized the Babylonian Empire and its’ inventions and key features. We continued that “overview” discussion after the video, then began to talk a little more in depth about King Hammurabi and his Code of Laws. After that, they made their own “stone tablets” by cutting out the shape on black card stock and “inscribing” a similar picture to Hammurabi’s Code and their own law with a pencil. I mentioned making the law they chose to write fair (in terms of proportional punishment), which was a characteristic of many of Hammurabi’s laws. They wrote most that way, and though some were silly and fun, it was interesting to see what was important to some of the kids.
Knowing we had a couple of projects that would likely take up more time, I chose to go a little more simple for this project…although, it translated even better than I thought. Had we had more time or multiple days to work on it, I might would have decided to make a clay tablet, inscribe it using a bamboo skewer or sturdy toothpick, then paint it black.
…
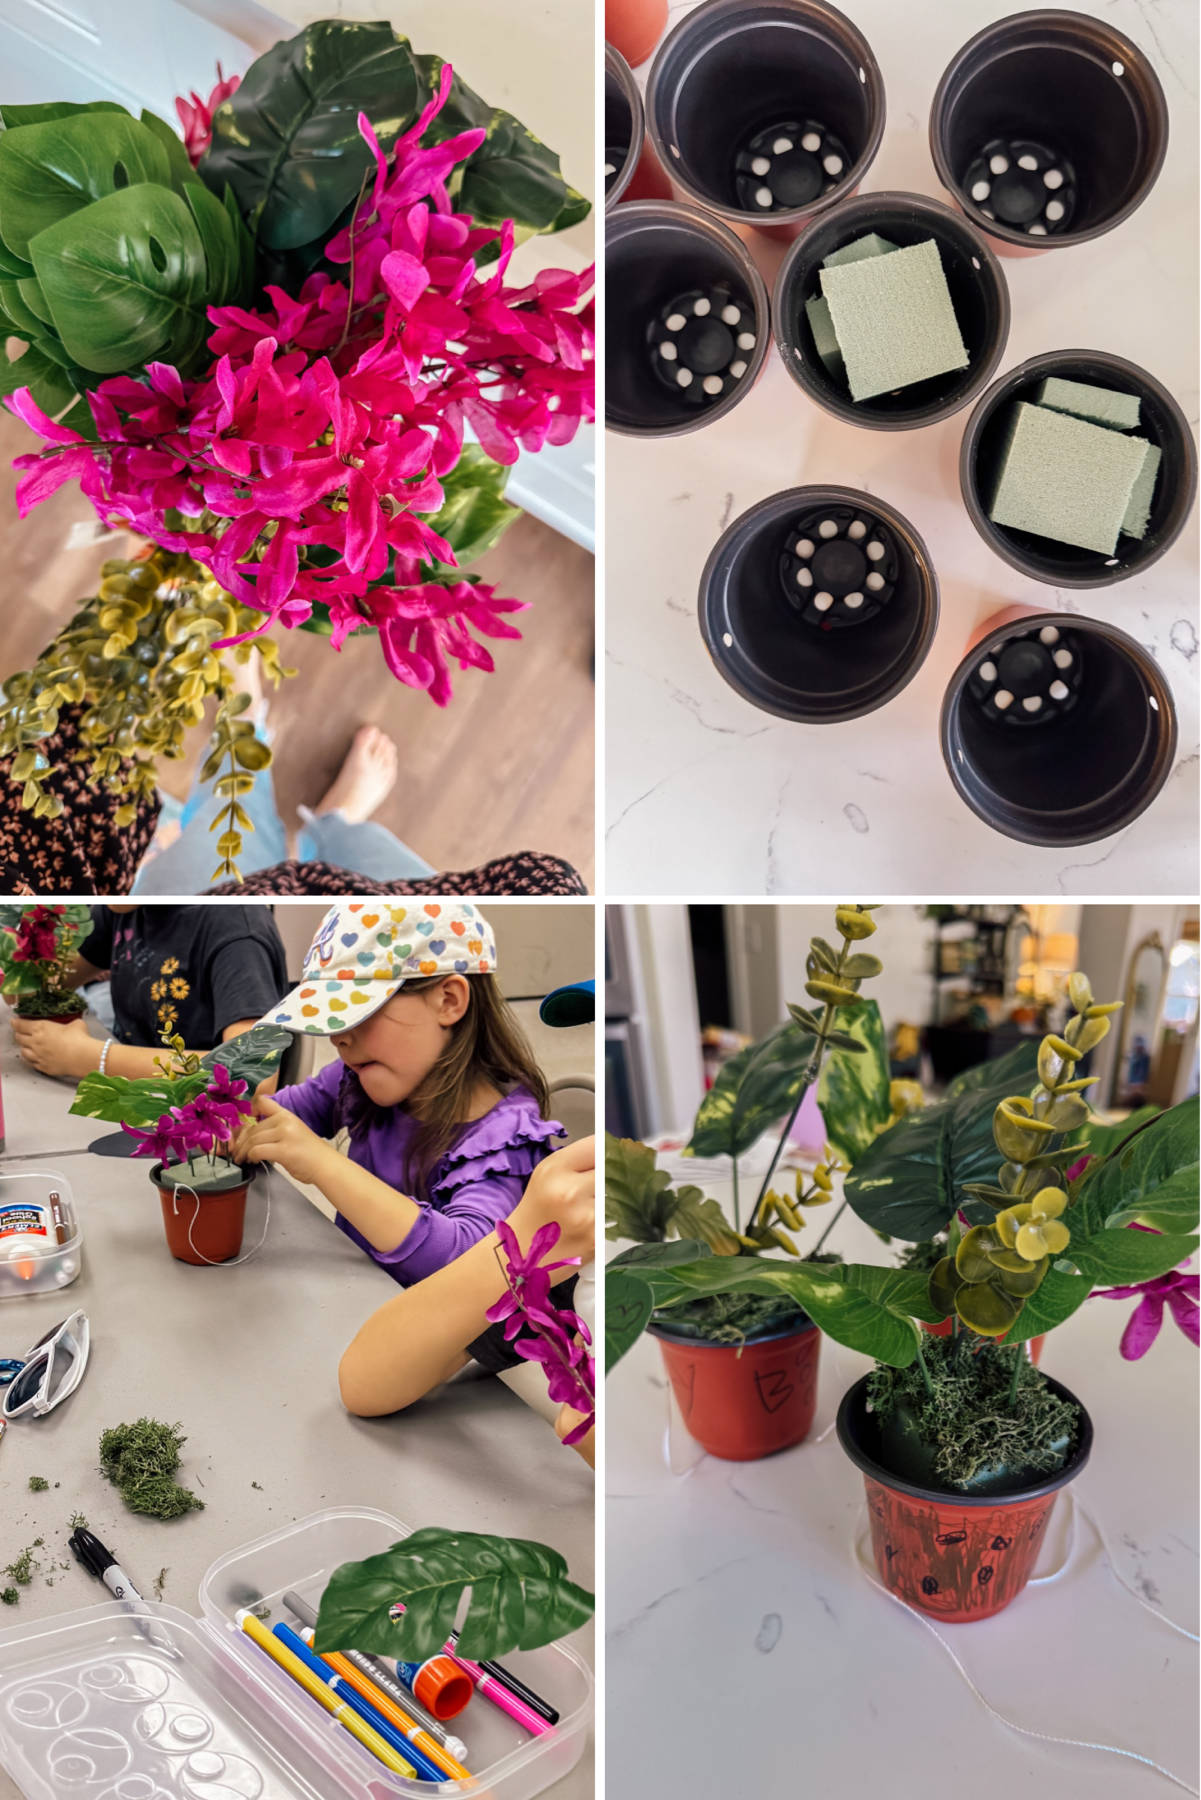
The next discussion/project combo centered around the Hanging Gardens of Babylon. A bit elusive due to the fact that there is no physical evidence they existed. But there are written references. And it is considered one of the Wonders of the Ancient World. The thought of it is intriguing. I explained where the name came from, then proceeded to give each kid supplies to make their own type of hanging garden. I really wanted to do a fun project with egg crates and more garden-ish materials, but I knew we wouldn’t be able to complete it in our allotted time. So, instead, I gathered items for them to create a hanging potted plant as a symbol of the Hanging Gardens. I used these pots that I already had on hand and punched two holes opposite each other near the top. I got a tropical-ish selection of flowers and leaves as well as a couple of packages of moss and a couple of pieces of floral foam from Dollar Tree. I cut the foam to fit in each pot ahead of time and gave everyone a pot, the flowers to arrange, moss to glue on top (regular school glue worked just fine as long as it had a few minutes to dry) and a piece of string to tie in the holes so that the pot could hang. (I wish I had taken a picture of the pot actually hanging…whoops.)
…
The last big point we hit on was about King Nebuchadnezzar II. We discussed who he was, when he reigned in Babylon, and several stories related to him. Things I was (and the kids were) familiar with through the Bible like the Fiery Furnace and the dream he had about the statue that Daniel interpreted. But also things I wasn’t as familiar with like his incredible military strategy and the Ishtar Gate that he had built.
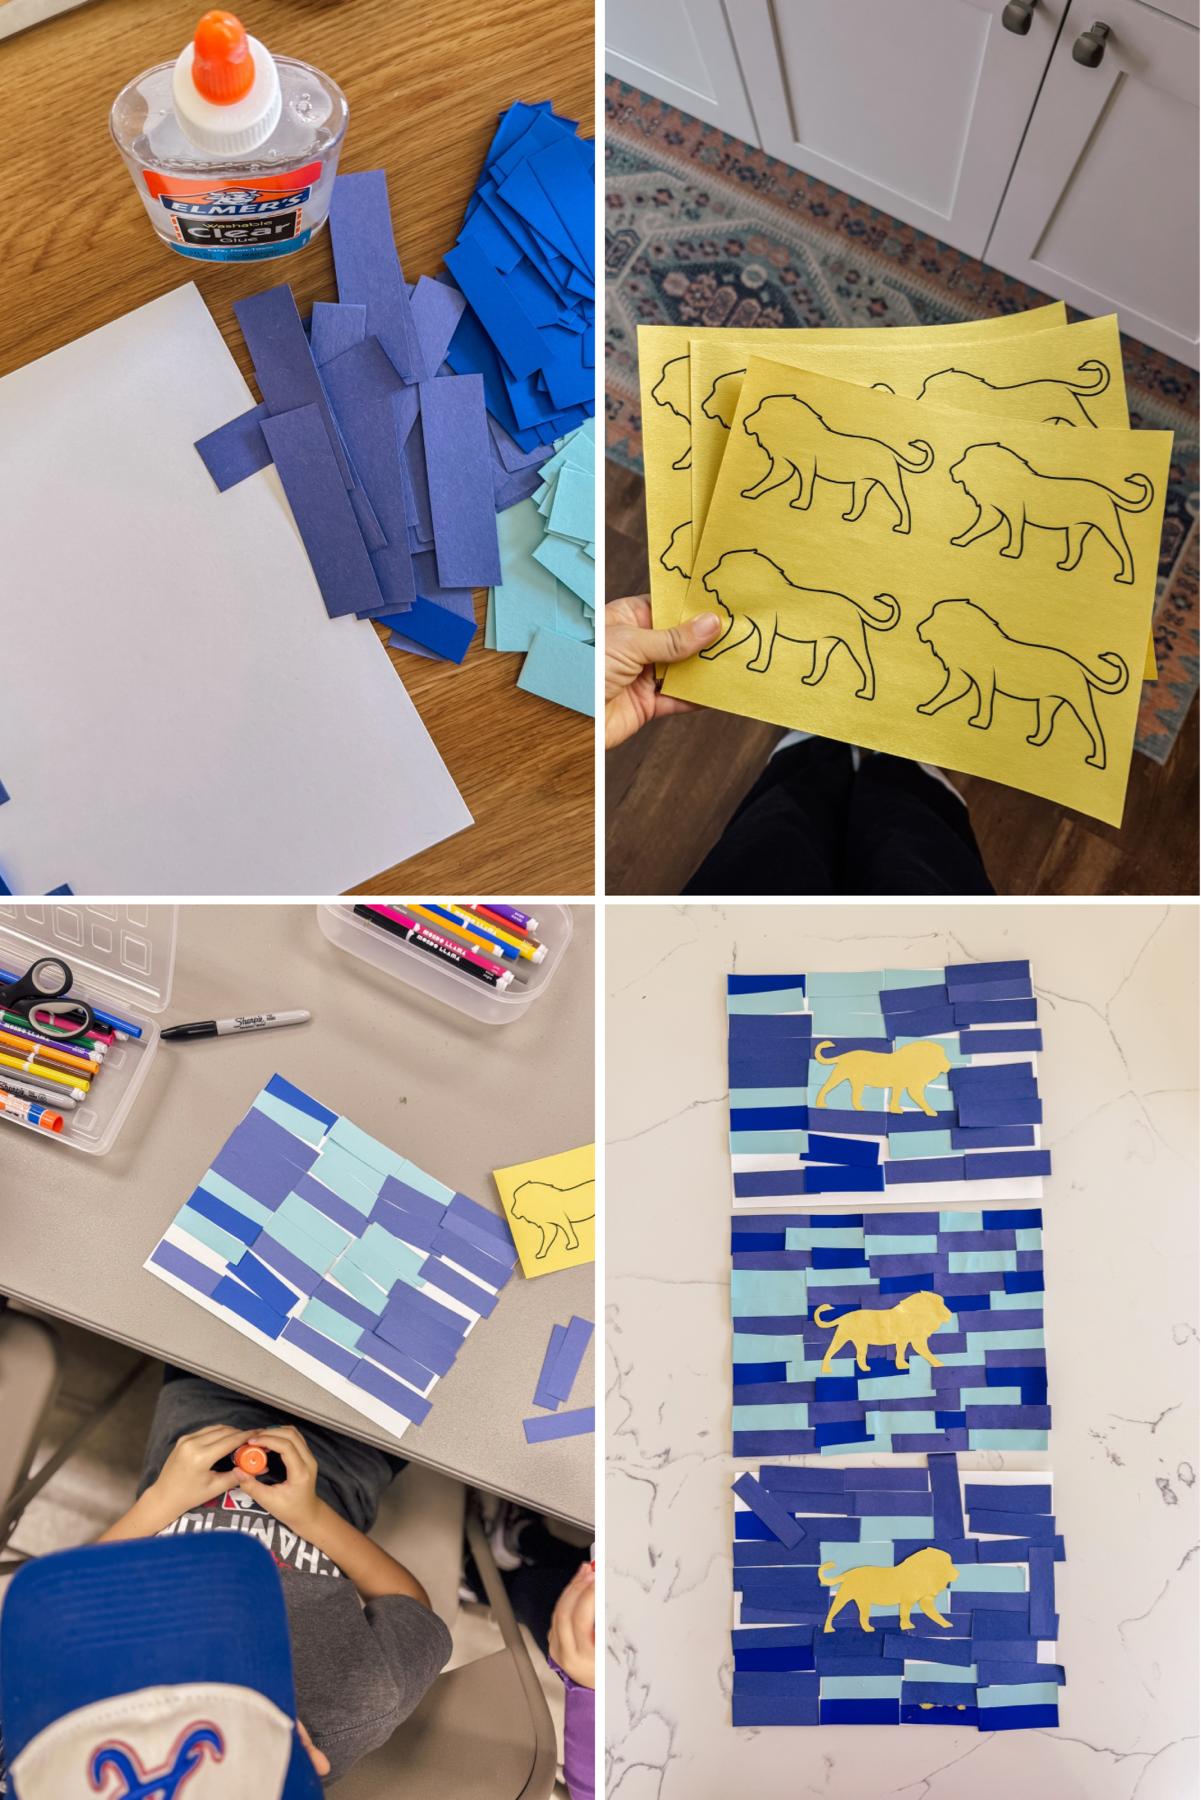
Our last project centered around the Ishtar gate, which was made of blue-glazed bricks and had various animals throughout glazed in brown and gold. I found this post about making a mosaic of the Ishtar gate, but never got it to load correctly. So, I made up my own. The supplies were a piece of white card stock as a base, various colors of blue card stock that I precut into small rectangles, and a piece of yellow construction paper with a lion printed on it. The lion was one of the animals on the gate, and it actually was representative of the goddess, Ishtar, so that’s the animal I chose to include in our craft. I made a document in Canva with 4 lions in a striding motion like on the Ishtar gate, then cut some yellow construction paper to 8.5” x 11” (because that was easier and likely quicker than figuring out how to adjust the printer’s paper tray and settings and such) to print on. I just cut each sheet into 4 rectangles so that the kids could cut out their lions. I used clear Elmer’s school glue to make the example, and it worked well. But some chose to use a glue stick in class, and that worked well also. The mosaics came out really nice!
That was all for class time. But I know ourselves as well as some of the other families are reading Story of the World, Volume 1 alongside our weekly meet-ups. It is a great additional resource for studying ancient civilizations.
Last couple of quick things to share: This collection of resources for homeschooling through ancient civilizations and my Ancient Civilizations Pinterest board
Co-op This Week | Subject: Olmecs (Ancient Civilizations)
Yesterday was our co-op day. We’ve been studying Ancient Civilizations this semester. Our focus this week was the Olmecs.
If you are not familiar with this group of people, they were an ancient Mesoamerican civilization believed to have thrived along the Mexican Gulf Coast from approximately 1200 to 400 B.C.
Our co-op is small-ish. Nine families. Eleven kids, ages 5-12. Five of the moms rotate lessons for the semester. Most lessons consist of several rounds of sharing information pertinent to the day’s topic and breaking between each sharing session to do a related activity.
This was not my week to teach, but I wanted to share my kids’ work, perhaps as inspiration, and definitely as a keepsake for myself to look back on here.
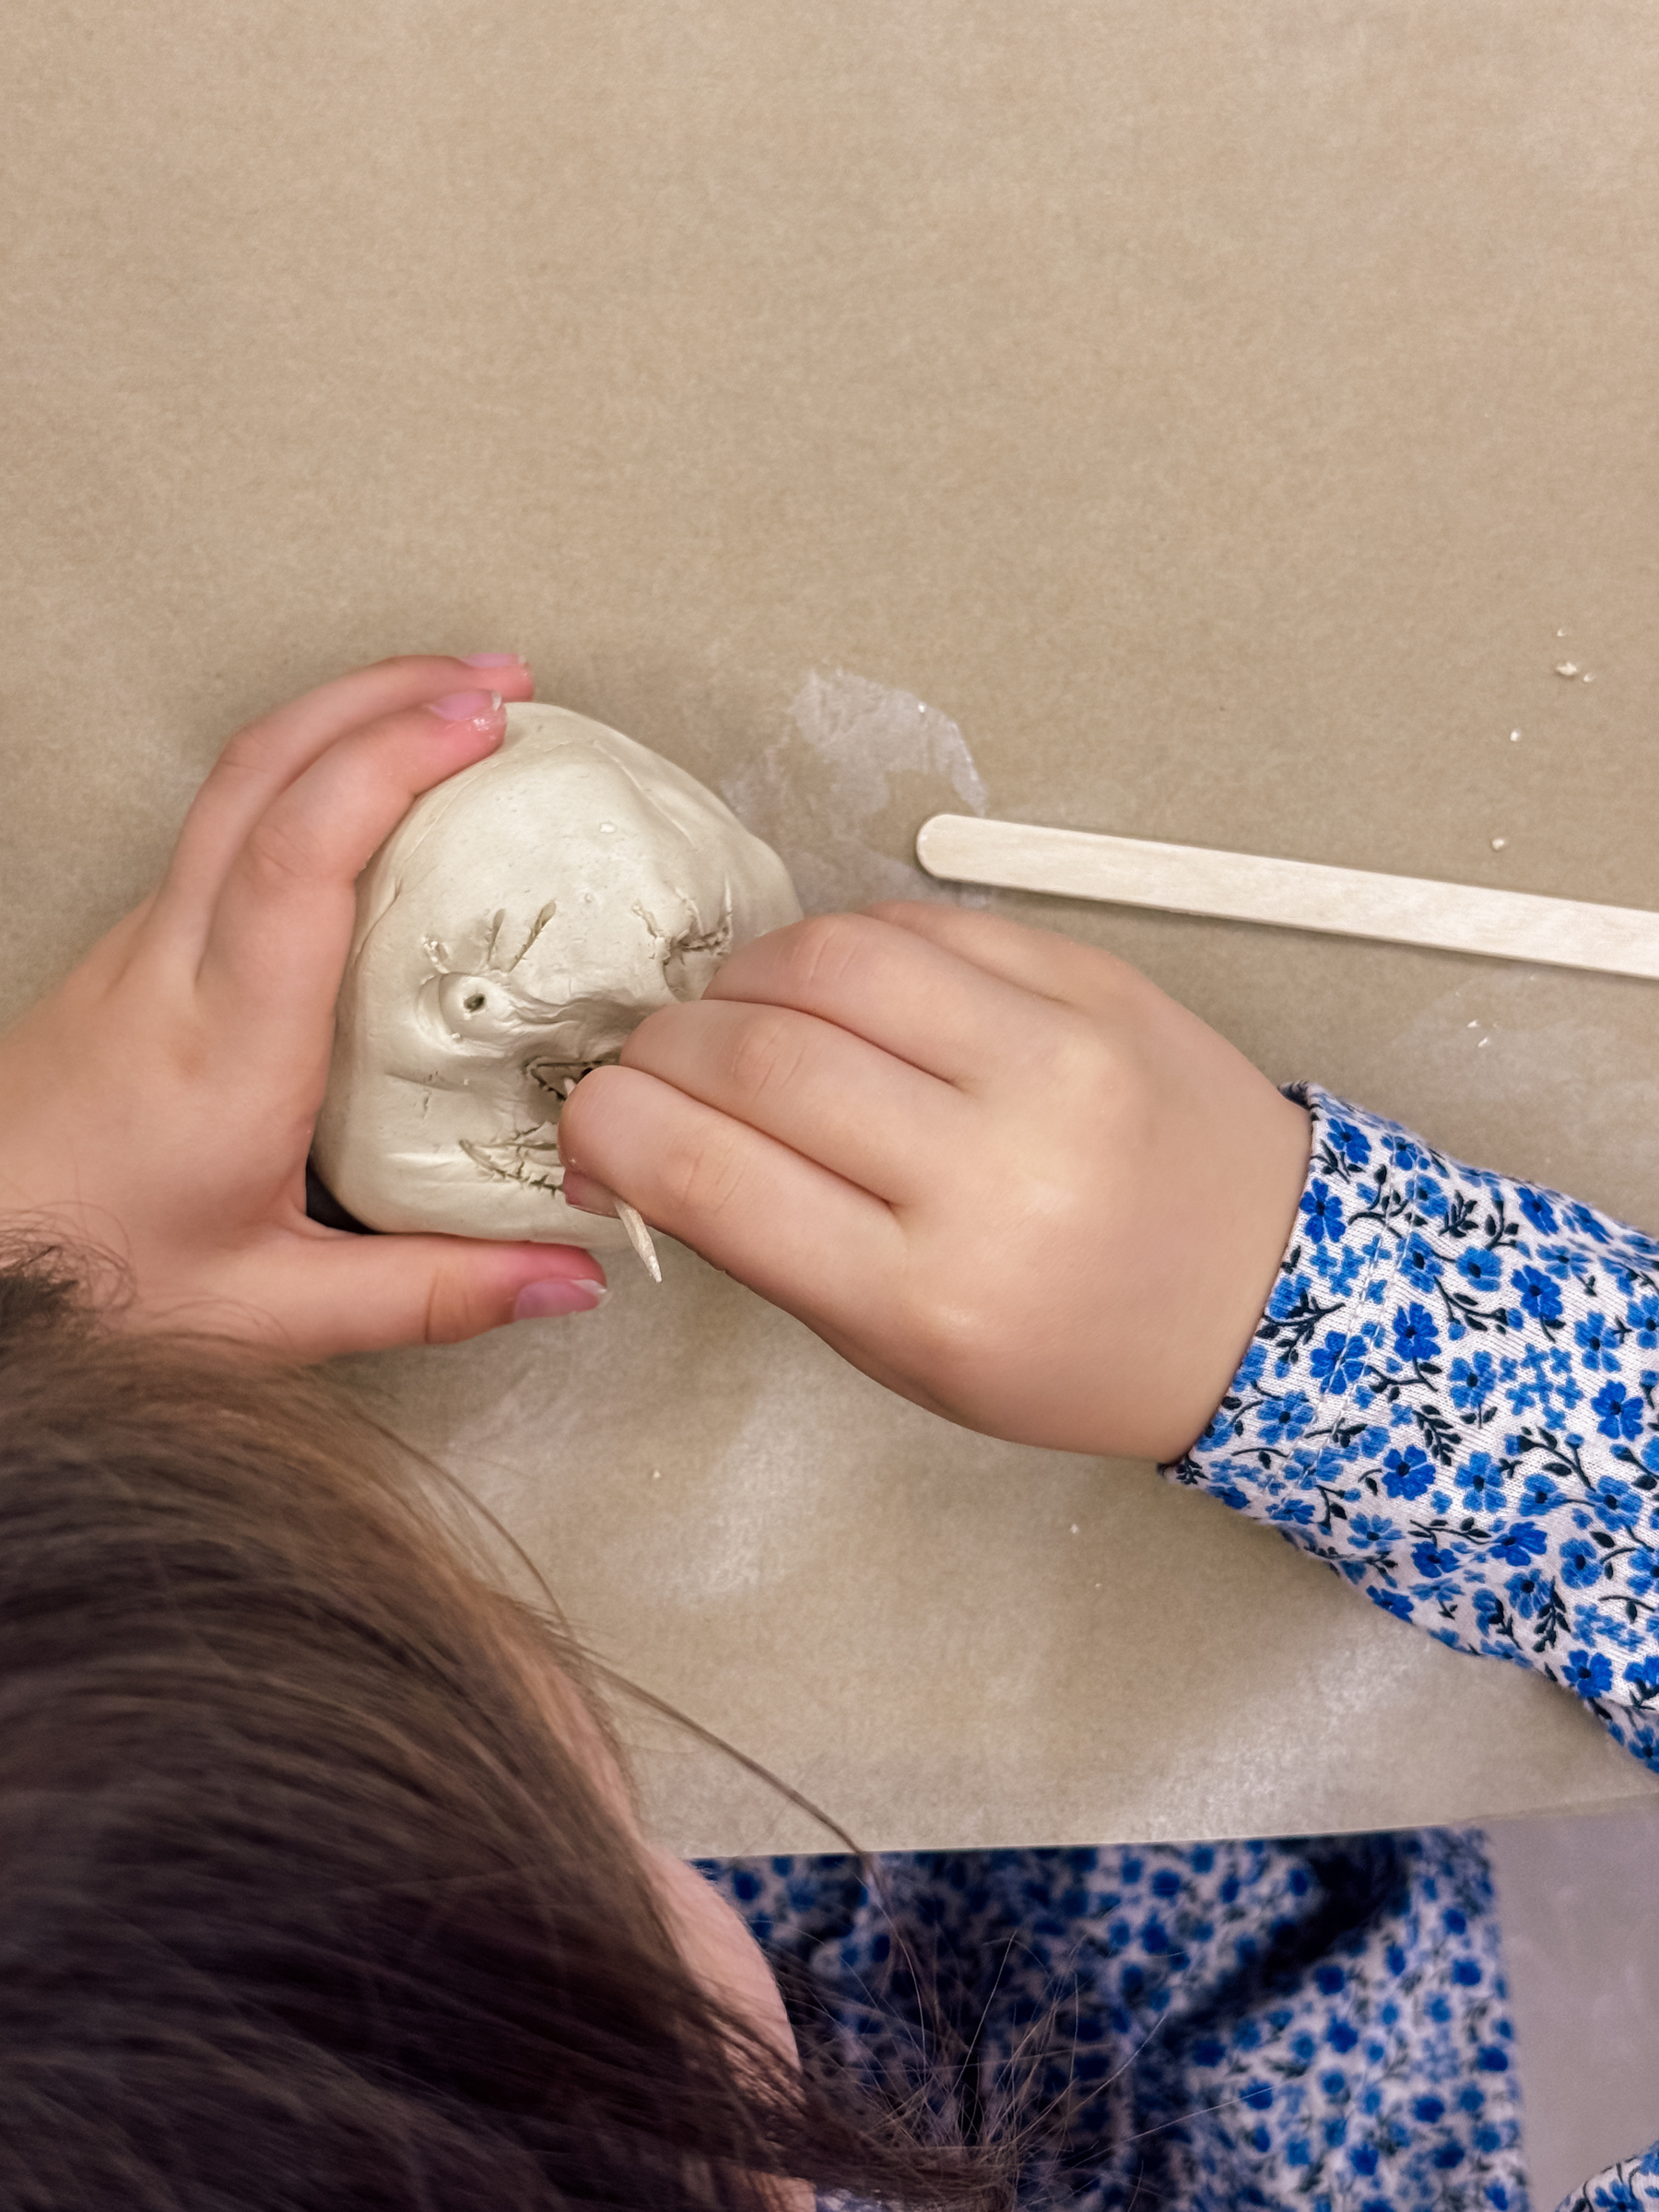
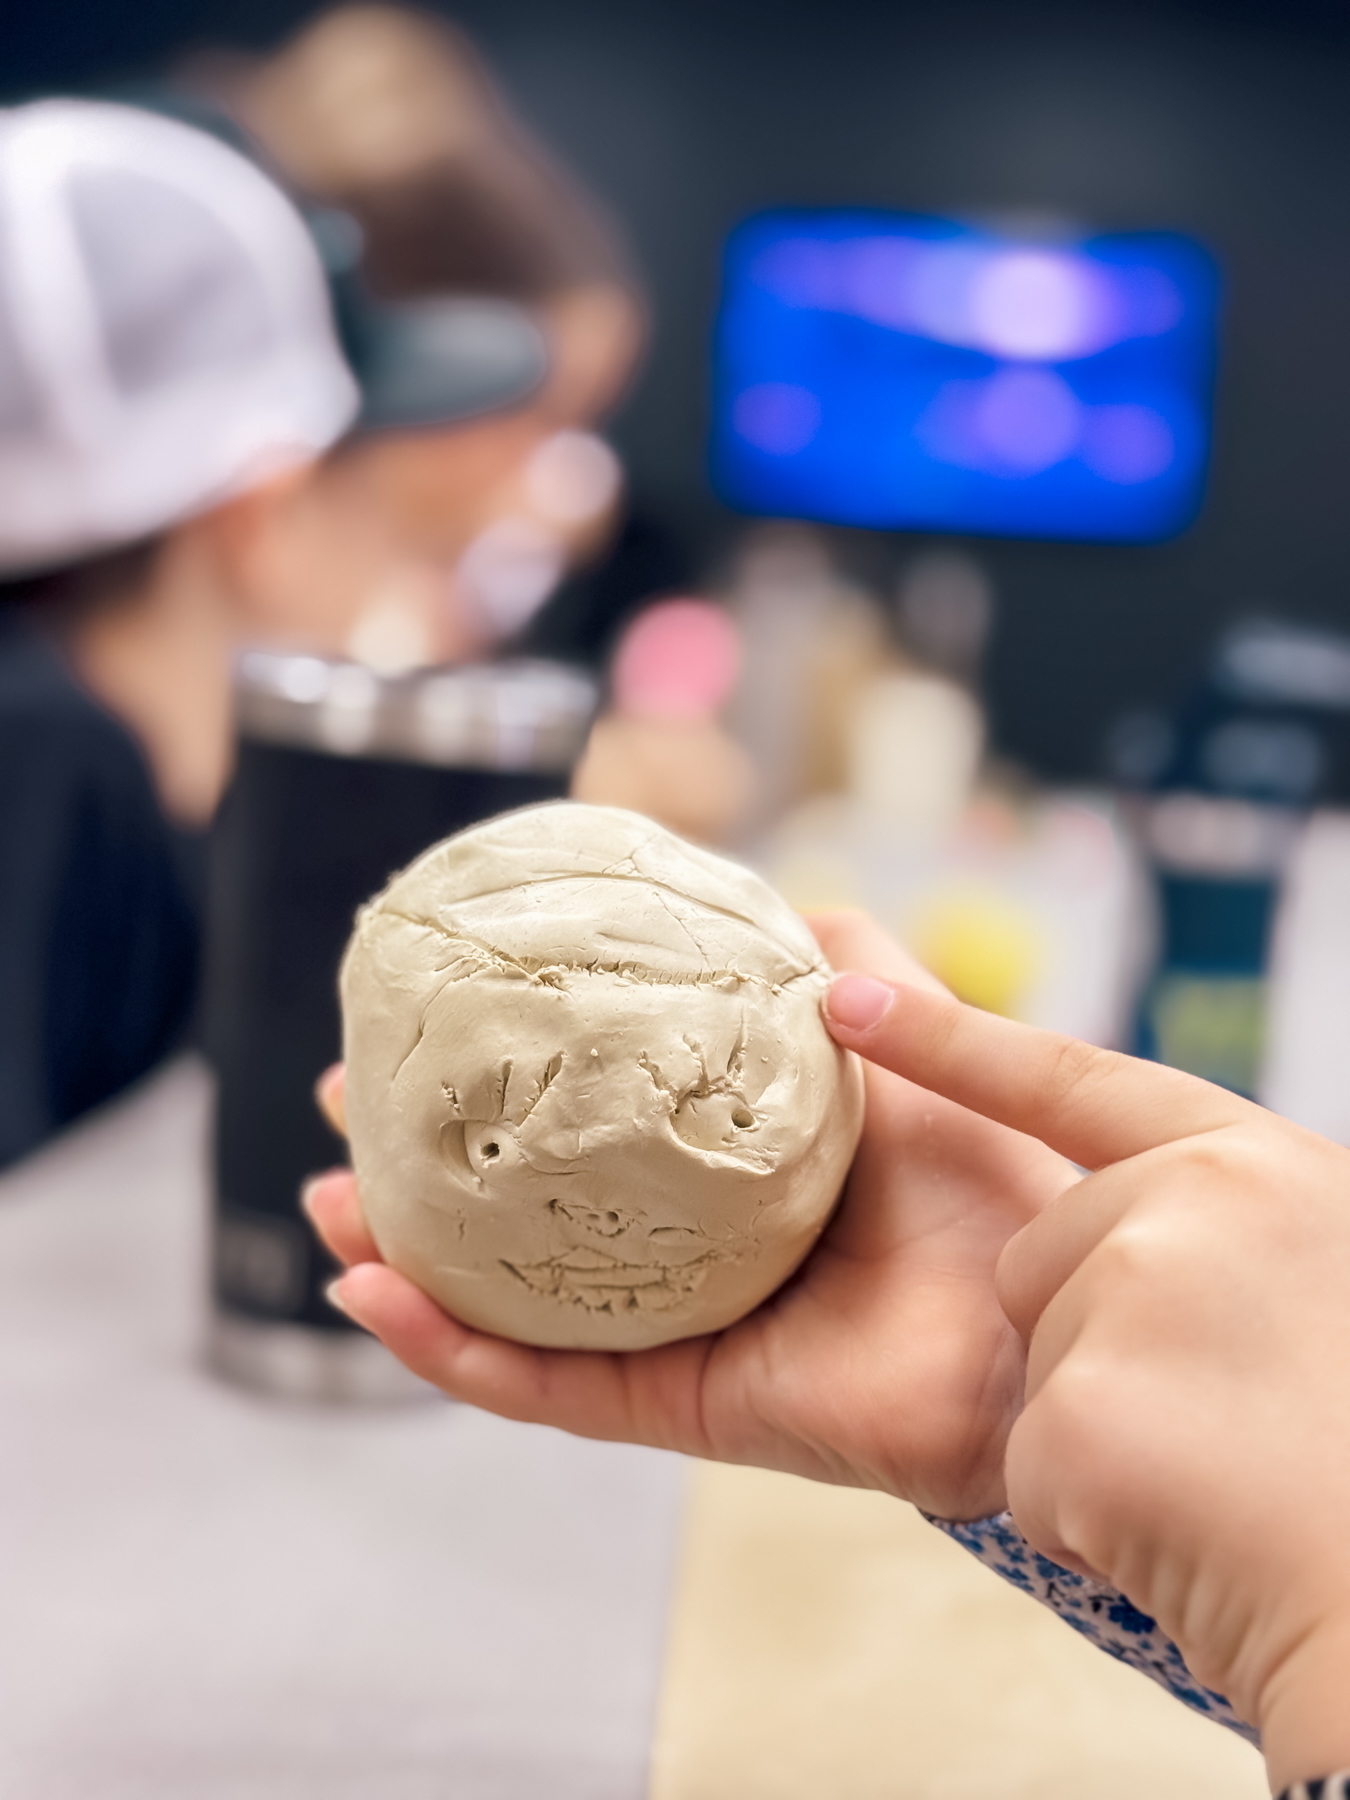
The first project of the day was making stone heads out of air dry clay, which was representative of the giant stone heads the Olmecs were known for creating. The kids were shown several photos as inspiration and given toothpicks and popsicle sticks to use to carve and shape.
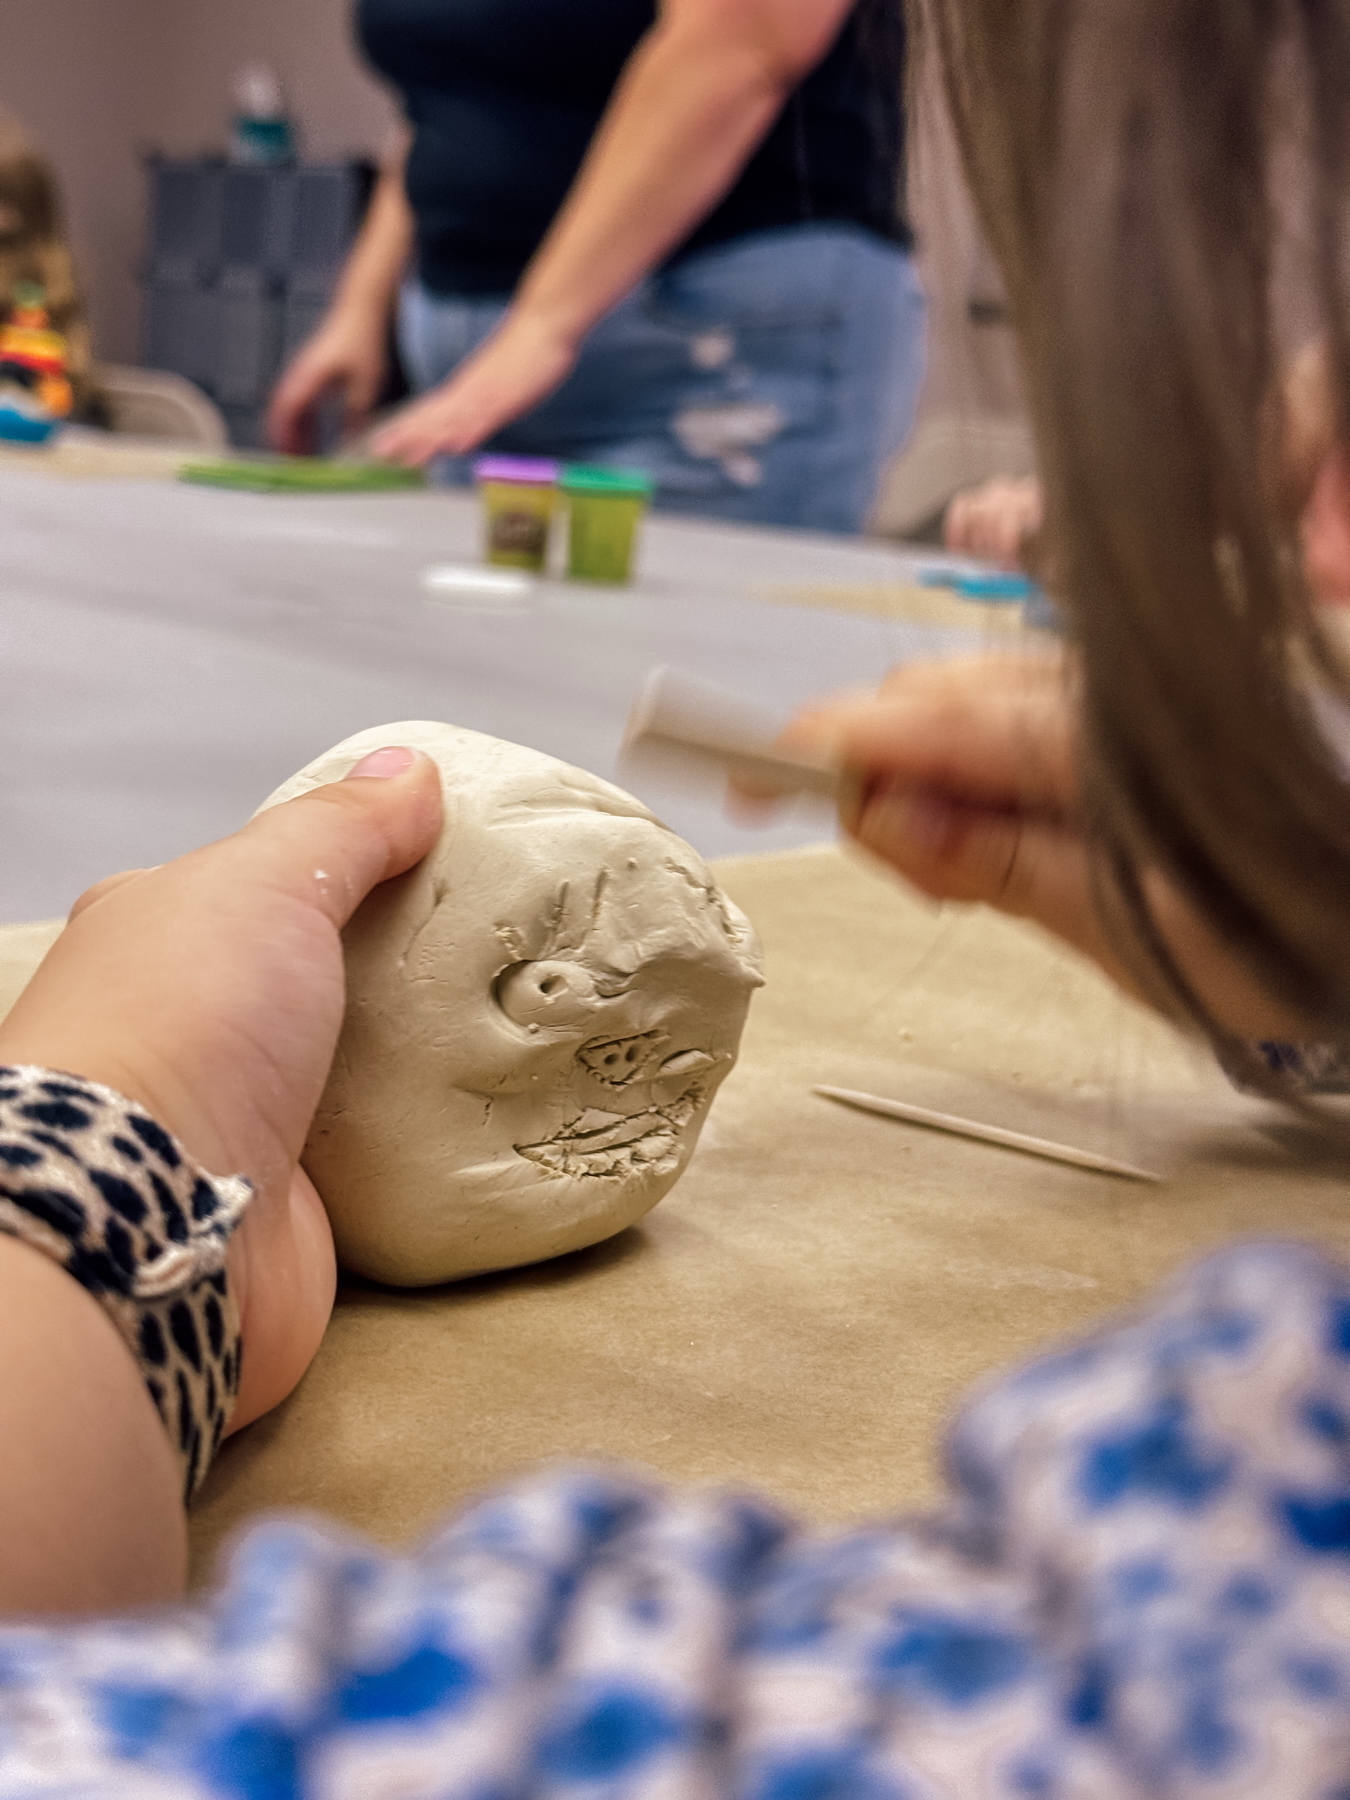
 She was so proud of the helmet.
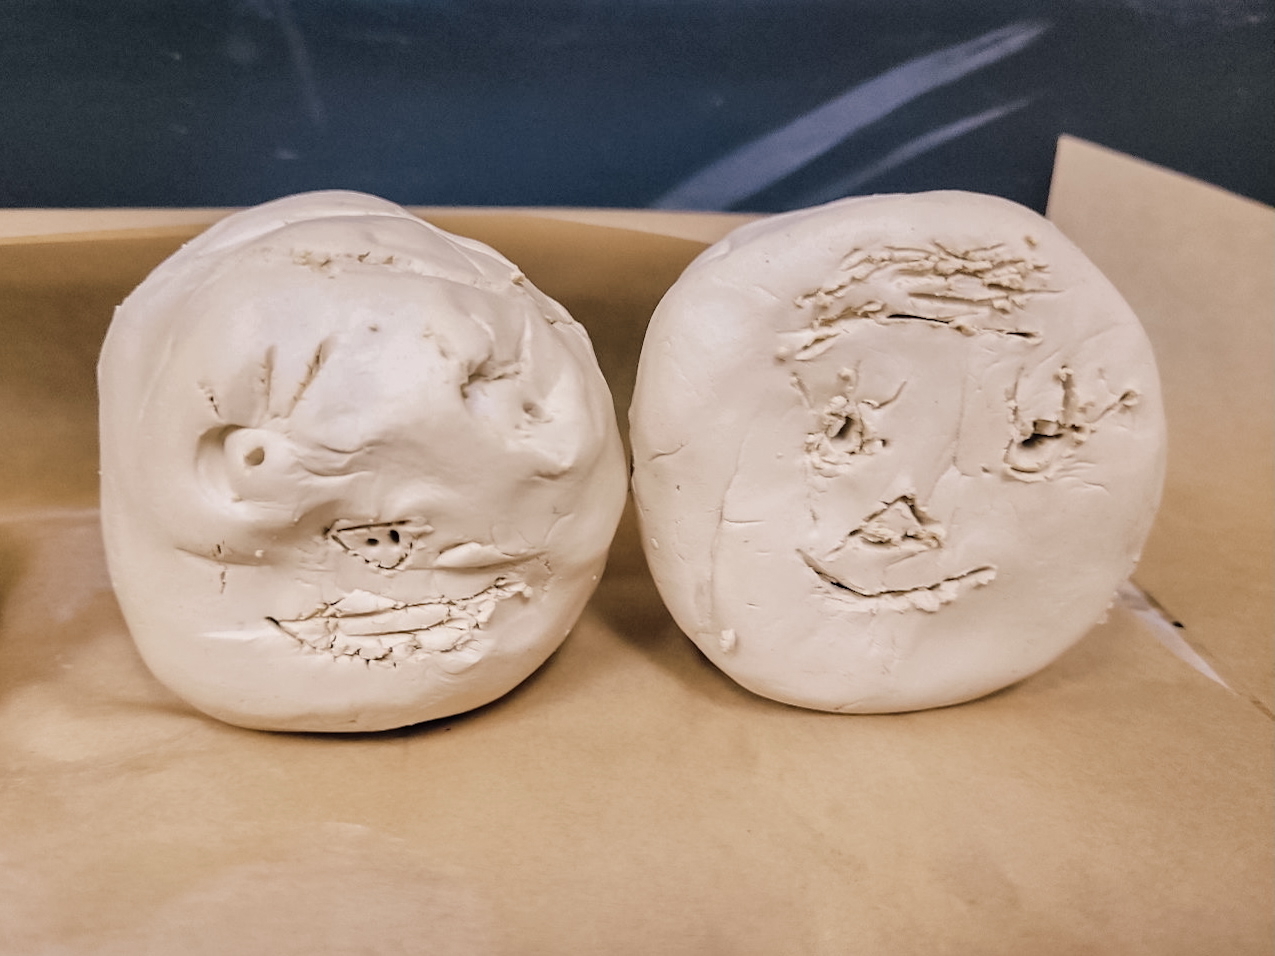 Hers and his. He was slightly less enthused with the project, thus putting much less time and energy into it. But he still did it and knew what it represented.
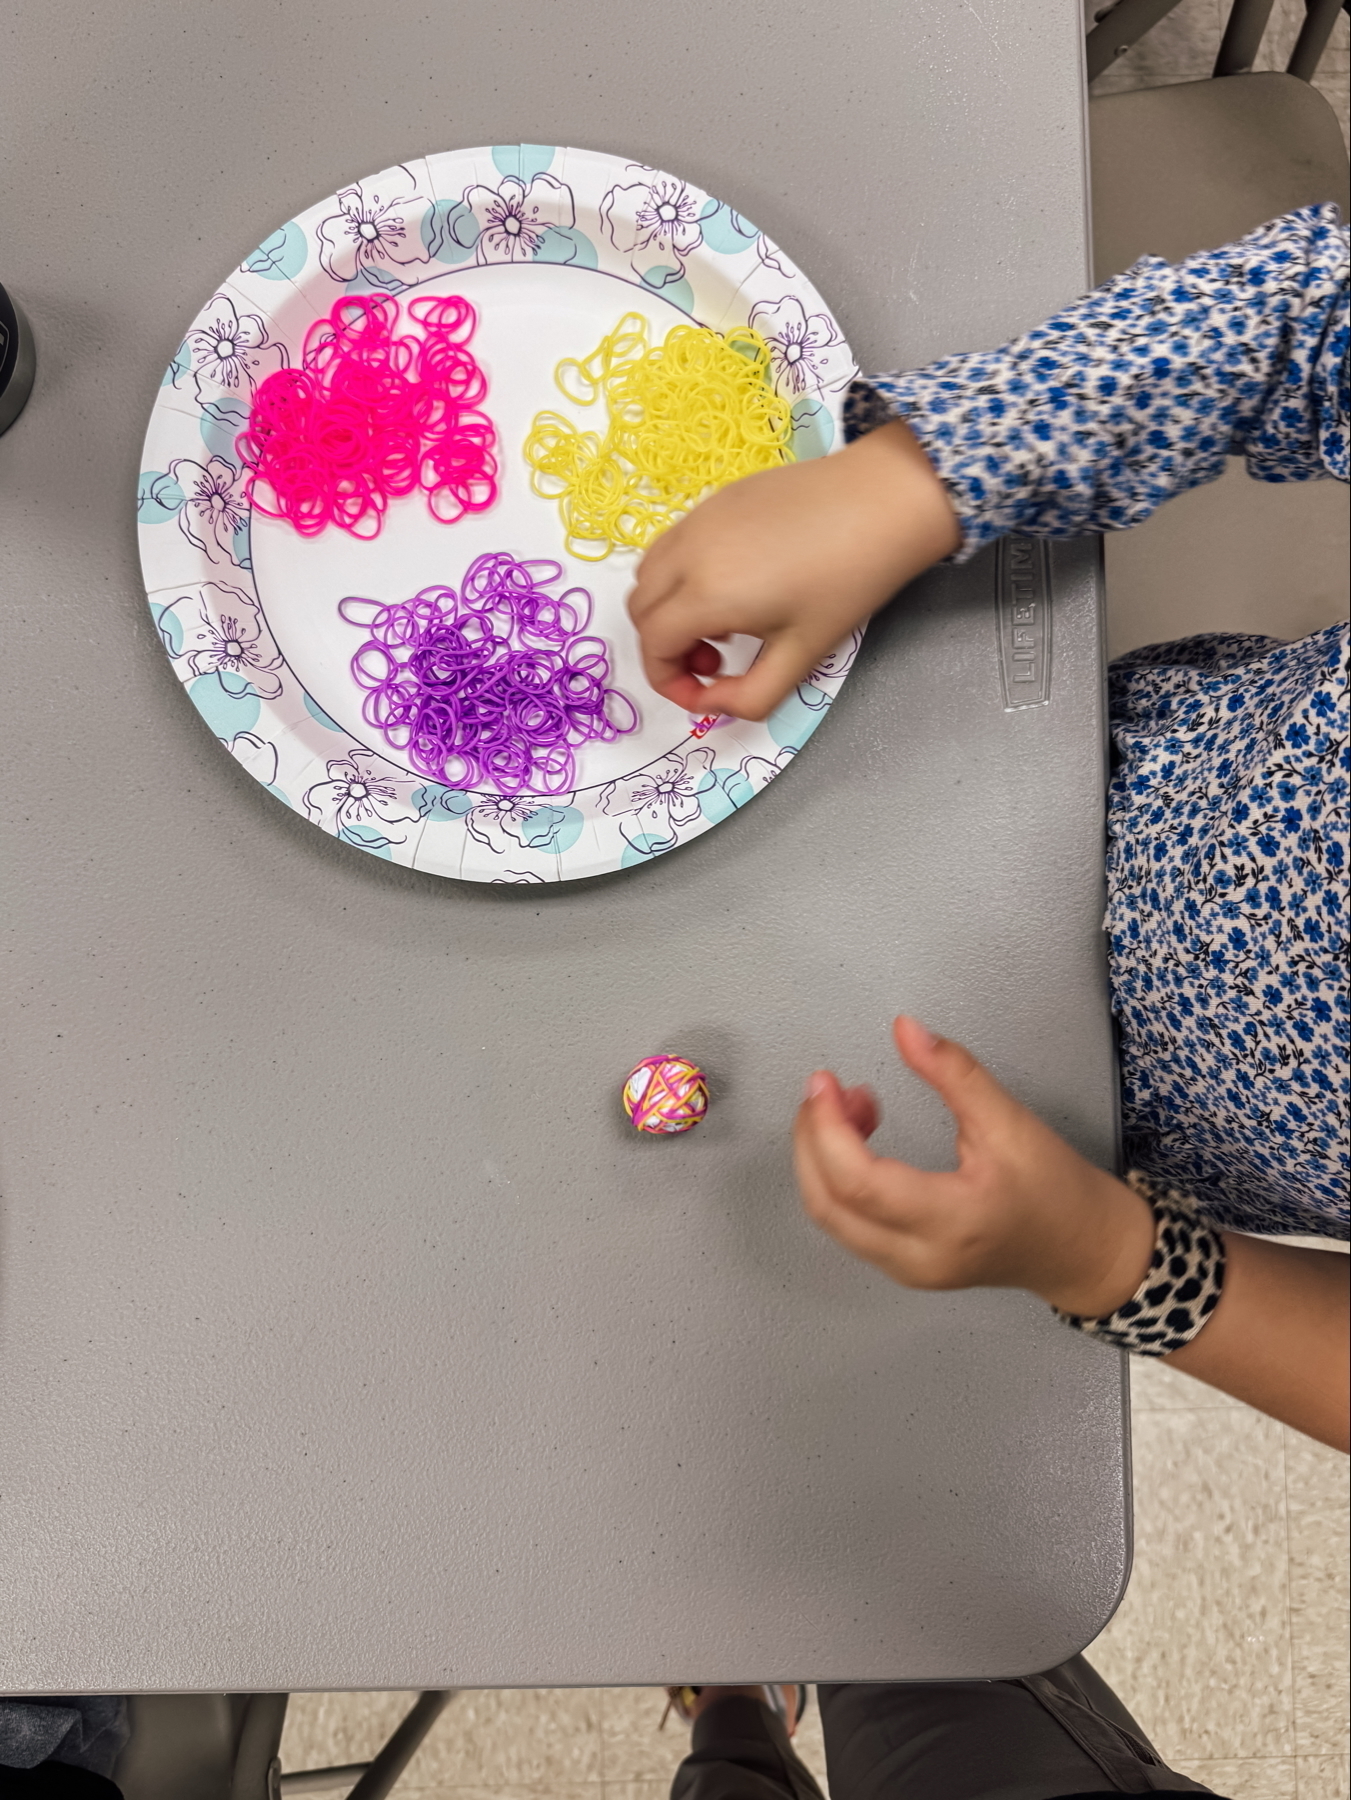
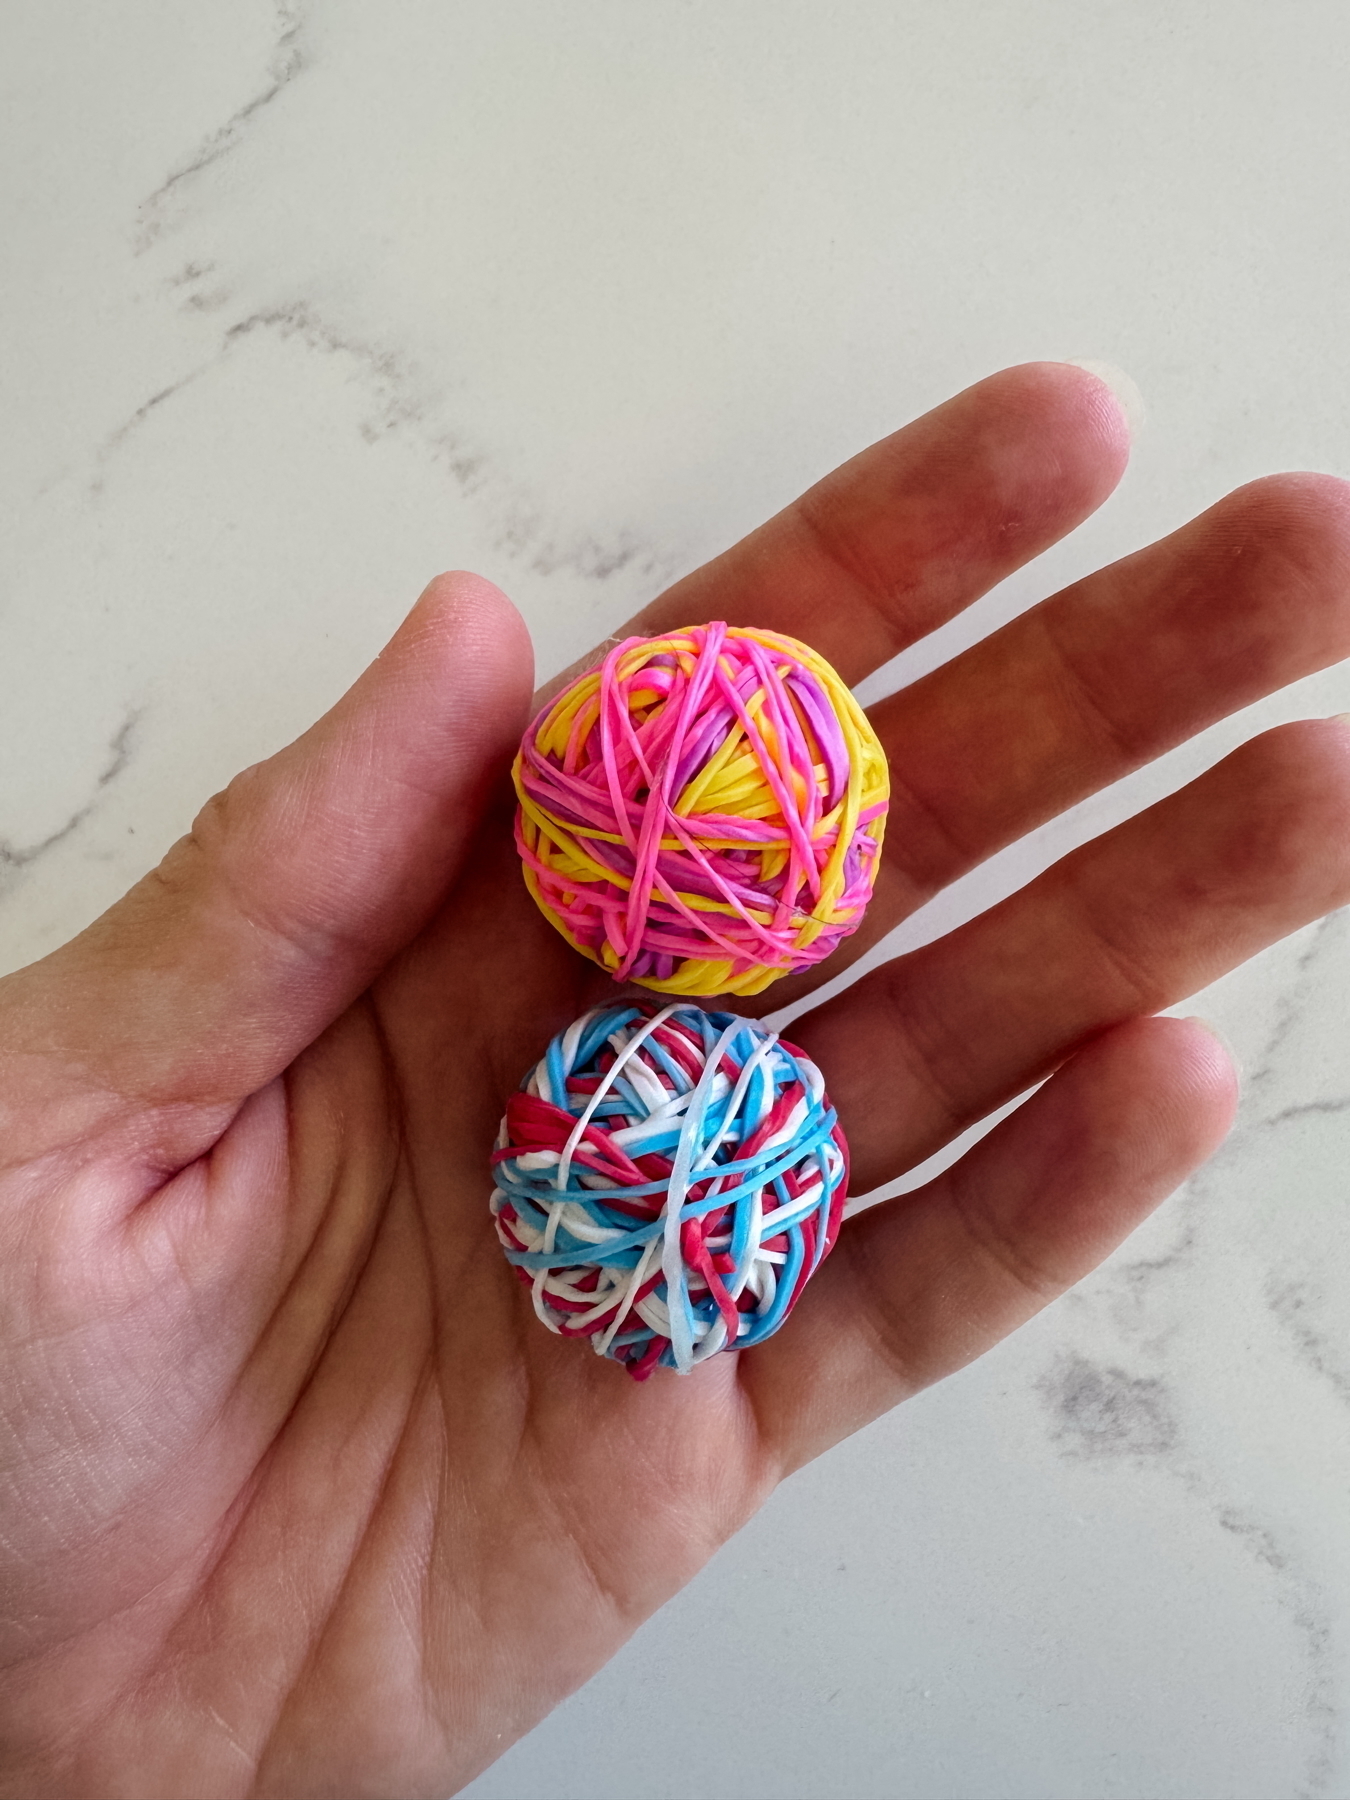
The second project was patiently wrapping rubber bands around a wadded up piece of paper to make a bouncy ball. They used the small rainbow loom bands. This activity was meant to correspond with learning that the Olmecs were the first known civilization to use rubber.
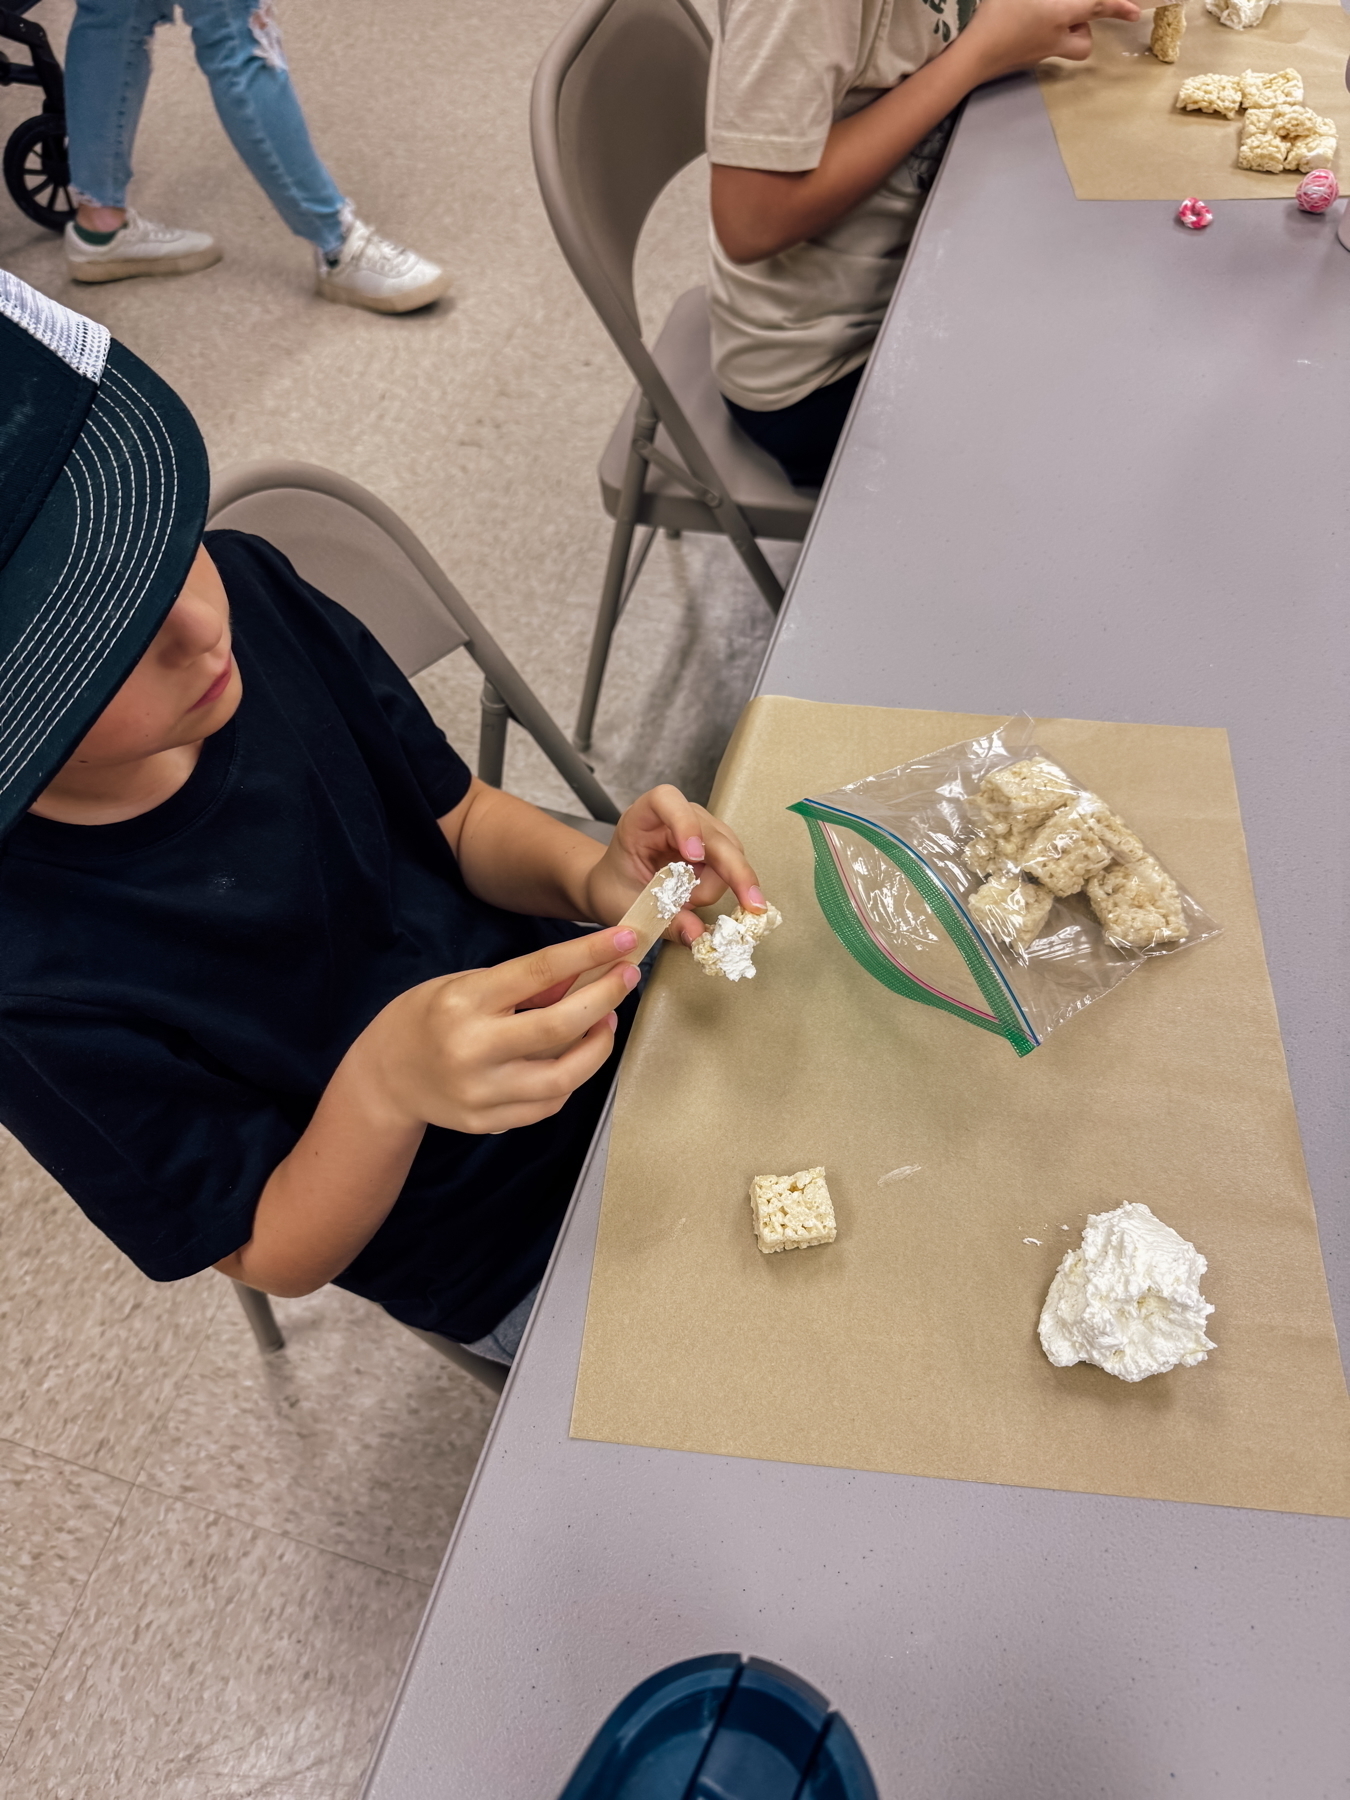
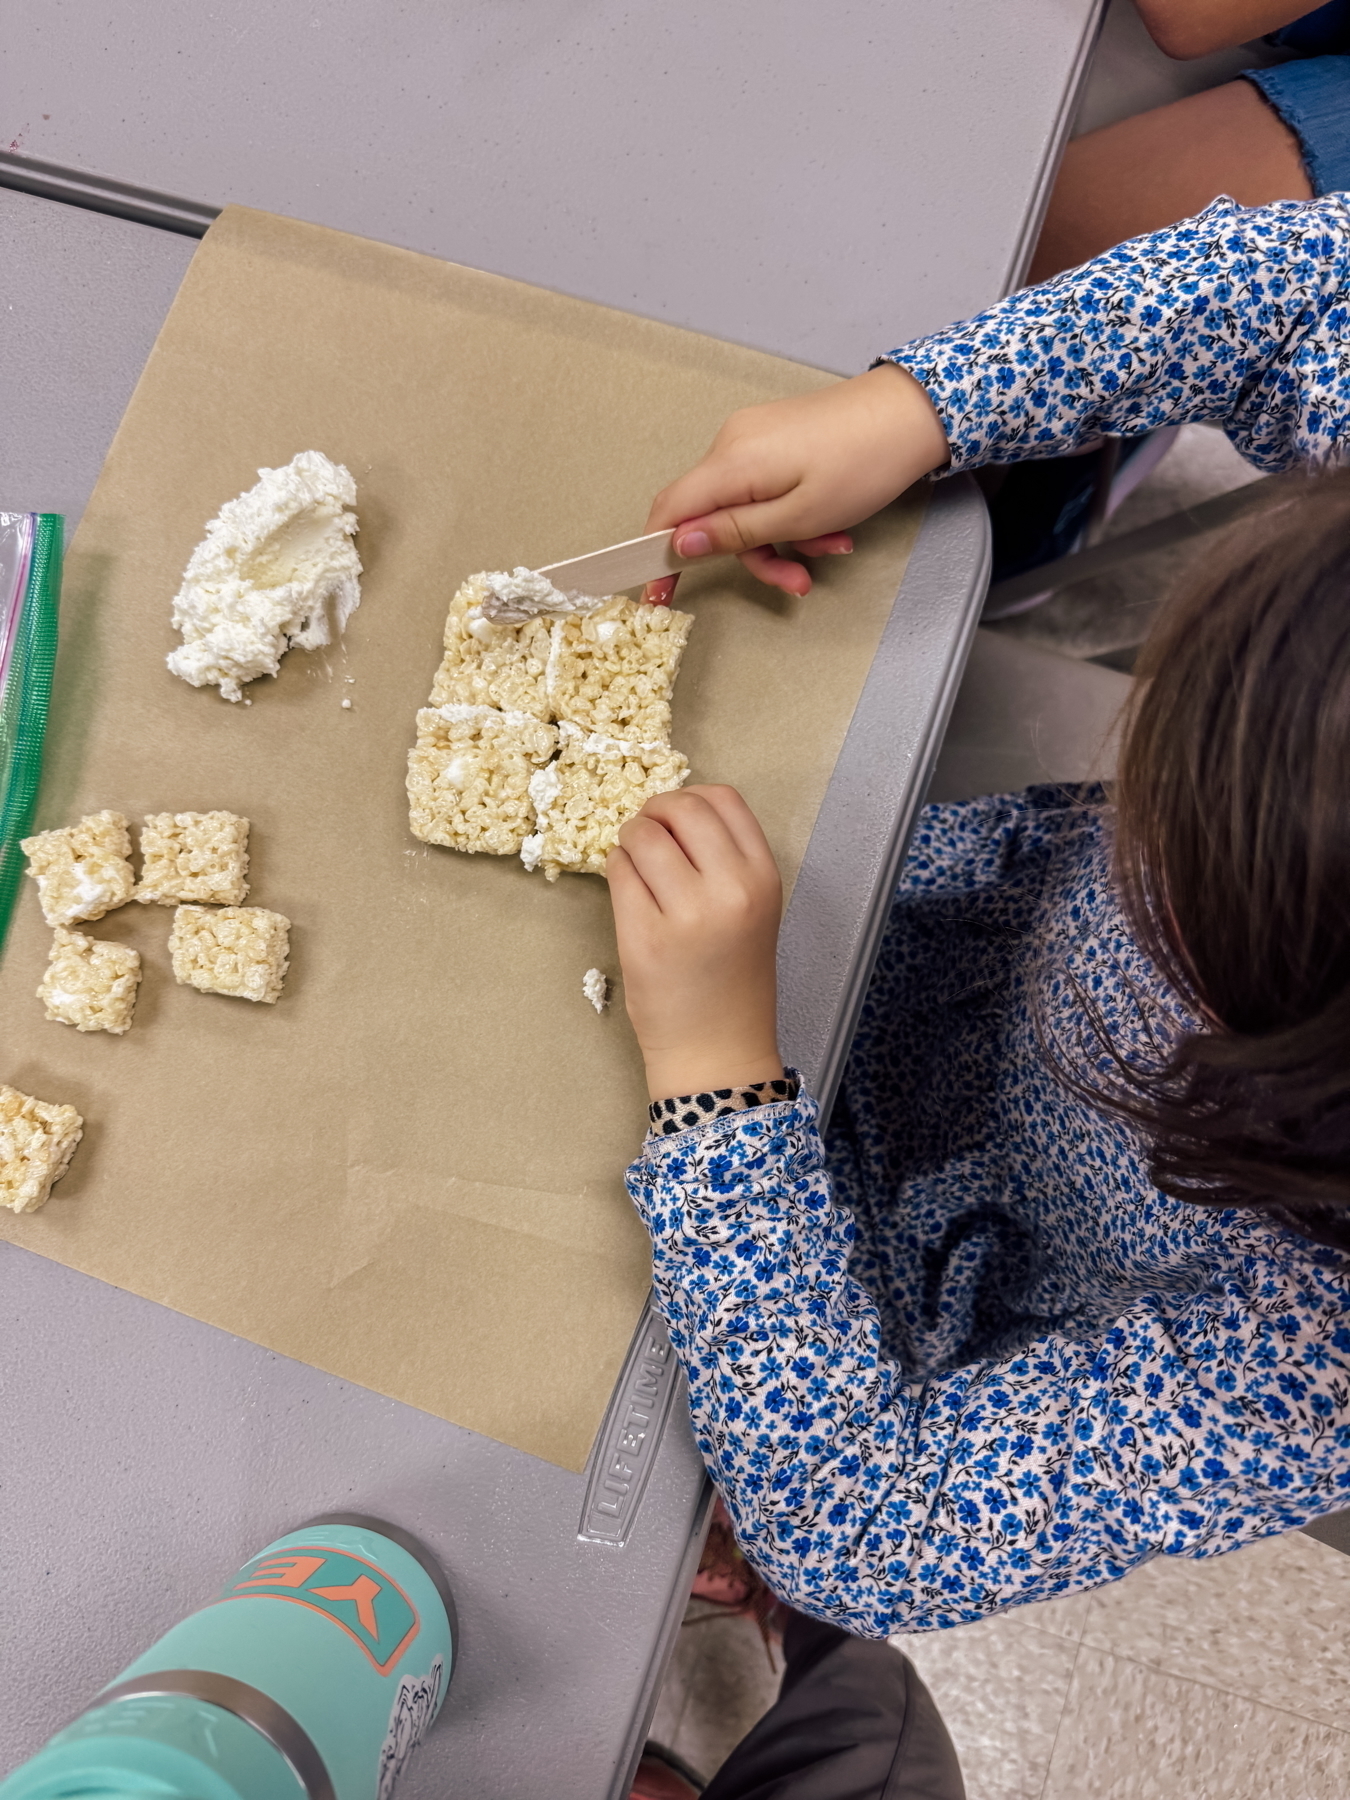
The last project for the day was constructing a pyramid with homemade Rice Krispie treats and vanilla buttercream icing (so, so yum…our resident baker was the teacher, which is always exciting 😋). This was a nod to the Olmecs building pyramids or pyramid-like structures like most other ancient groups of people.
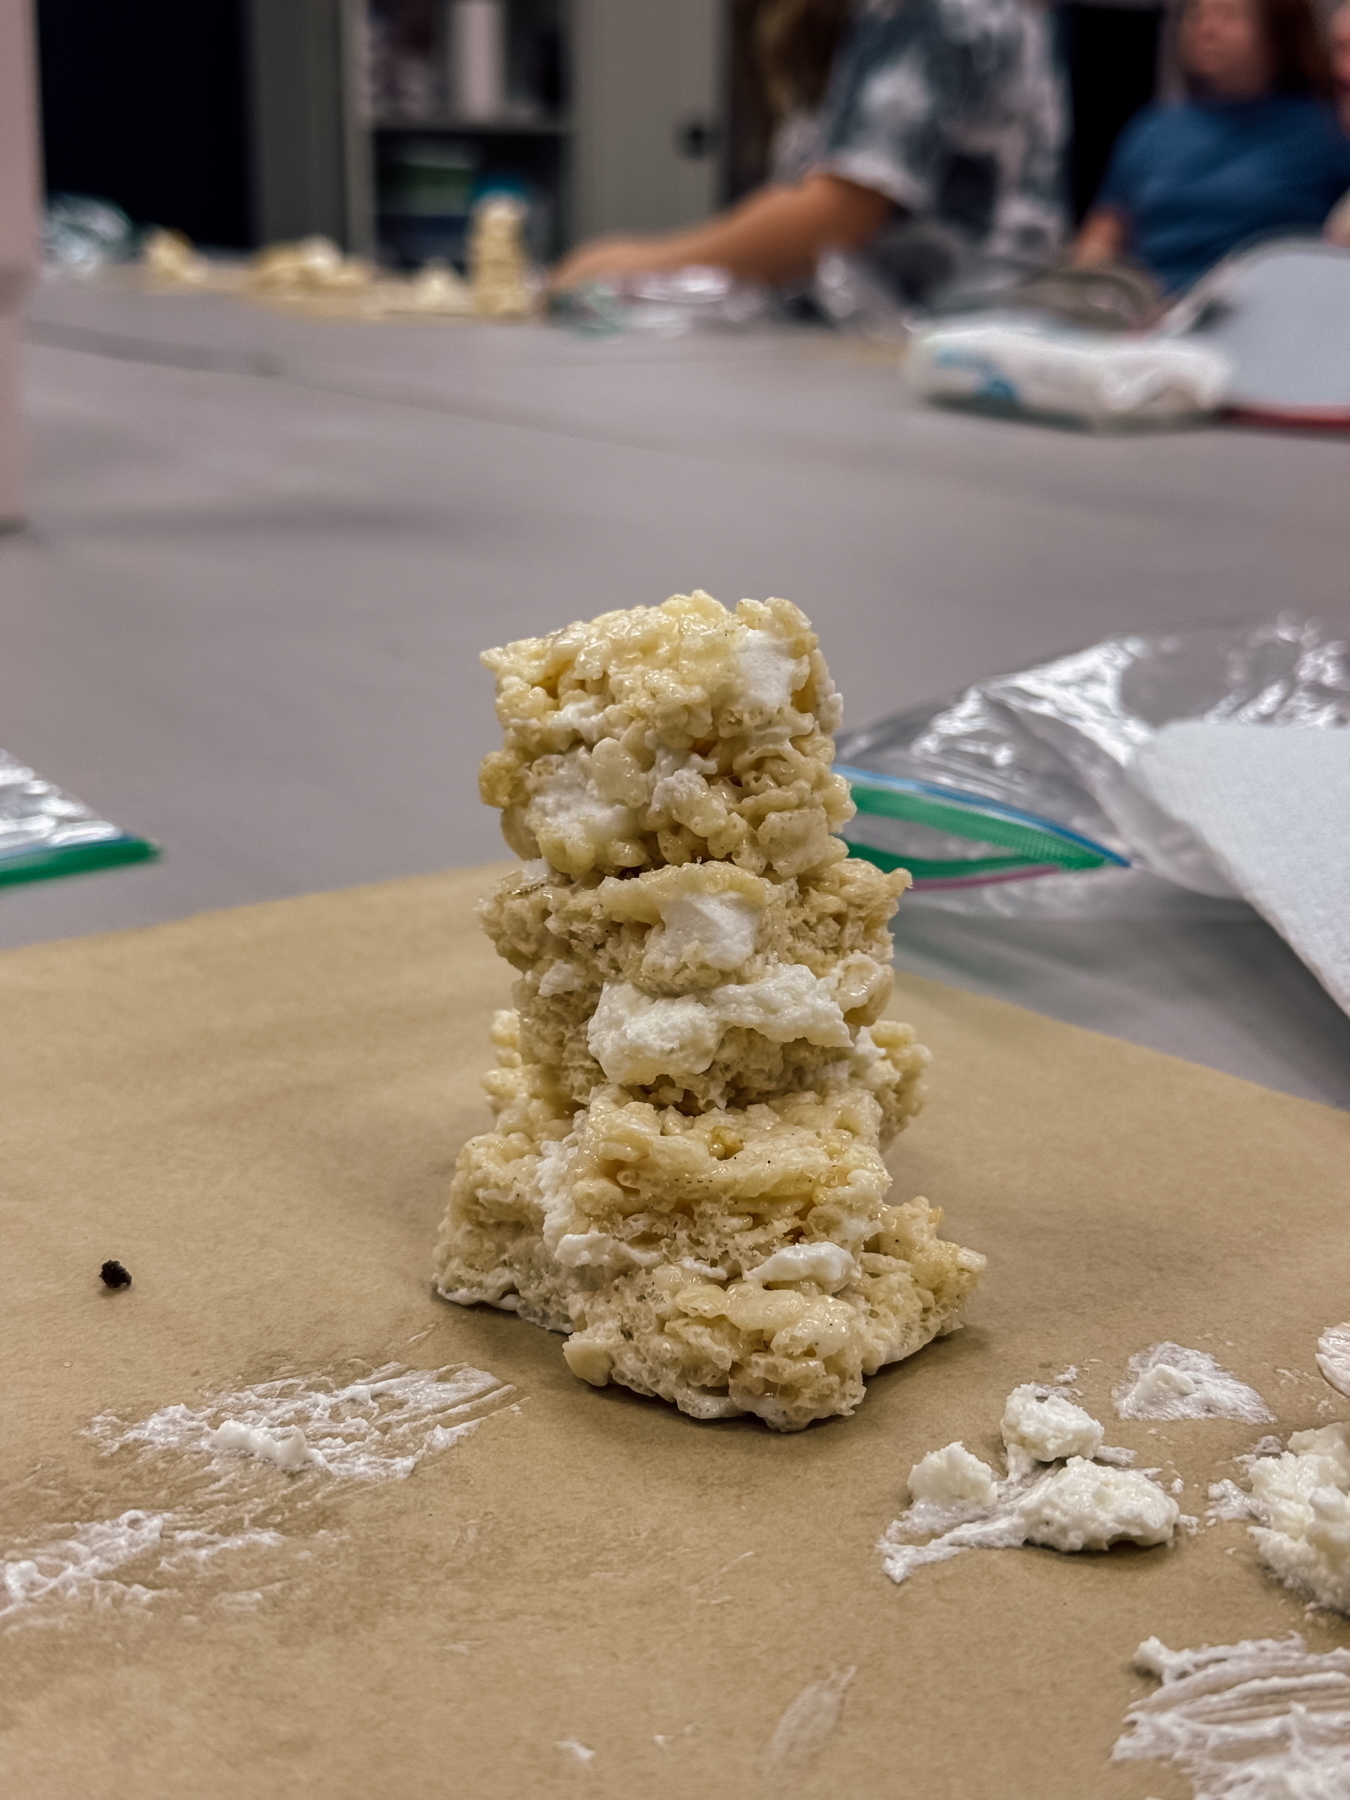 His. I took a photo of hers–which was wider and flatter than her brother’s–but some of the other kids were in the background, and I wanted to respect their privacy so chose not to post.
The Olmec lesson may sound somewhat simple, but doing projects with 11 kids can take up a big chunk of time. And some lessons are shorter or less involved than others. It’s so wonderful that each week is similarly structured, yet approached from a different mind. And we’re always encouraged to dive deeper into each topic.
Next week is my second lesson to teach for the semester. I’ve been excited about it since watching the Sight & Sound Theatre’s “Daniel” last month when it was in theaters on Labor Day weekend. So much to unpack and learn.
Christmas in July Craft: Pipe Cleaner Snowflakes
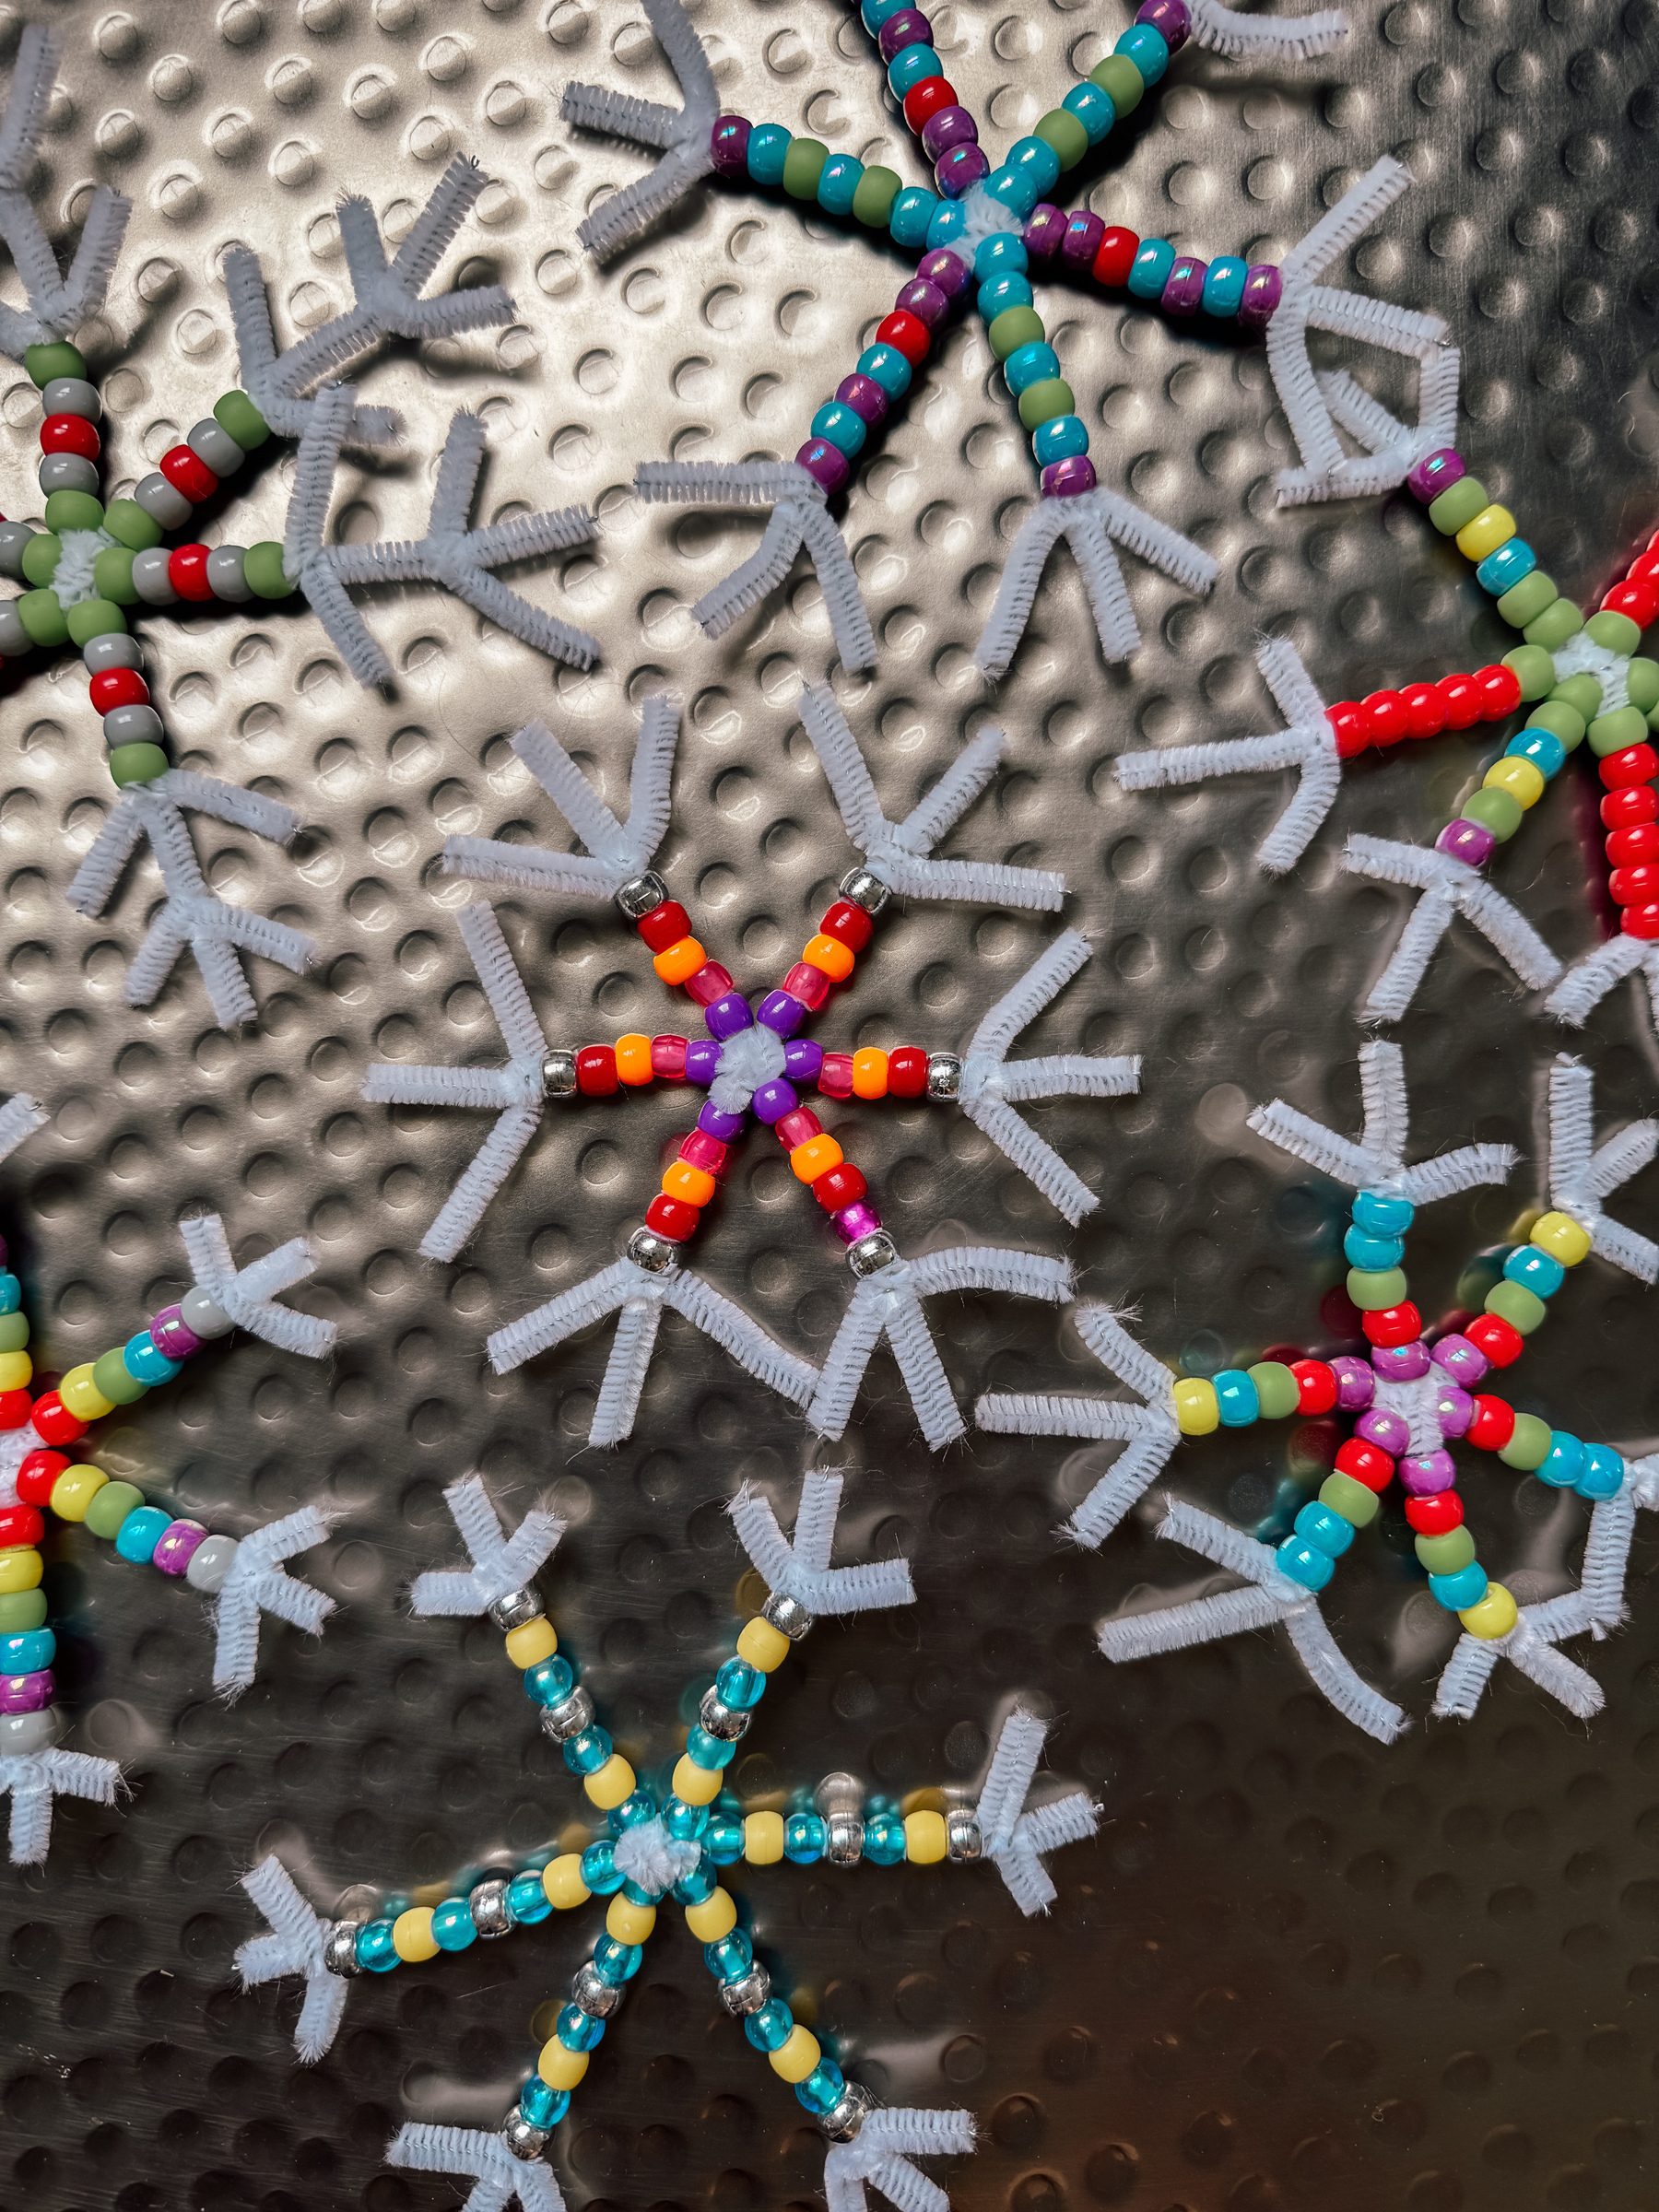
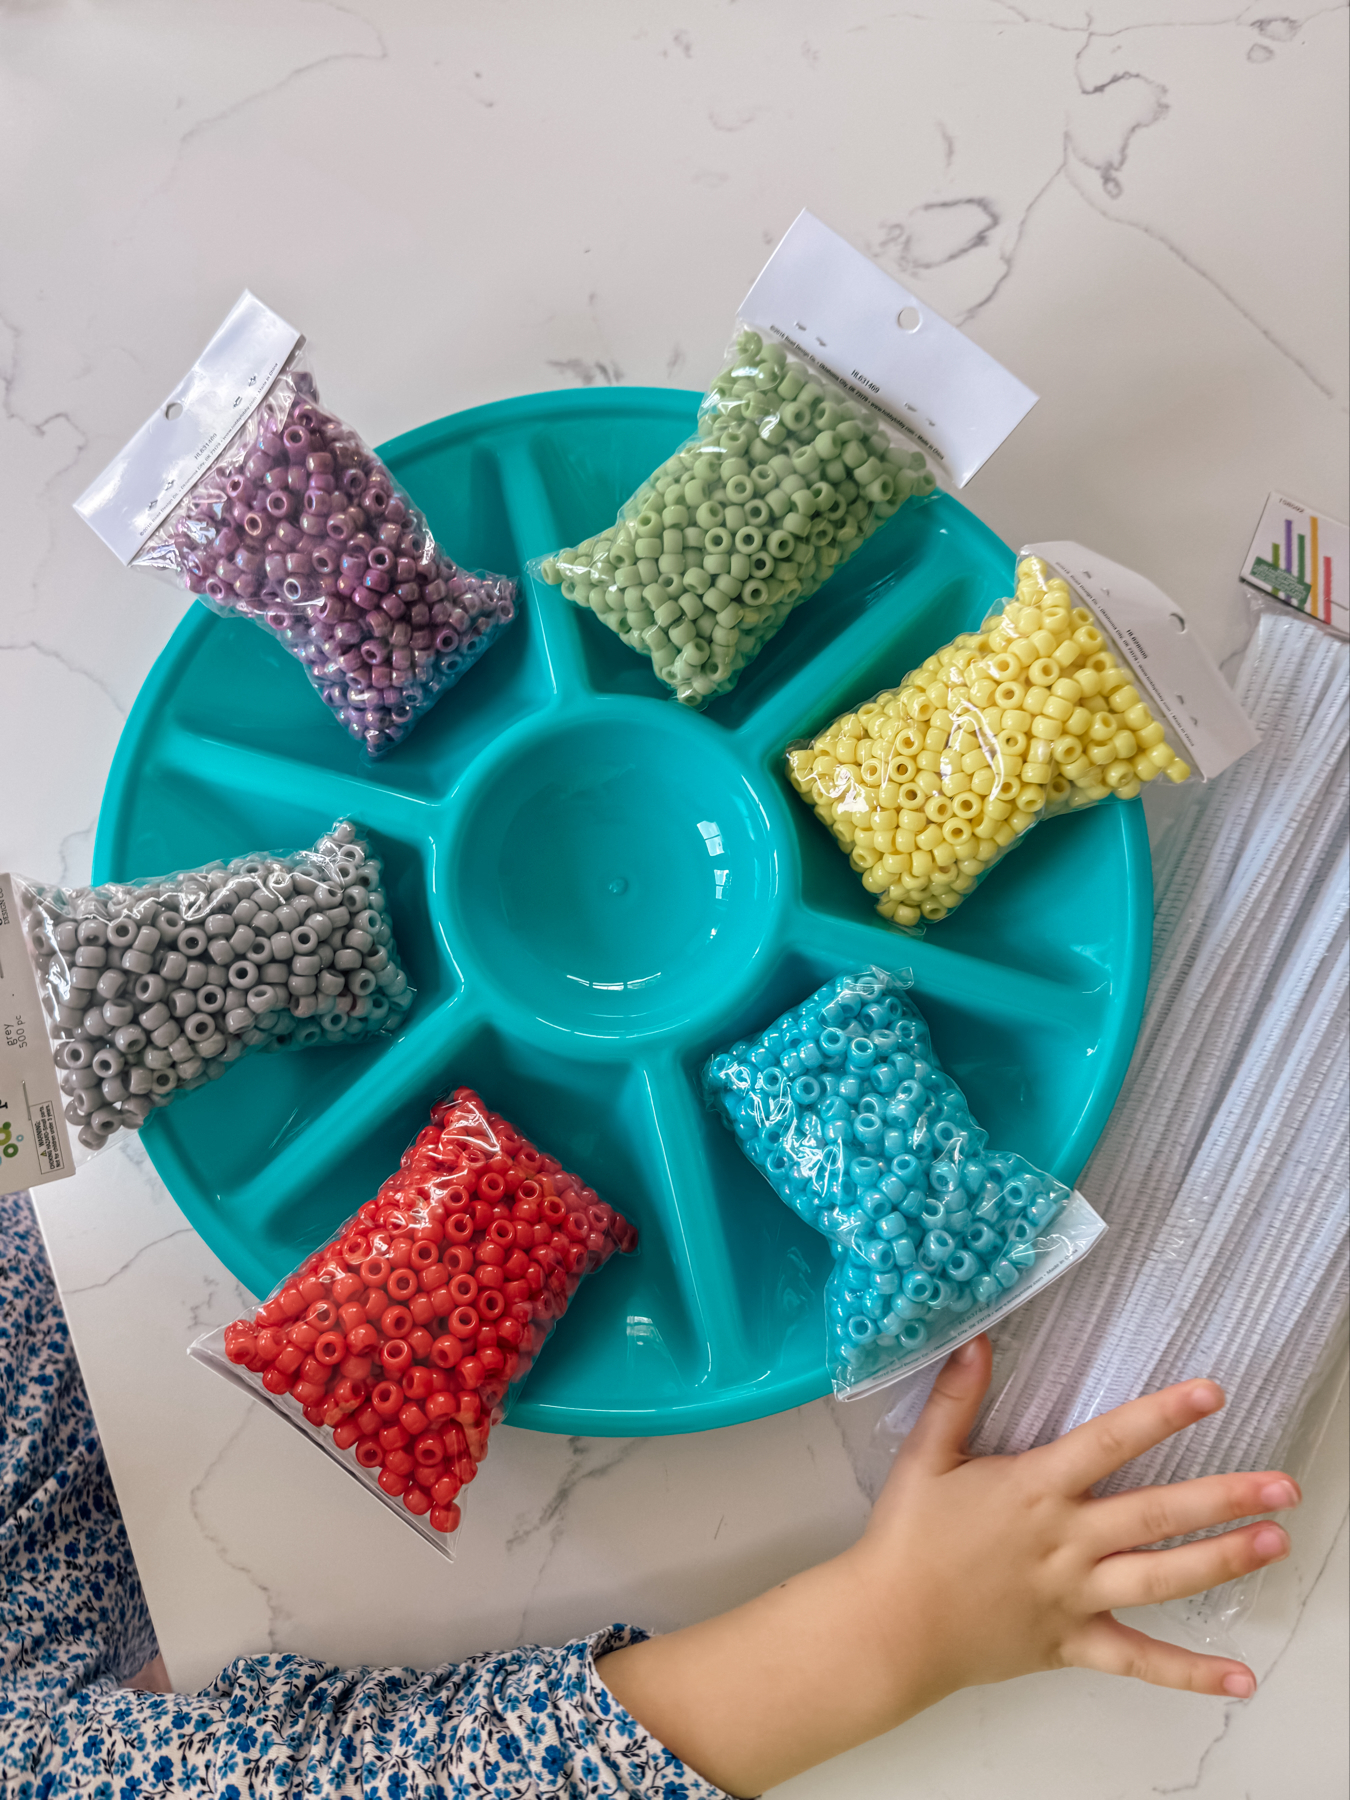
We had a Christmas in July event with our homeschooling community a couple of weeks ago. I brought supplies to make pipe cleaner snowflakes. It was super easy to put together and relatively inexpensive. And it went a long way for a large group craft (we had close to 40 kids).
I got a pack of 200 white pipe cleaners. Kept to just one color to keep it simple. And picked out 6 bright, Summer-y colors of pony beads. I picked up those supplies at Hobby Lobby on a week when the beads were half off. But even when not on sale, I’ve found Hobby Lobby to be the most cost effective place for those particular items.
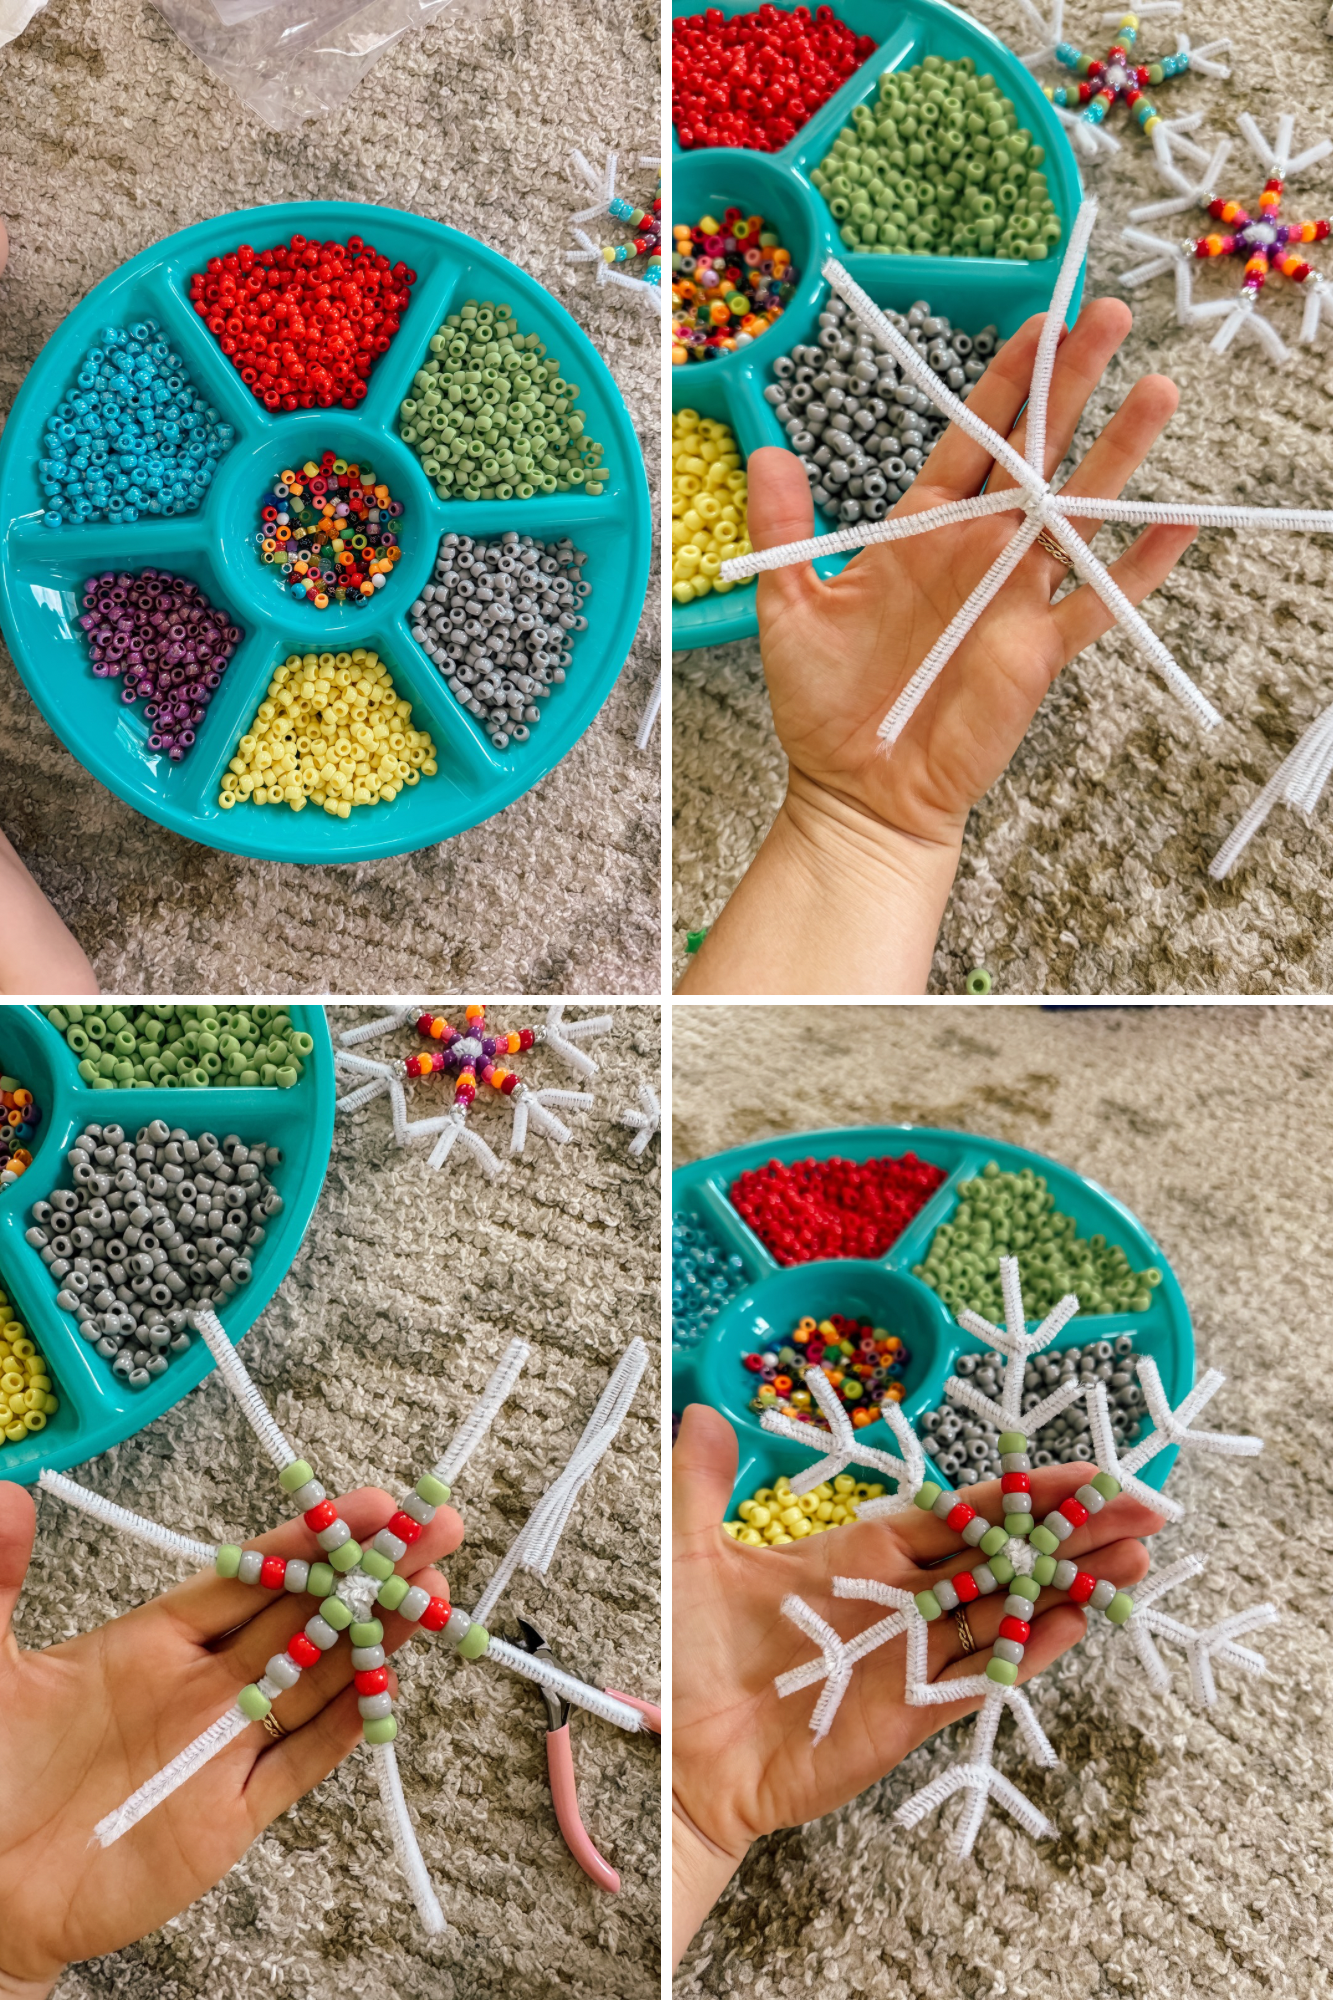
Creating the snowflakes is pretty easy, but younger children might need help combining three pipe cleaners to make the basic snowflake shape. I just twisted every other short stem tightly around the middle.
All these photos are from snowflakes we made at home before and after the event, so they are a few different sizes (and we used a few different beads than the original 6 colors). But for the group, I cut pipe cleaners in half (a small pair of beading wire cutters is super handy for that). That way only 5-7 beads was needed per stem. I saw multiple ways to finish these off on Pinterest and gave the kids the option to finish it however they wanted. A lot chose to use more beads and wrap the very end of the pipe cleaner around itself to keep the beads from falling off. In that case, the ends were just straight. Some, like myself and my children, chose to add one or two extra small pieces of pipe cleaner to the ends for more of a traditional snowflake vibe.
This was an easy and pretty quick craft. And it was fun to do with the “Christmas in July” theme to change it up. My kids and I have made 3 or 4 each, and I’m actually planning on us putting together several more and making them into a garland for real Christmas season!
PS - If you’re doing this at home or in a smaller group and would like a book to go along with it, I recommend Snowflake Bentley.
Co-op Tuesday
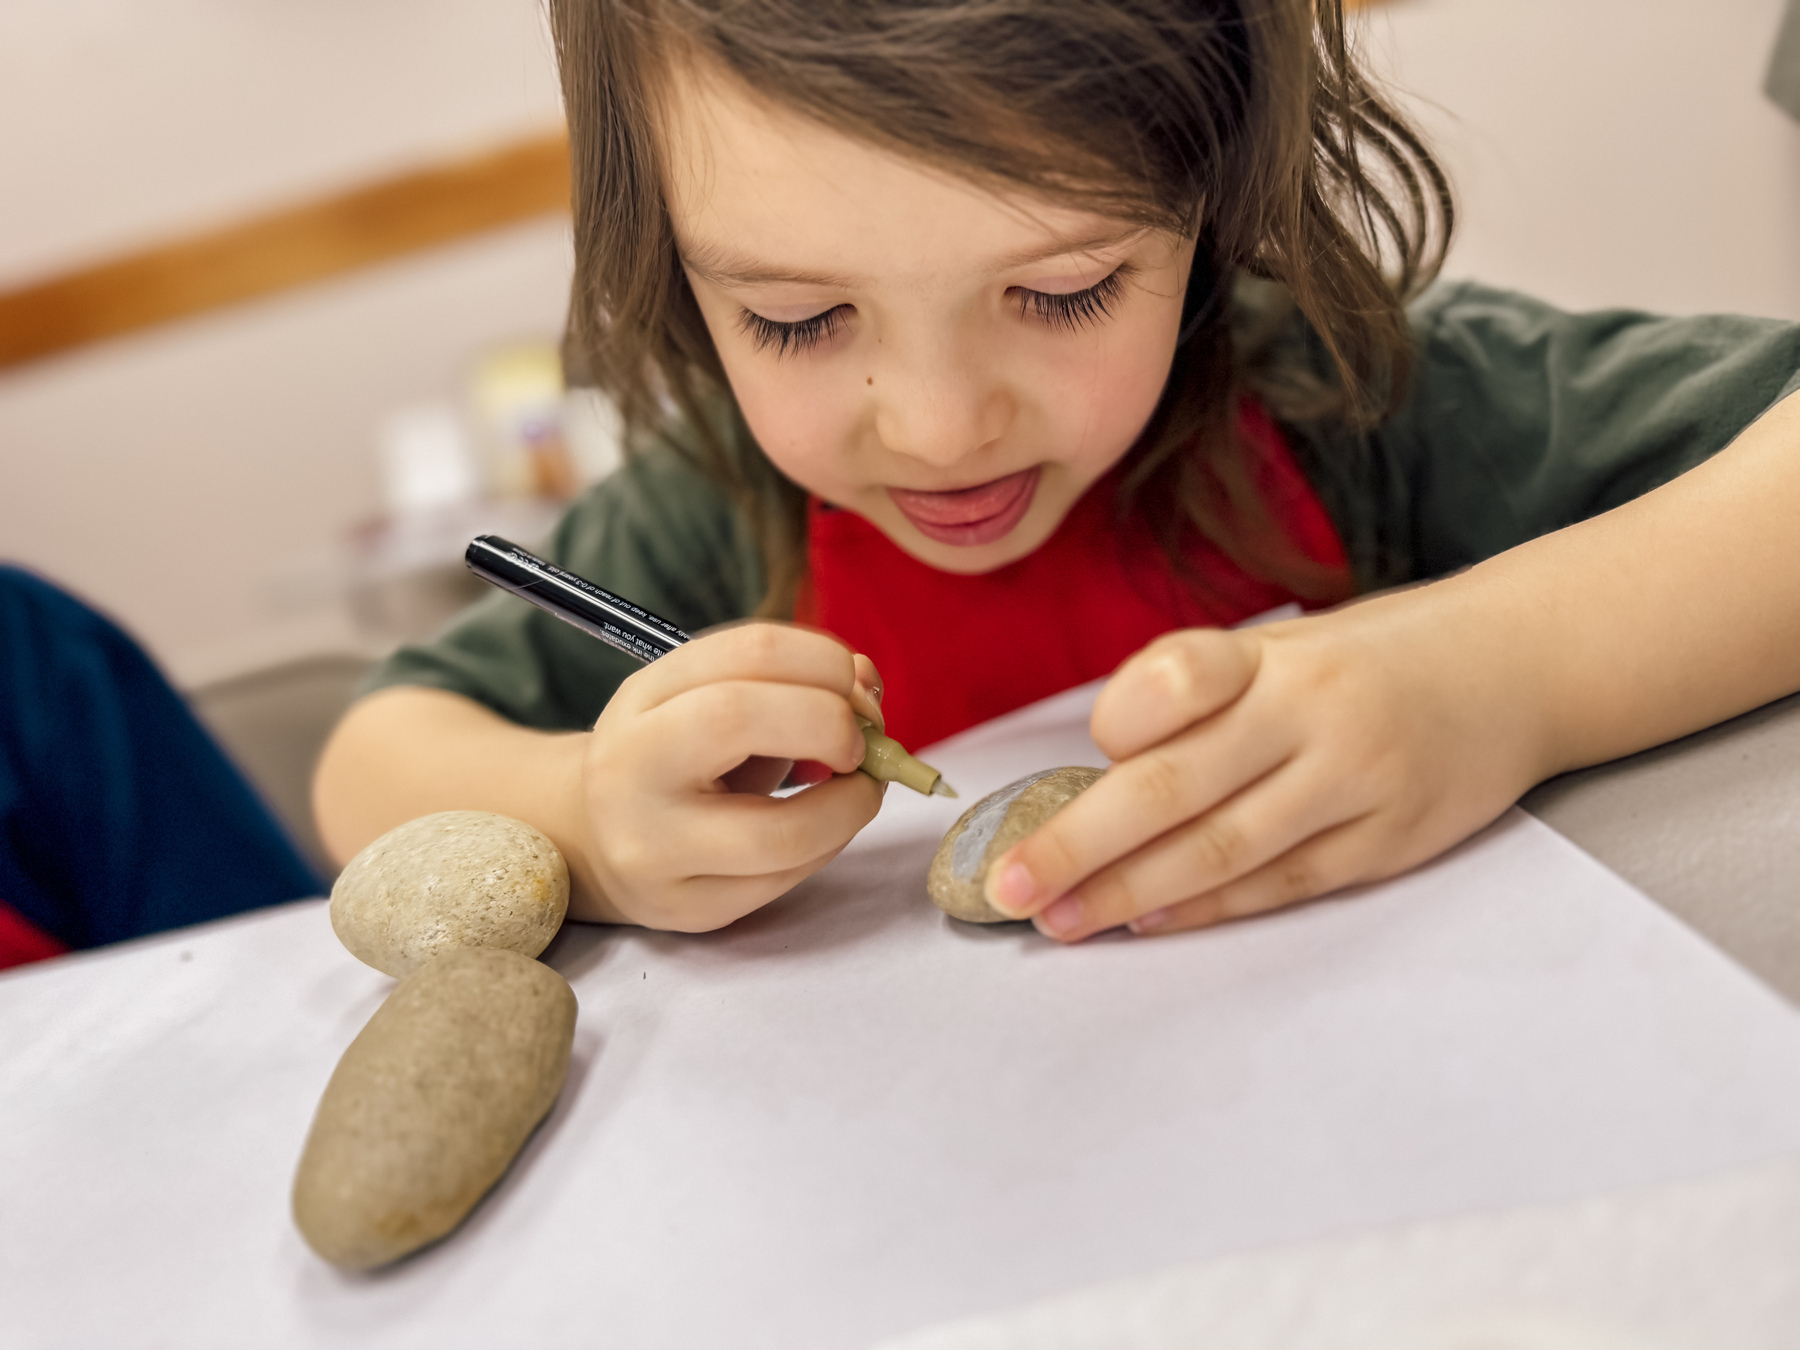
Learned about minerals and rock characteristics.
Also did some rock painting with these cool acrylic paint markers (pictured) and got free basalt stone arm massages from our in-house masseuse (aka a homeschool mom). 🙌🏼
Shuttle Pen Valentine’s Day Exchange Gifts
On Monday, a precious homeschool group we are part of met up for a Donut Shop Valentine’s Party. A family in our group owns a donut shop, so they invited everyone to come see the process of making donuts on a large scale, and then, the kids decorated mini donut king cakes (‘tis the season in Louisiana). It was so sweet (in more than one way) and special!
After the tour and decorating fun, the kids all exchanged Valentine’s cards and little gifts. Side note: homeschool kids still get to do all the fun things! I kind of had an idea of what Brigsby would bring, but didn’t make a final decision until the night before (with his help). Honestly, that’s usually how I roll.
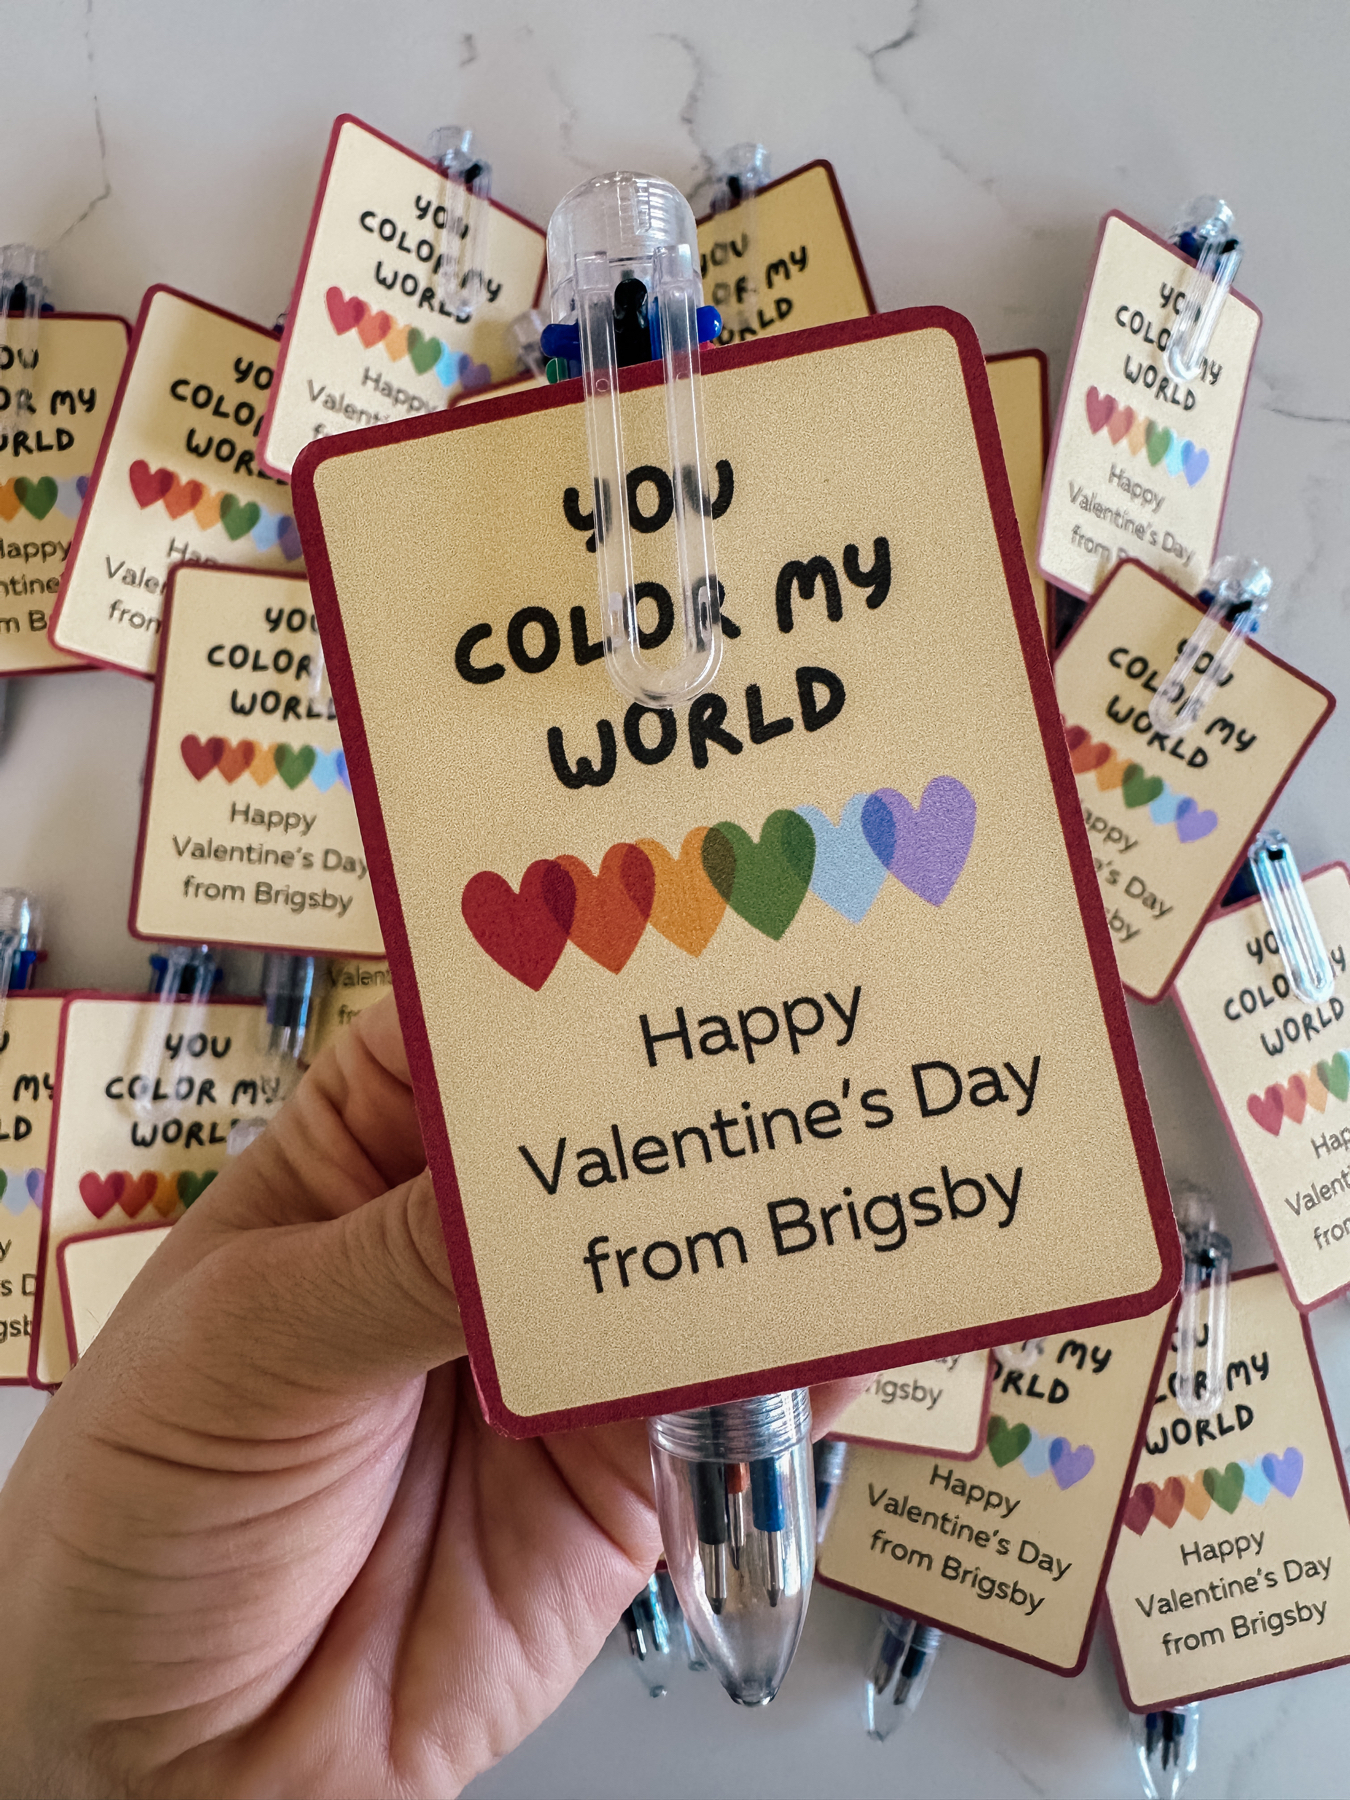
His gift and Valentine’s card came together sooo cute, and I was proud because I created it myself. Super easy. So, thought I’d share. And bonus: IT’S NOT CANDY!
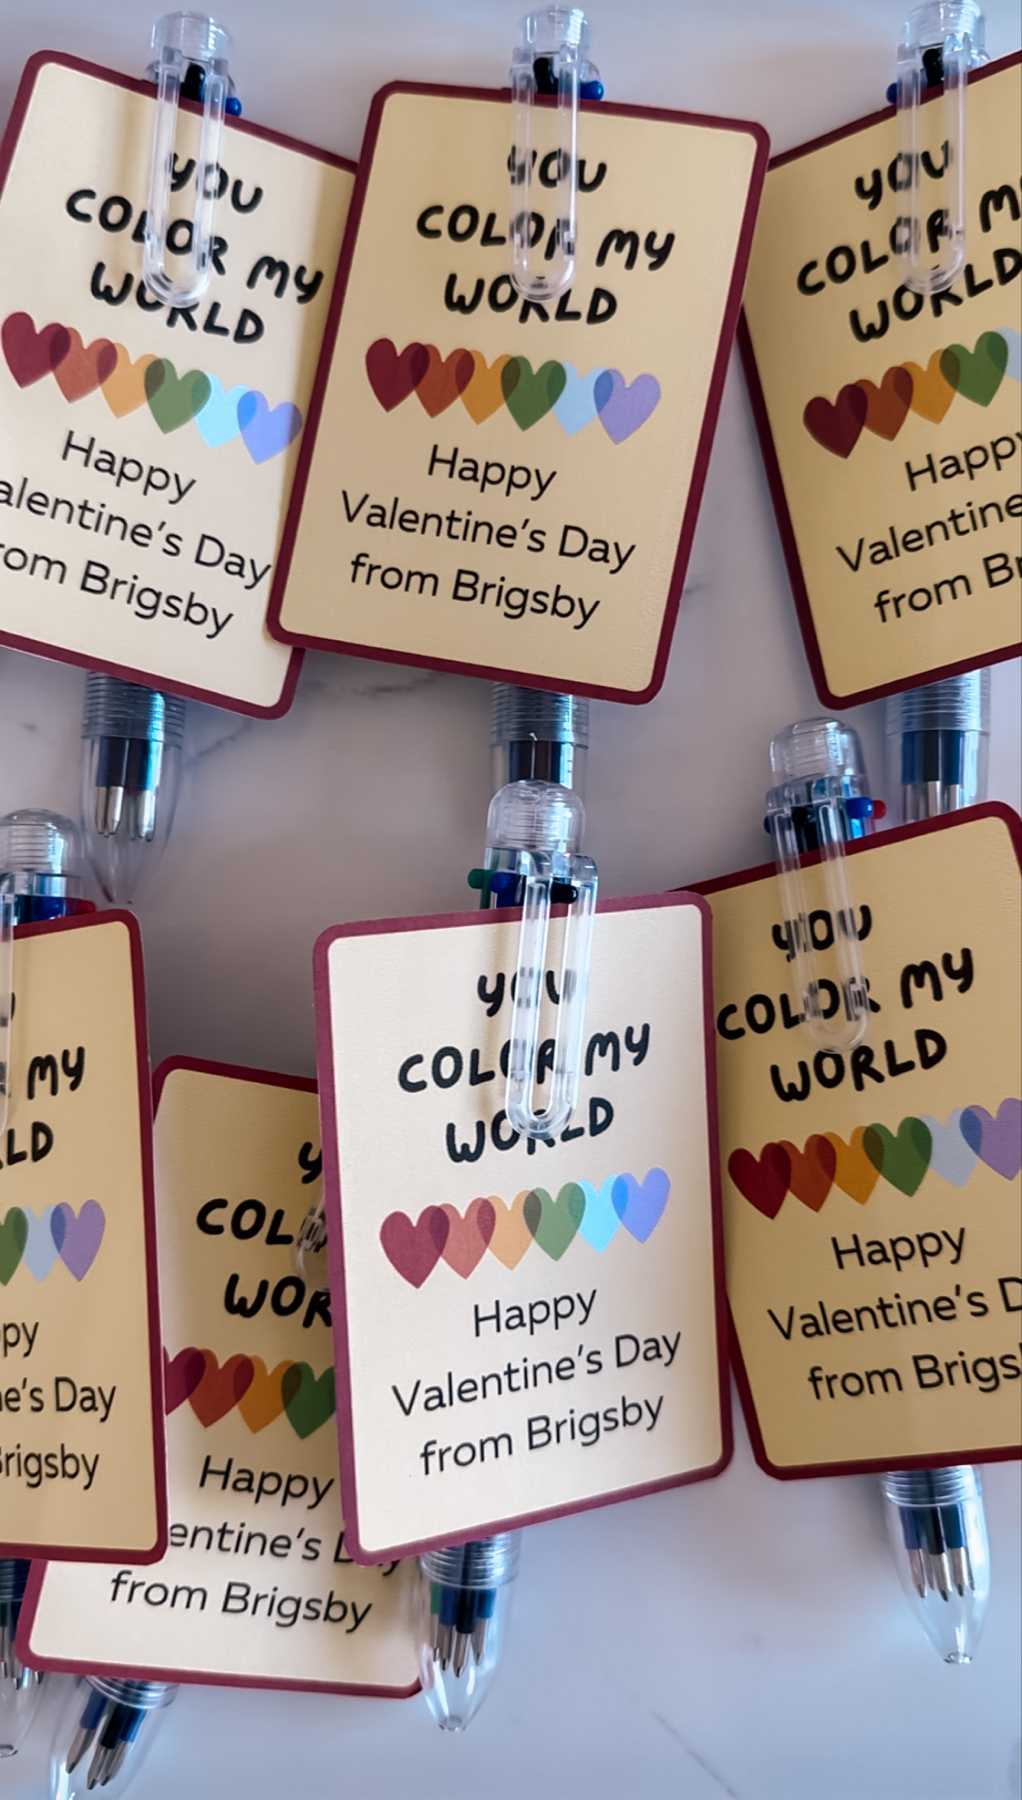
I searched Pinterest a week or so ago for some Valentine’s exchange ideas. Found some cute things, but not a combo of anything I liked (or wanted to pay for). In searching, though, I came across these cute shuttle pens! I ordered them just in case since Amazon returns are pretty simple.
I moved on from them thinking we’d do some cute stickers with a card that said, “Stuck on you.” But the night before, Brigsby and I decided we preferred the pens for the exchange.
So, Monday morning, I quickly (which isn’t usually the case) pulled up a flash card template in Canva, deleted everything except the layout, and made these “cards” that say, “You color my world.” Perfect for the colorful ink in the shuttle pens! I printed them on card stock, and they came out so nice!
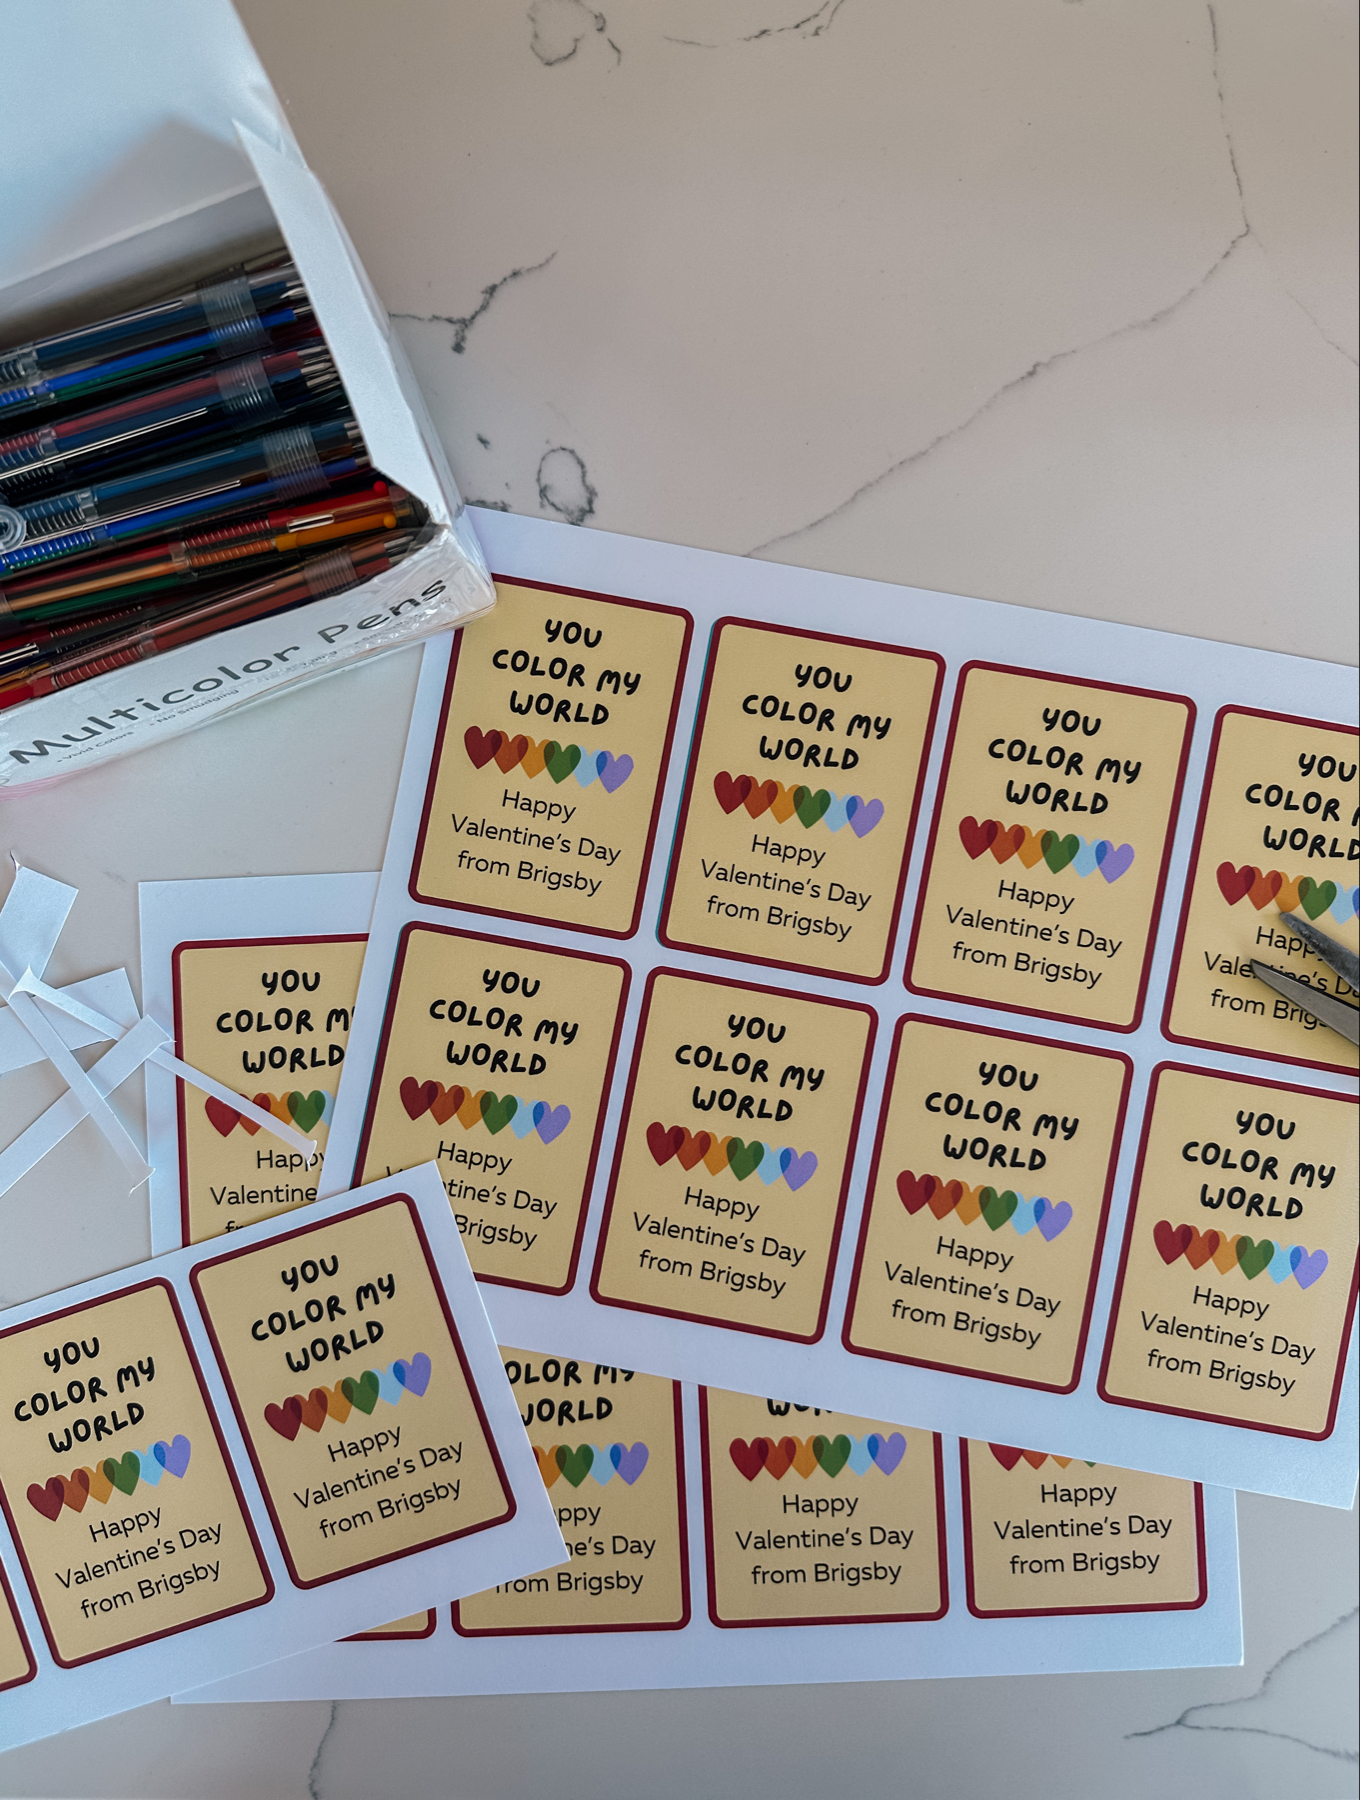
I should’ve pulled out my paper trimmer to probably speed up the process a bit, but it actually didn’t take long to cut them out. And I would’ve had to do the rounded corners (which I think make things look extra nice!) with scissors anyway.
After I got them all cut, we stuck the cards in the pen clip, and voila! Homemade, purposeful, and not super cheapy Valentine’s gifts!
A Book and a Craft: "Because of an Acorn" + a Collage Paper Acorn
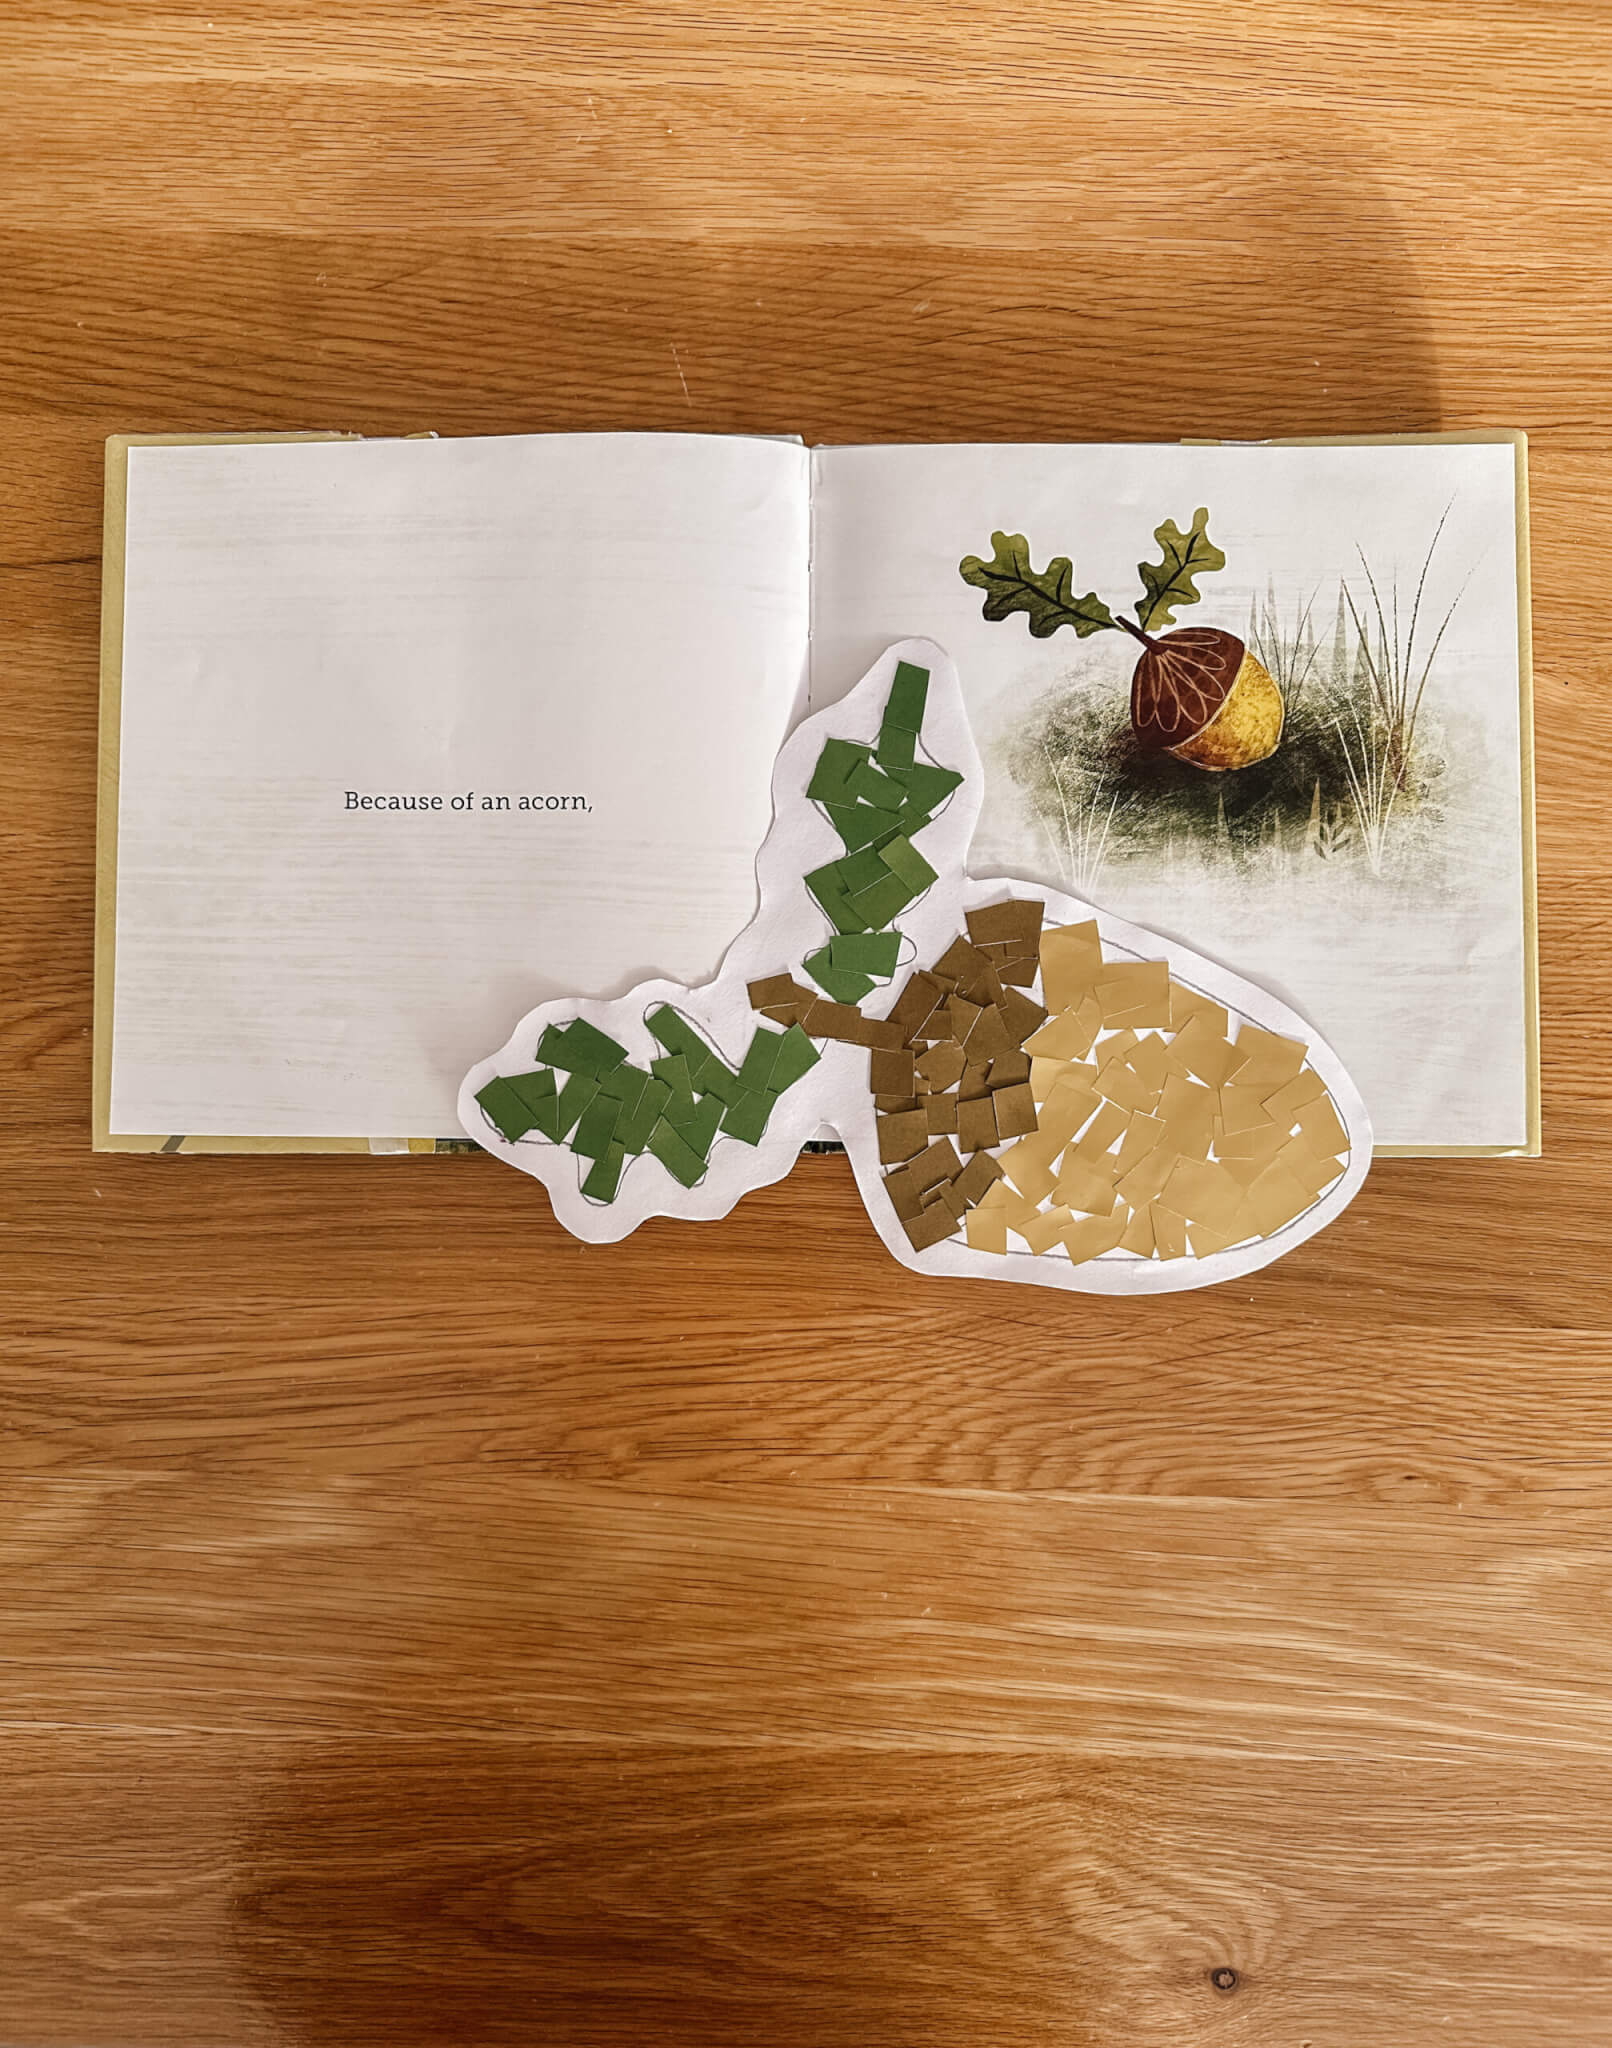
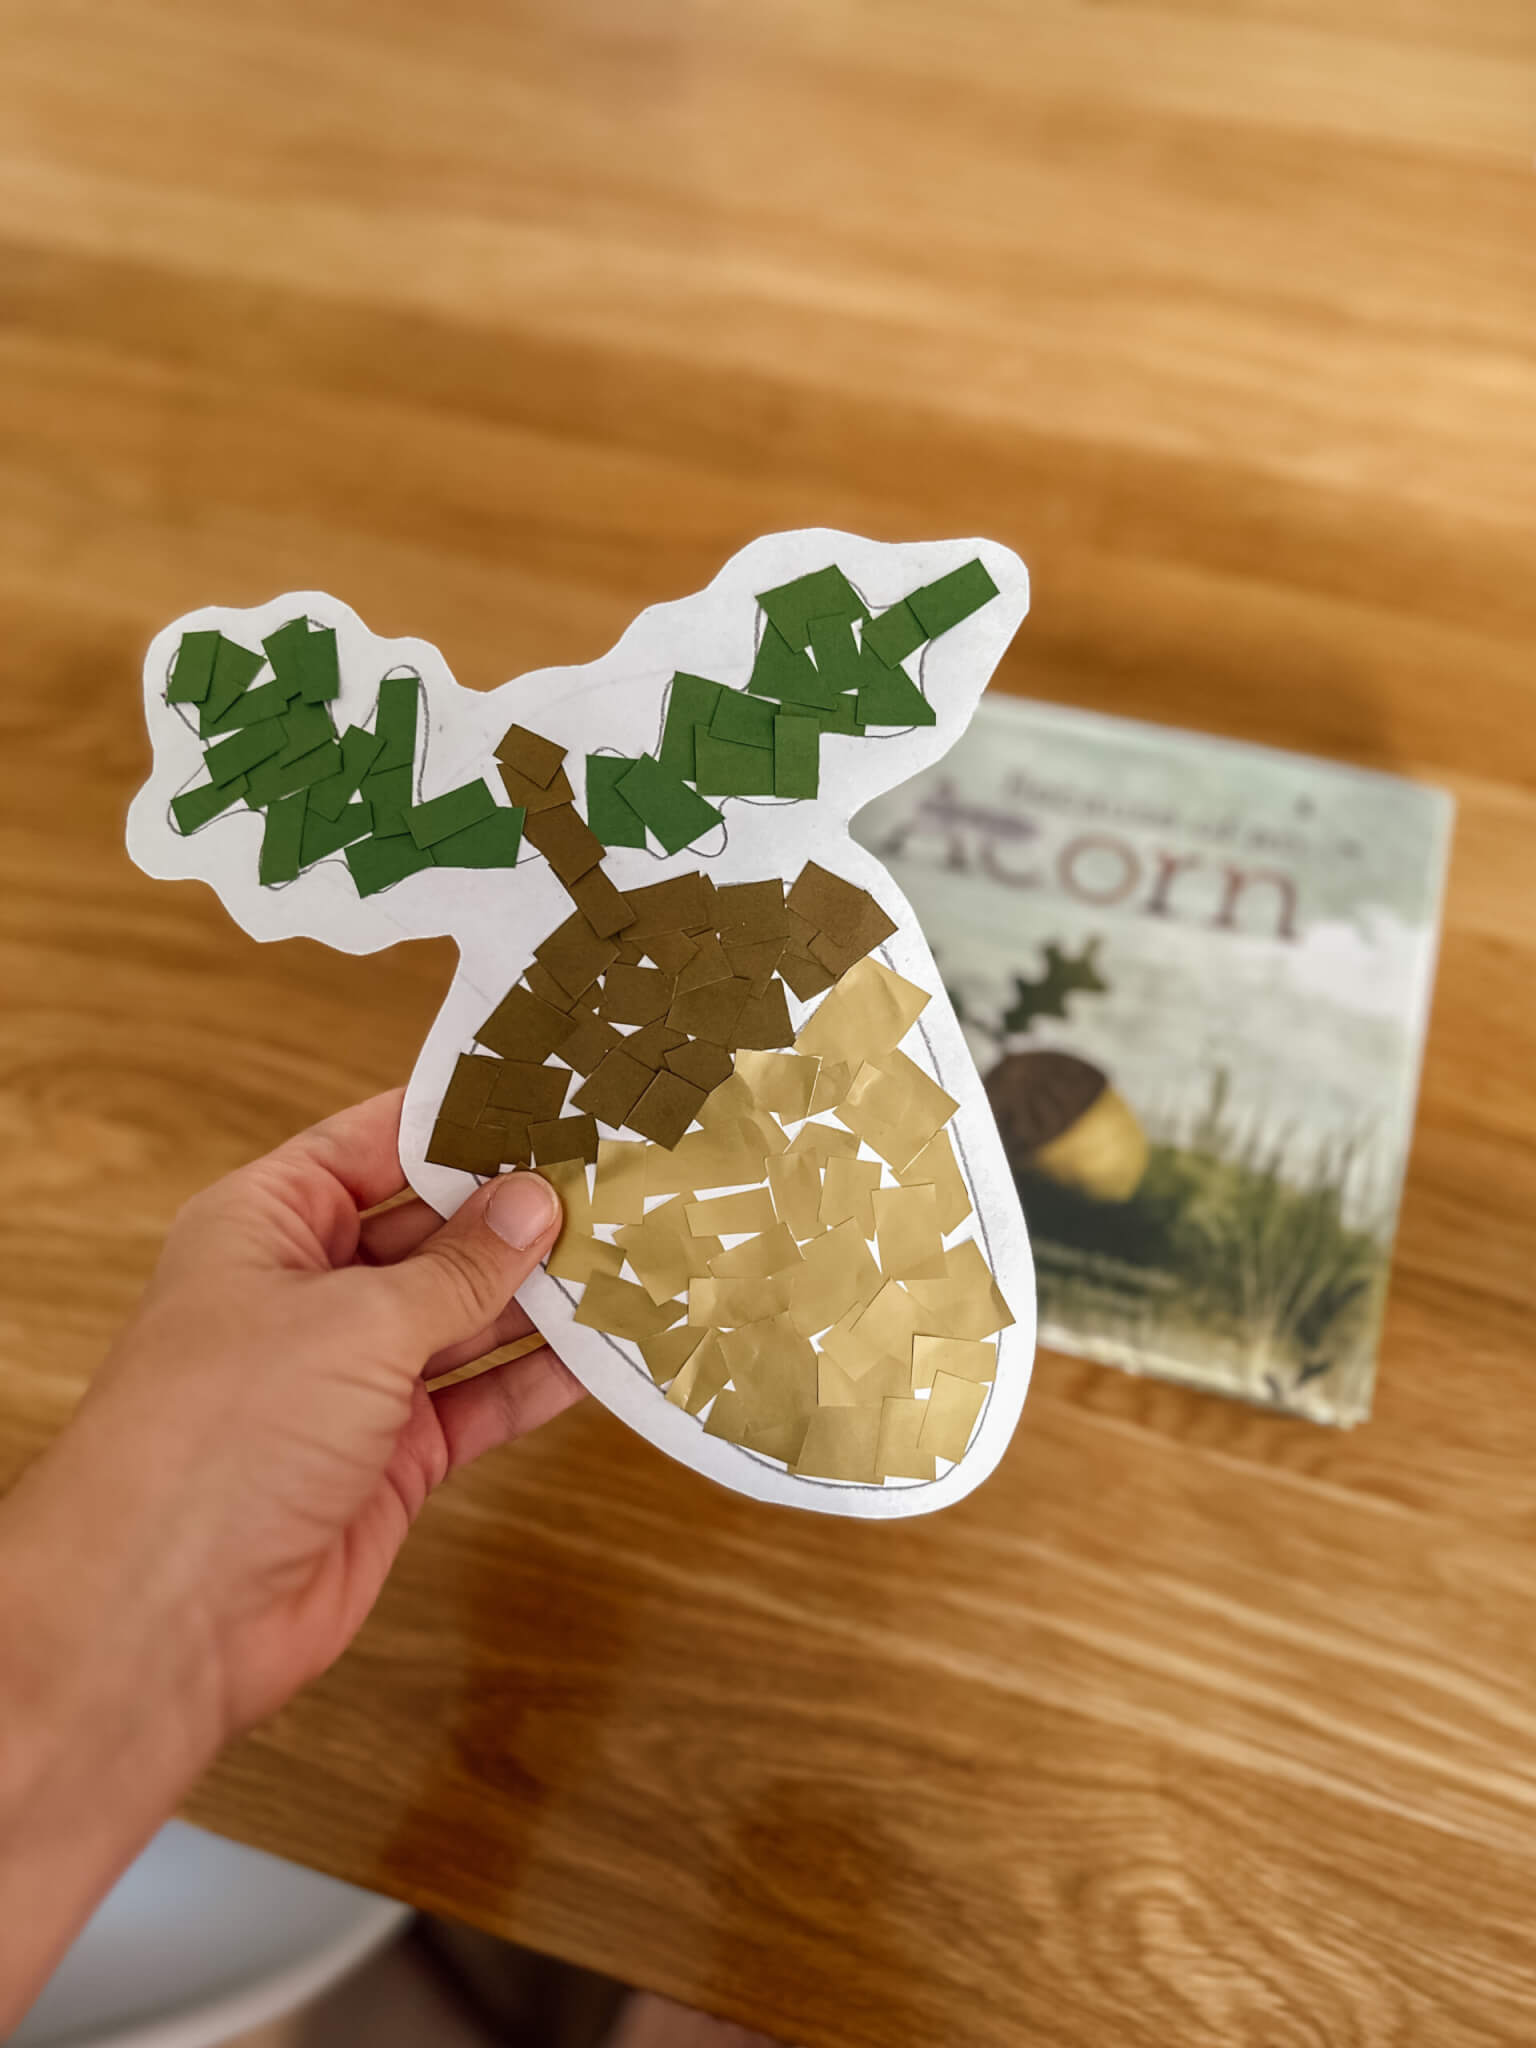
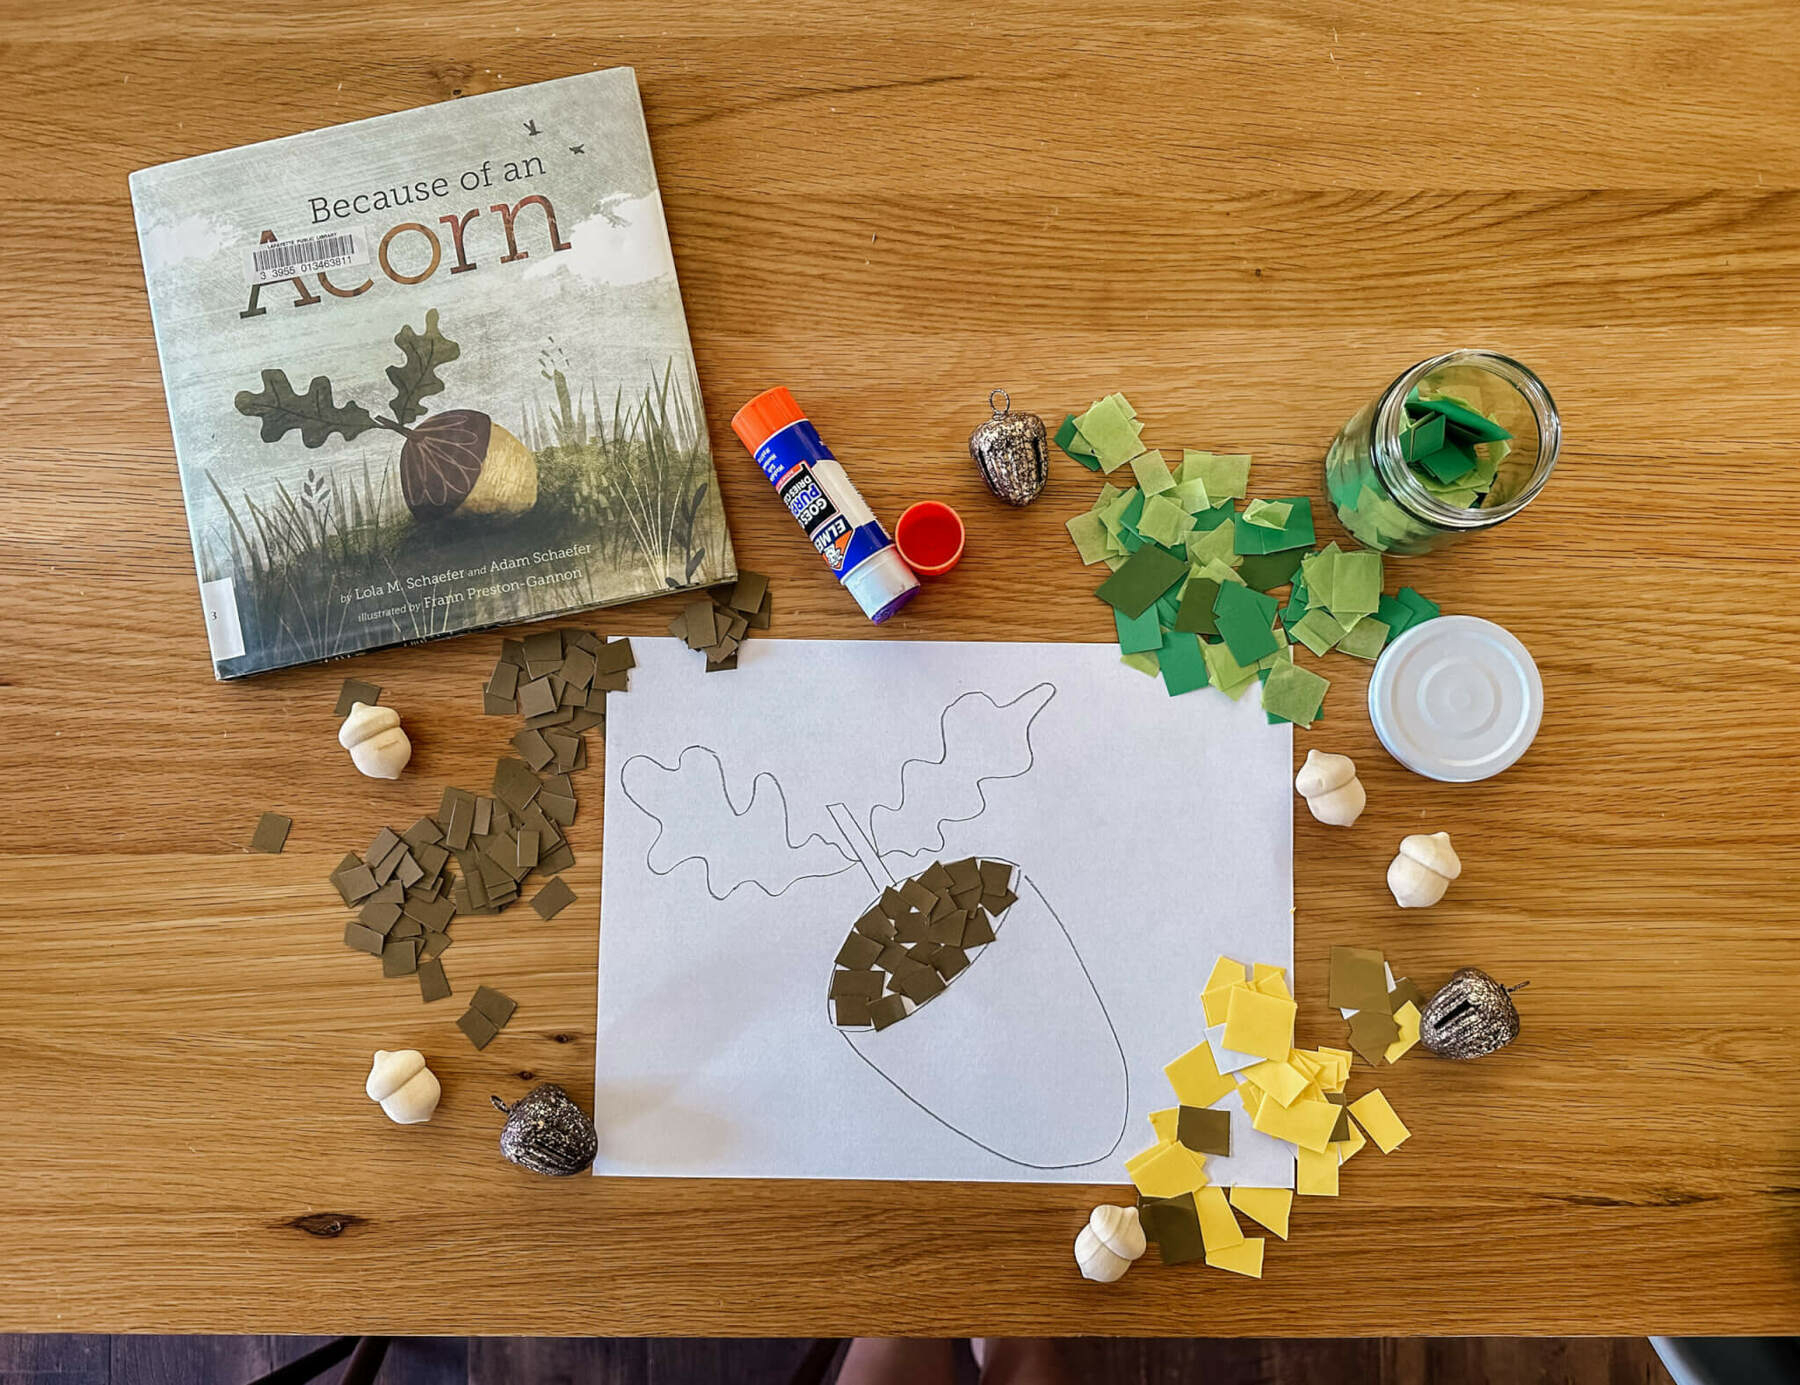 I recently (and very in the moment) put together a quick craft to go with the book, “Because of an Acorn.” I sat down at the table one morning and read the book to my kids. Then I pulled out blank paper and jars of cut up paper organized by color so we could “paint with paper.” By that, I mean that we made collages. In all honesty, I thought the kids might really want to make acorns. But their creative minds started drawing other Fall-ish things from the book (and beyond). So, I am the one who made the paper collage acorn in the photos here. And thoroughly enjoyed doing so, I’ll add.
The best part of making paper collages is that it can be tailored to different difficulty levels, so it’s great for multiple ages. It’s also soooo inexpensive. All the pieces of paper we used were scraps from previous projects. You could also cut up old magazines, newspaper, etc.
We chose to freehand our designs. The kids did trees, pumpkins, and a rabbit. 😊🐇 But I’m sure it would work great to find some simple pictures of what you want online then print them to use.
We used white card stock as our base, and the paper scraps were a mix of card stock, tissue paper, and construction paper. Gold construction paper is what I used as the main portion of my acorn.
Hoping to do more and more simple book/craft combos. My biggest hindrance is me. For some reason, I think it’s going to take a long time to plan and pull everything out. But it really, really doesn’t. And it never needs to be perfectly staged or anything like that. Just do it. Hear that, Kalena? Just do it!
Homeschool (Co-op) Lesson: The Heart and Circulatory System
Temporarily editing to add: This post has recently gained some traction, so I would love to point anyone interested in the direction of my other homeschool co-op posts, one on the Babylonian Empire and another on the Ancient Olmec Civilization. And I’m working on a couple more (Antarctica and the Sahara Desert) right now. Additionally, all of my posts, both short form and long form, related to homeschool can be found here.
We (my 4, almost 5, year old and I…and sometimes my 2 year old) are part of a small homeschool co-op consisting of 7 kiddos (and some younger siblings) who are all currently 4 and 5 years old. We meet once a week and the moms take turns putting a themed lesson together. We’ve been doing this for three years now and have, obviously, tailored what we choose to teach based on the kids’ ages.
This year, we decided to group our themes together a little better. So, our first several lessons were loosely based around water (water cycle, storms, rainforest, ocean). And our second set of lessons were about the human body. For this set, I chose the heart and circulatory system as my theme. I was excited about doing it. But when I sat down to gather resources, it wasn’t quite as easy as I thought it might be. The kids always, always absorb more than we give them credit for, but I knew I still needed to carefully choose how much and what information to present to them. That was the most difficult part… Finding age-appropriate activities to match the content I wanted to give to them.
Pinterest is my best friend when it comes to planning these types of lessons. But I was coming up a little short on ideas for our age group. It took a little deeper digging than other unit studies. That’s part of why I decided to put all the information into this post. Maybe it’ll be helpful to someone and search time will be decreased. I do want to mention that it ended up being fun, and the kids seemed to enjoy it. So, if you’re on the fence about teaching a subject that may seem a little more complicated than others for 4 and 5 year olds, just go for it! I kind of accidentally did since I made a previous commitment to do so. But I’m glad I did! I also feel quite certain all of the activities and books we used could be tailored to older ages very easily. So if you’ve gotten this far and think what’s below may be too elementary, please dive a little deeper and have some fun figuring out how these ideas can work for you and your crew.
I tend to get wordy when I write, so I’m stopping all the intro now and giving you what you probably came here for anyway.
I split the lesson into 4 sections. So, I’m going to do that here as well.
THE HUMAN HEART: WHAT IS IT? WHERE IS IT? WHAT DOES IT LOOK LIKE?
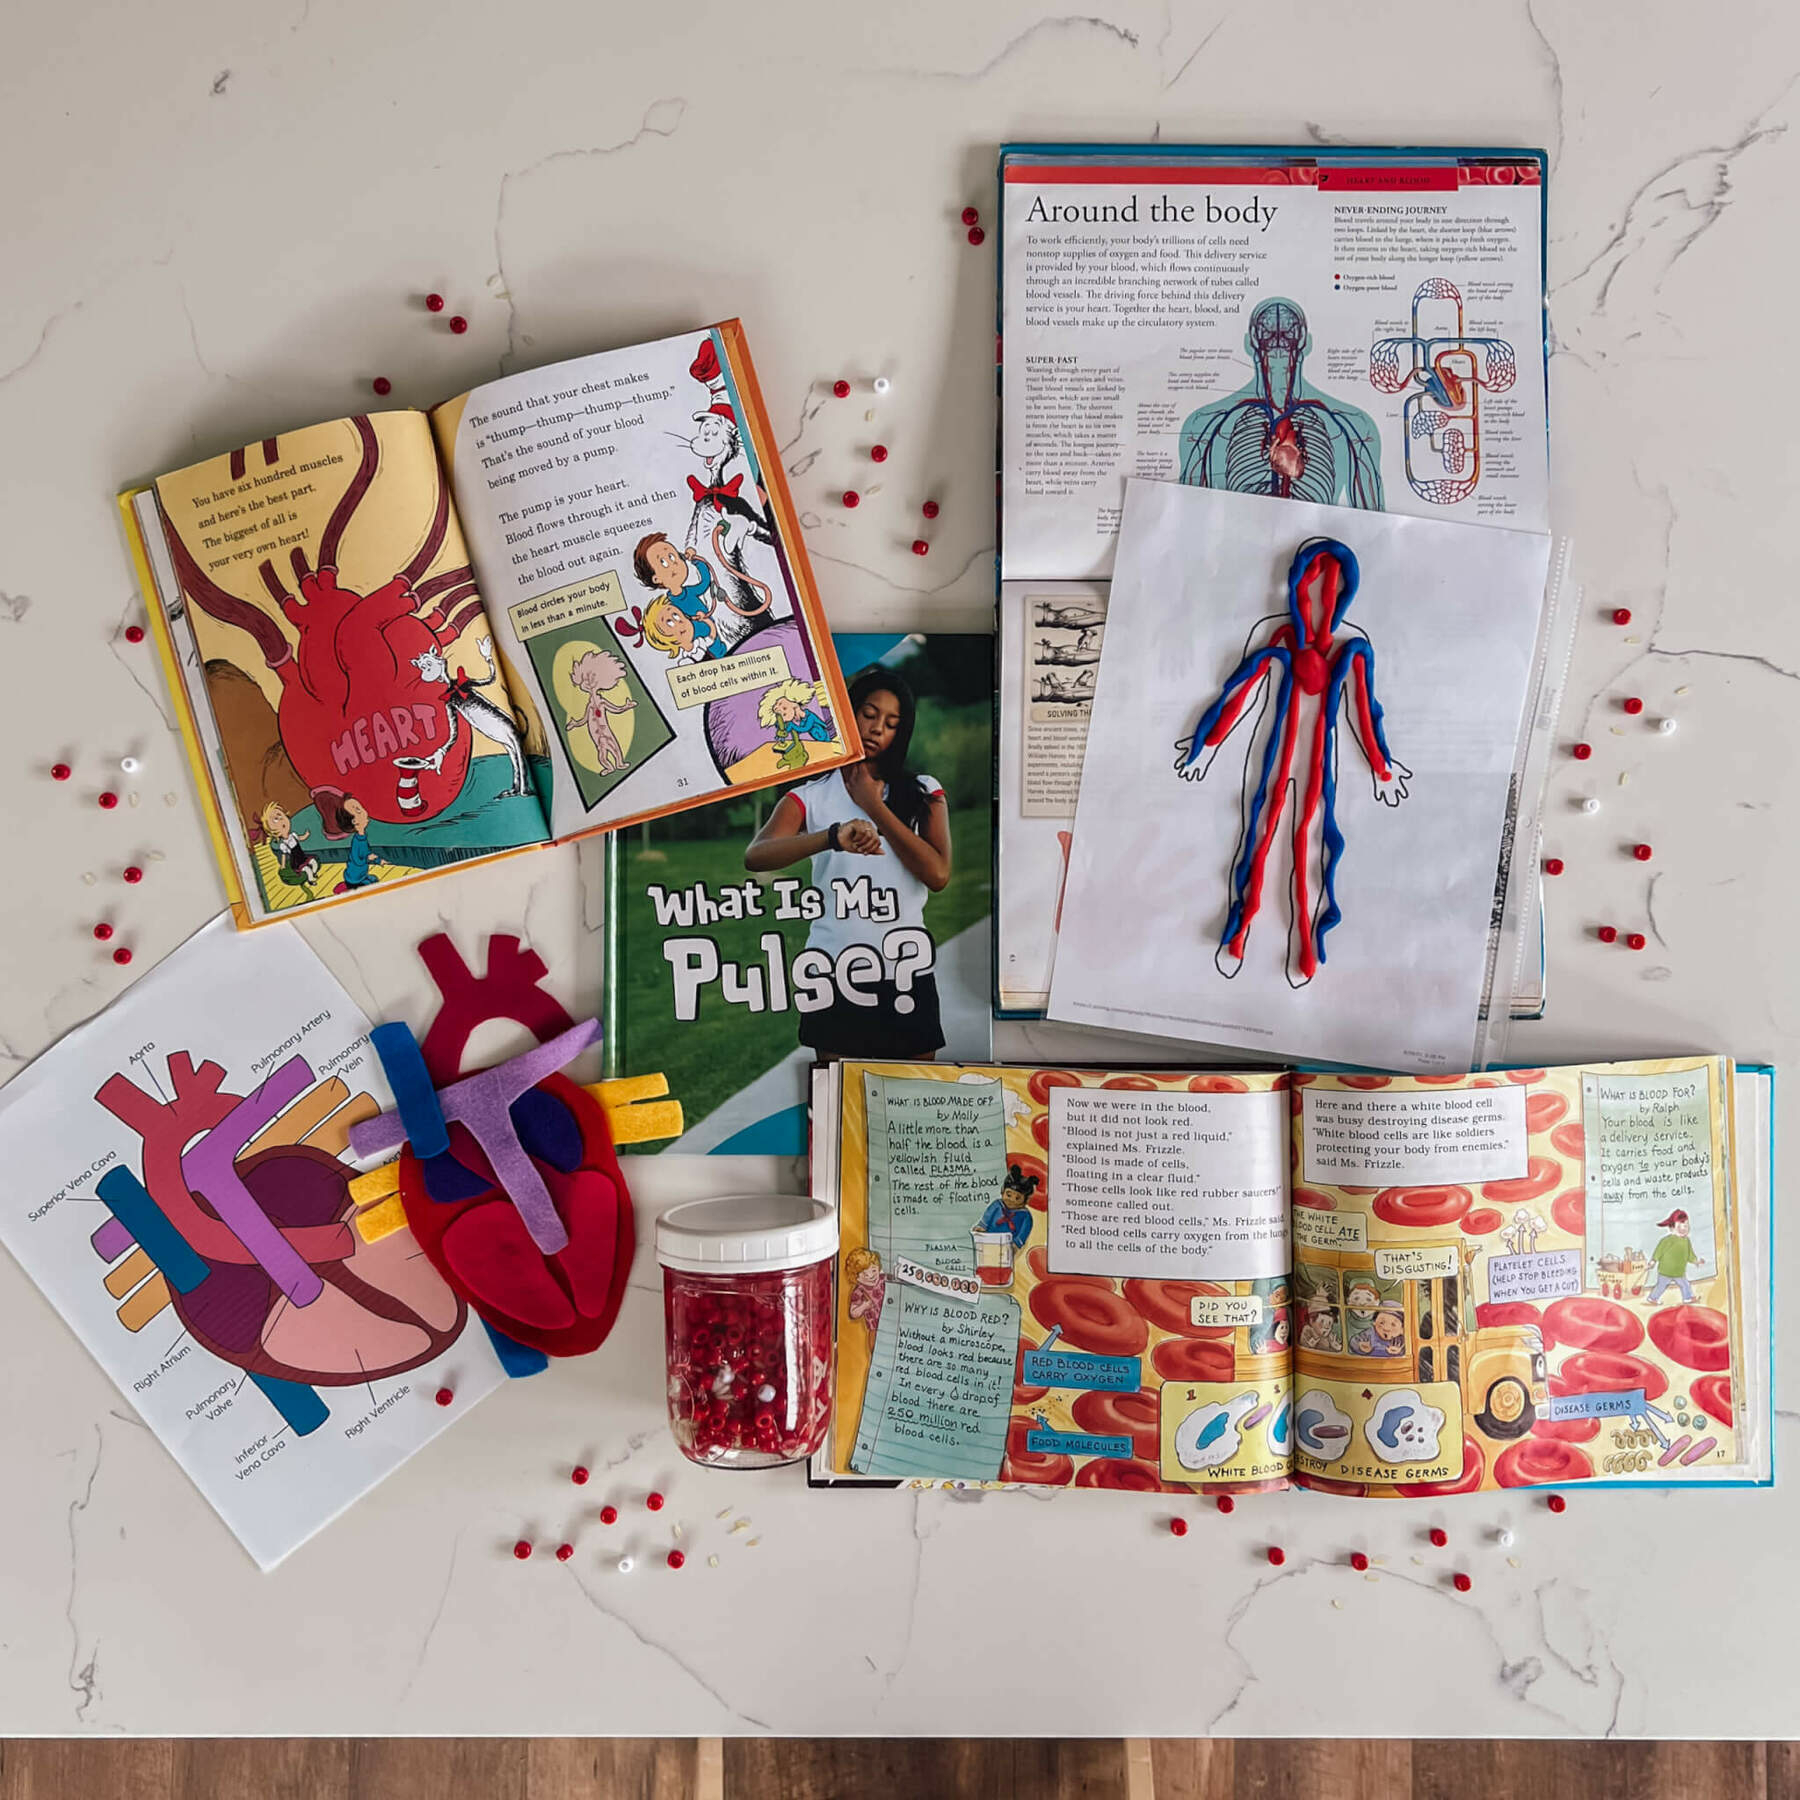
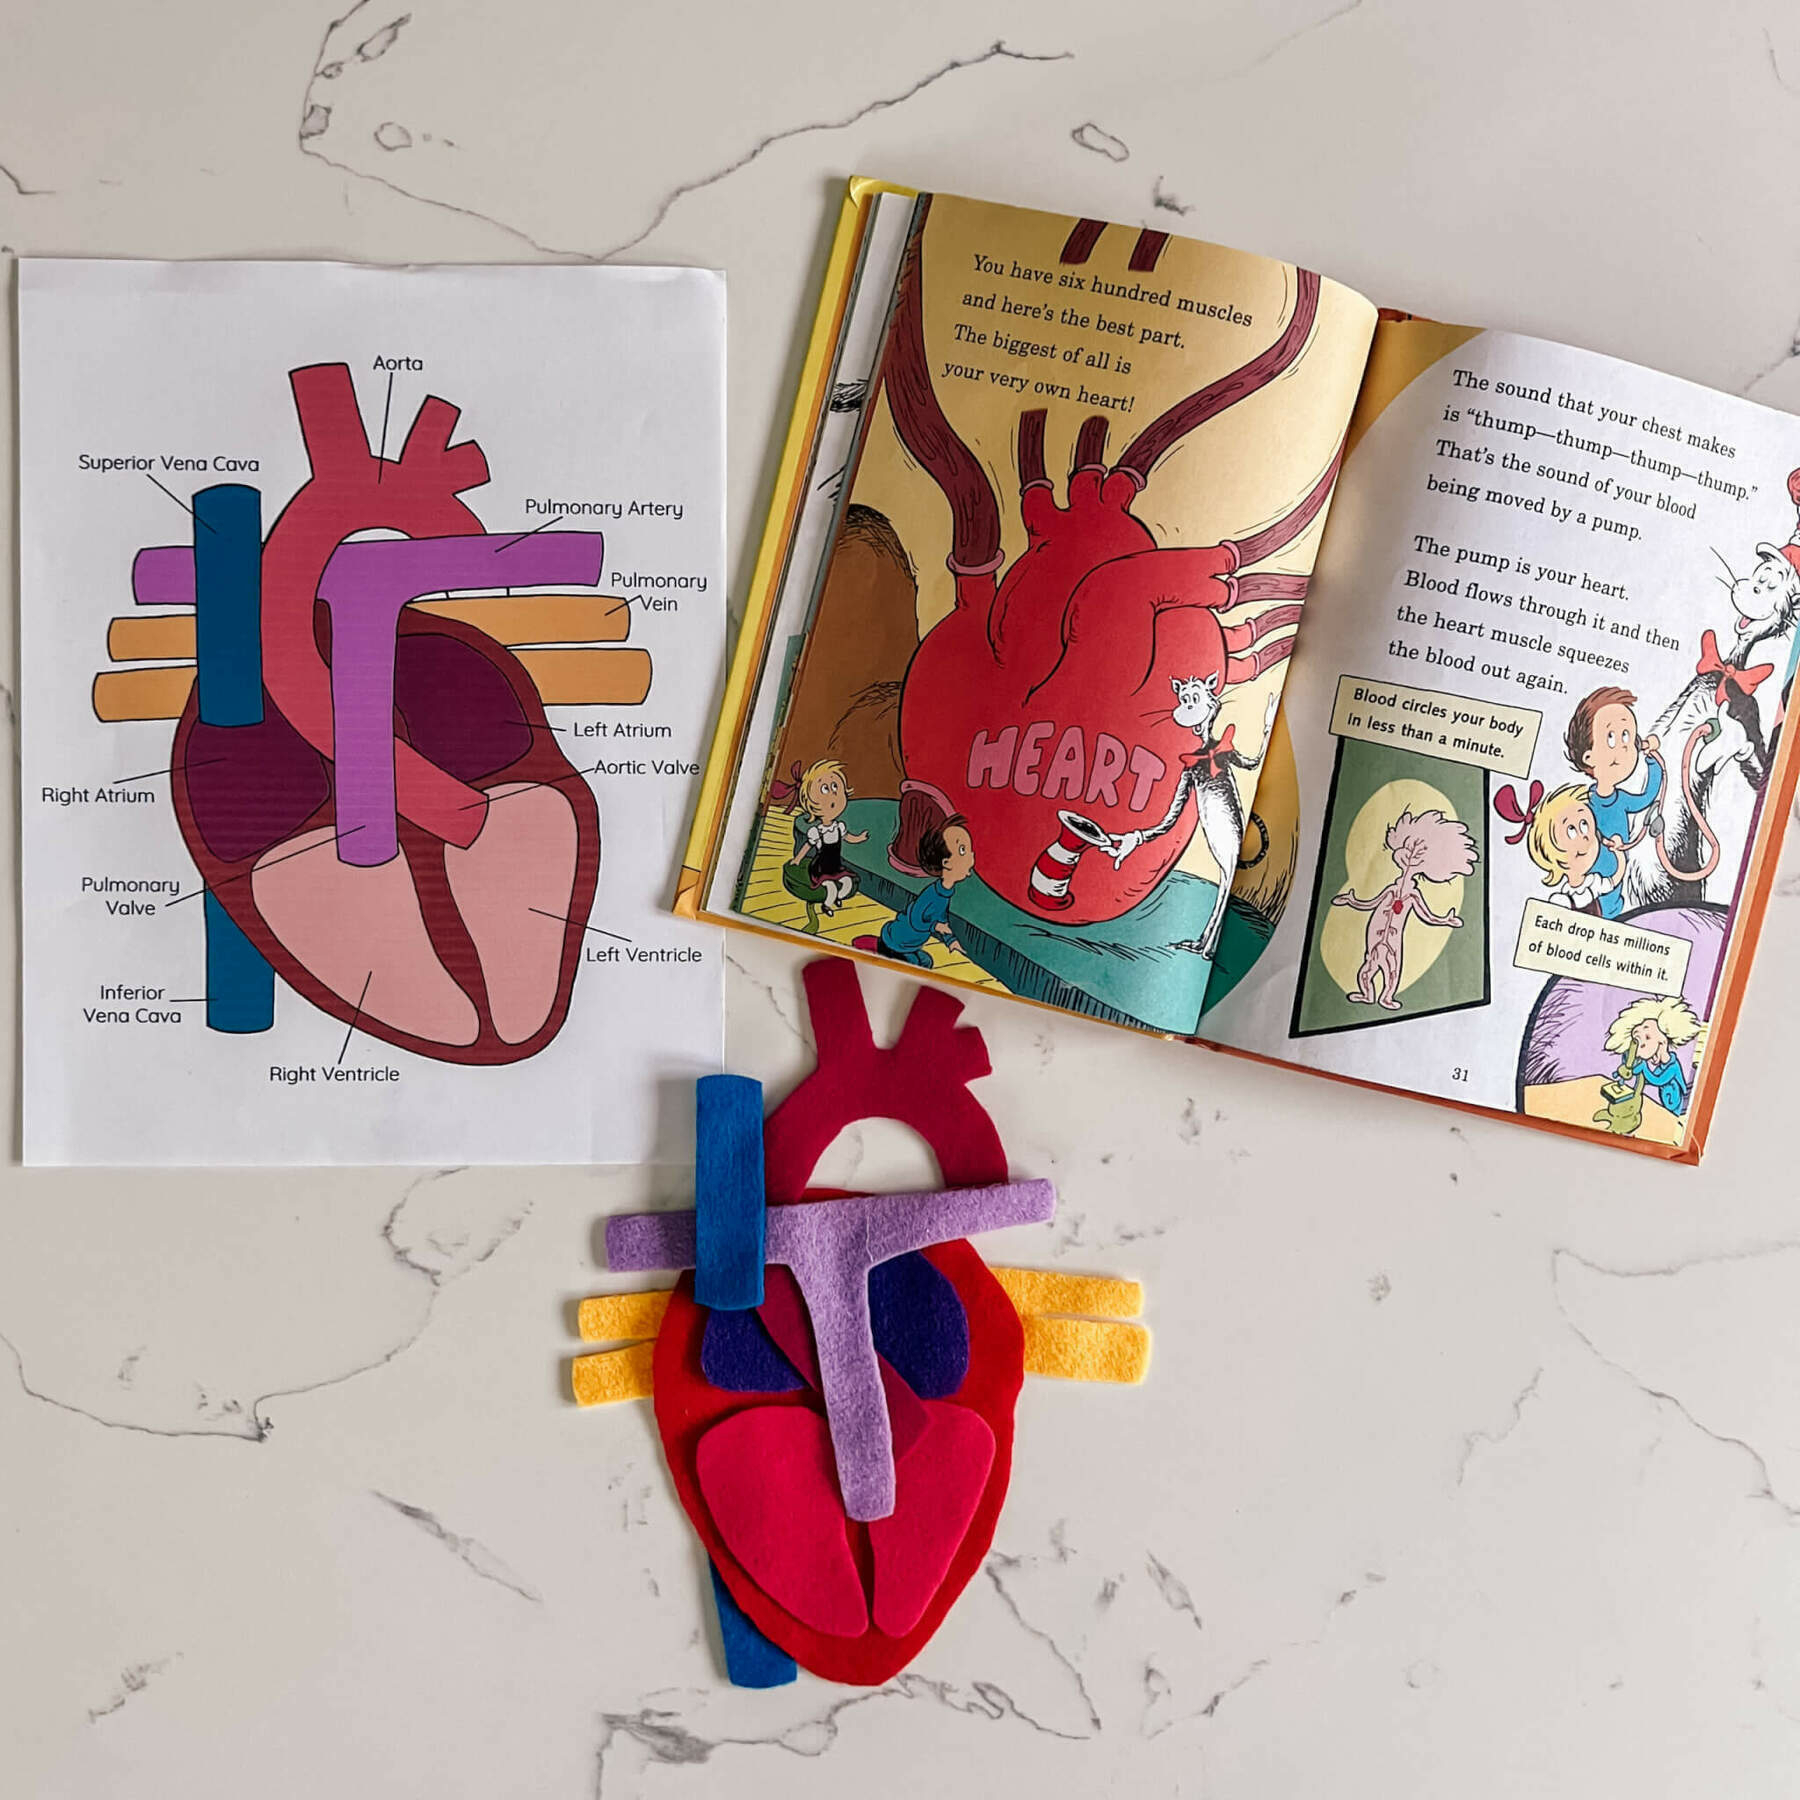
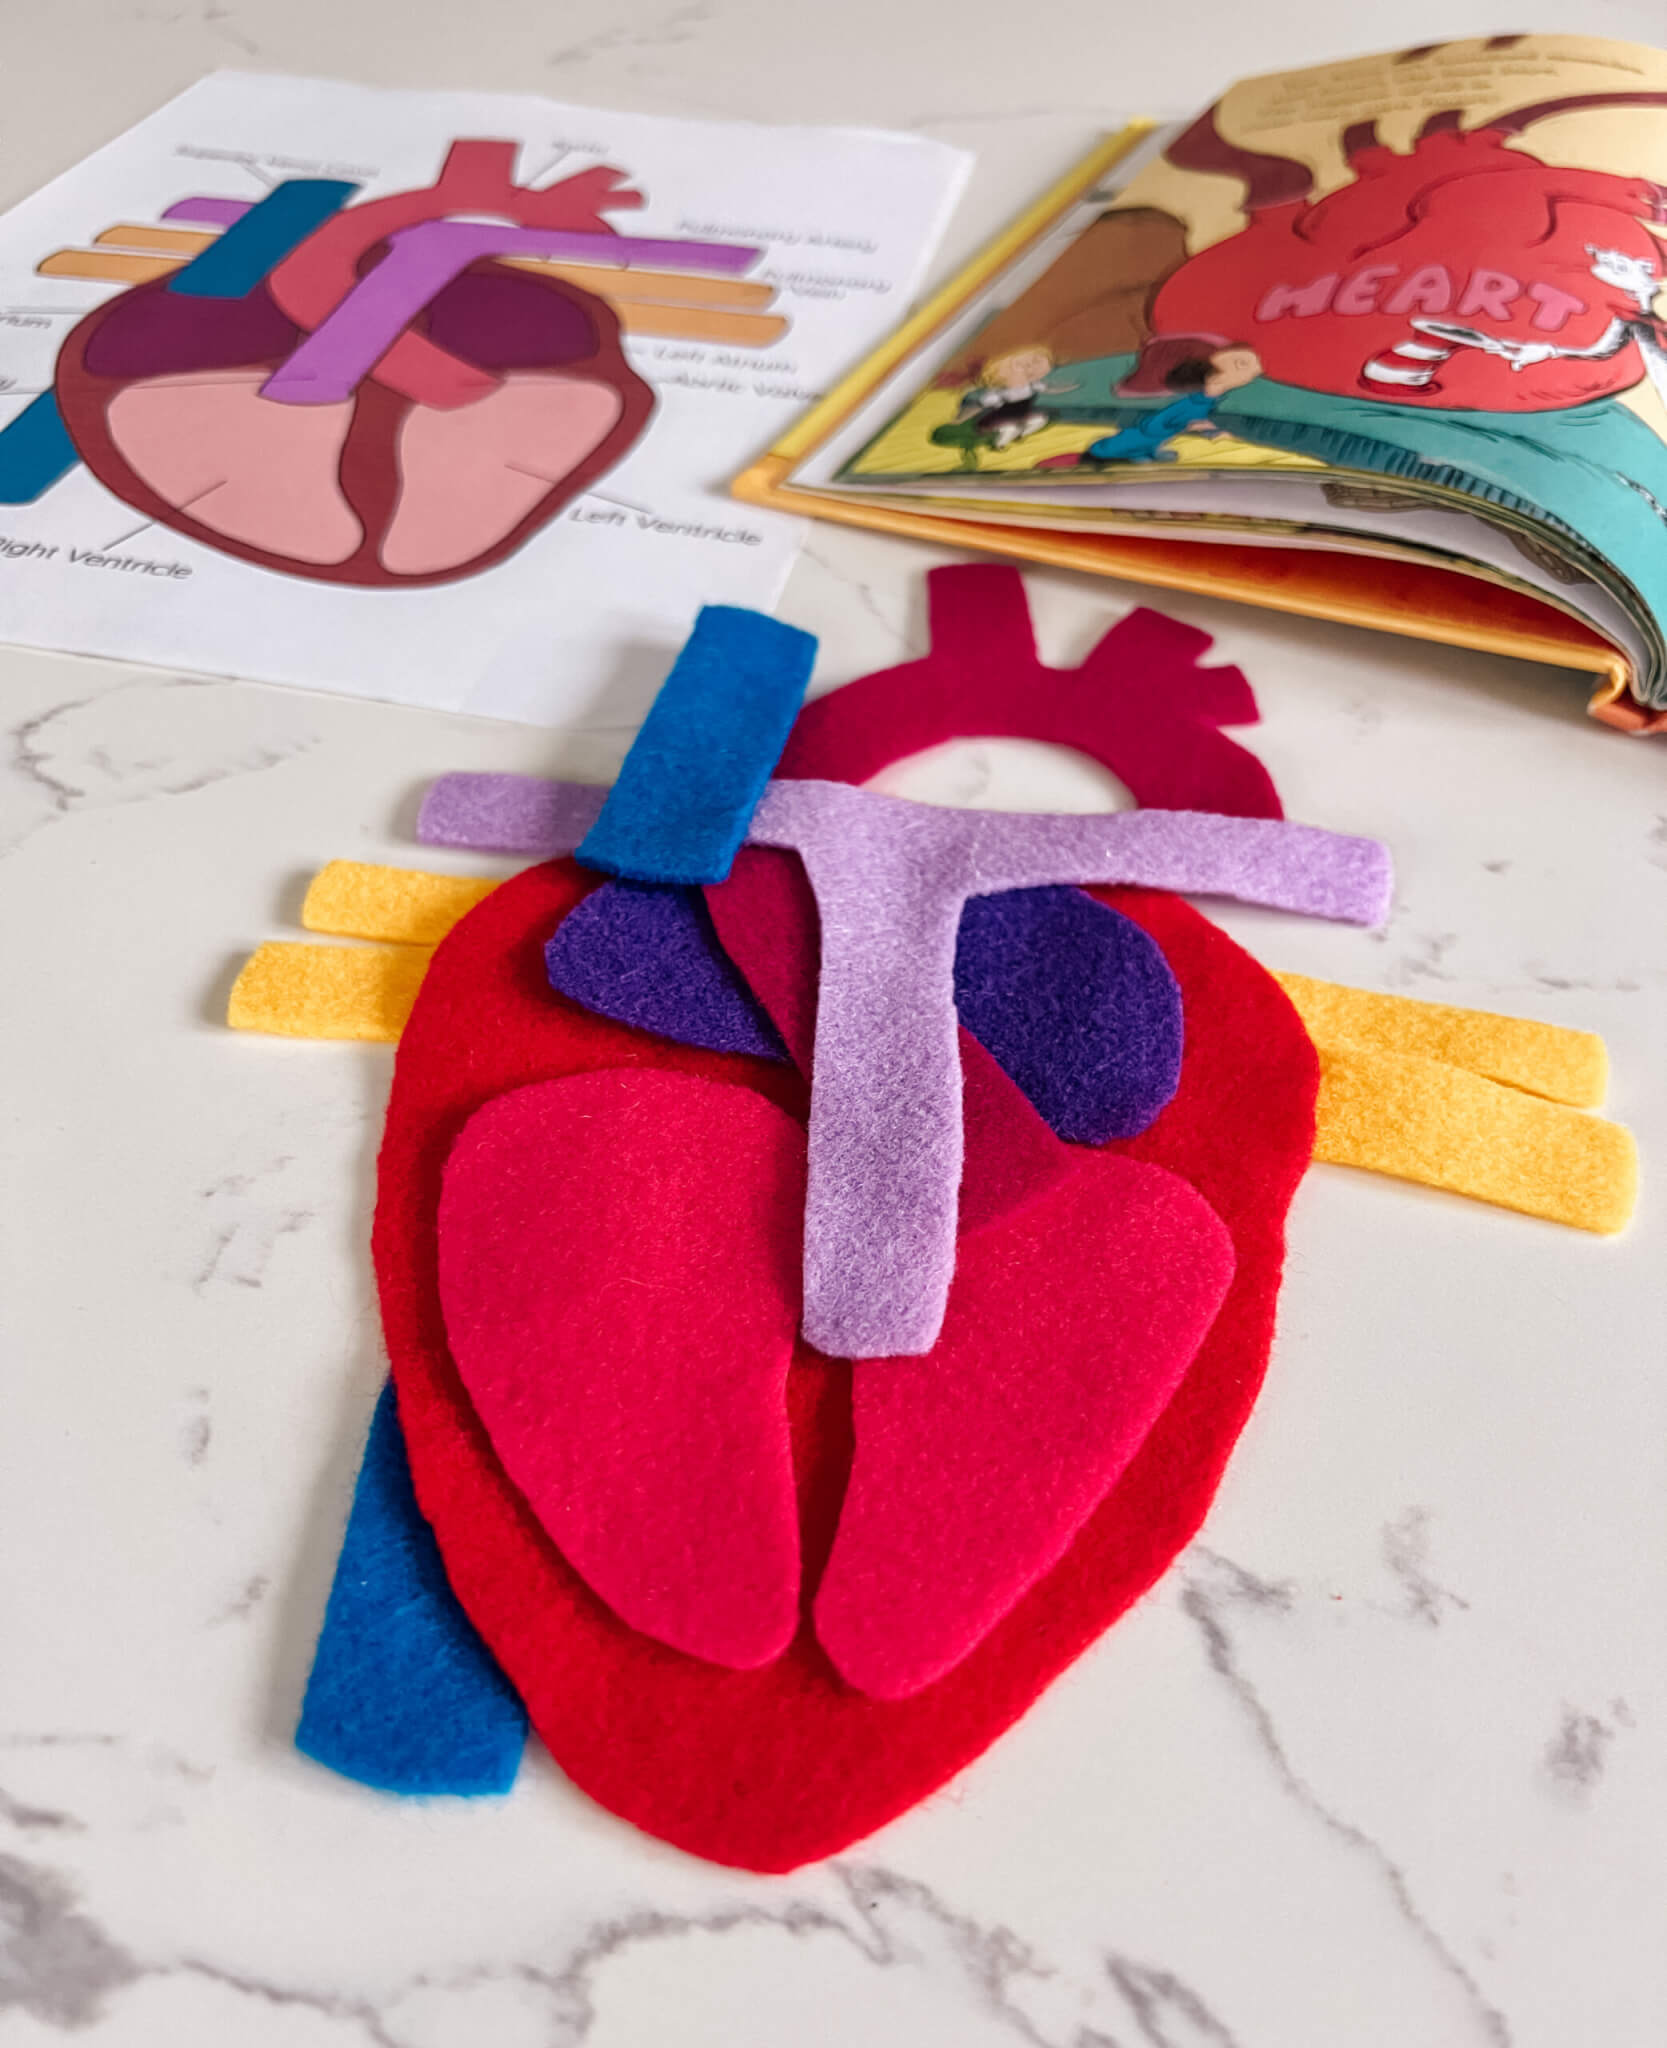
I introduced the lesson by asking the kids about their muscles. As expected, they all were very excited to show me their strong muscles. That easily led us into the conversation of our hearts being our strongest muscle. We talked a little about all the work it does. And how it’s a pump that moves blood throughout our whole body. Then, we discussed where it is in our bodies and moved on to what it looks like. I had them all make a fist to get a rough idea of the size of our hearts. After that, I gave everyone a felt “puzzle” piece so that we could put together an example of what our hearts look like. I used the cut out pieces and anatomy of the heart illustration from Stephanie Hathaway Designs Heart Mini Unit Study. Side note: I’ve been hoarding Stephanie Hathaway’s resources for a while every time they go on sale. I foresee us getting a good bit of use out of them in the future, but they’re even valuable to us now. Like with the heart felt puzzle. I considered discussing the parts of the heart, but with the big names and such, I decided it best to just put together a visual representation. It went well. Since each piece (or pair of pieces) was a different color, I gave each child one color. Then I asked for a specific shape and color to sort of slowly put together the puzzle. I do think they took in the visual and were surprised by what it looked like, which is really what I was going for there.Corresponding book: I wanted to have a book for each section of my lesson. I knew I may or may not get to it mostly because of the various attention spans of a group of seven children. For this section, I was going to use “Inside Your Outside: All About the Human Body” from The Cat in the Hat’s Learning Library. I just marked the section on the heart since that was what was applicable. I didn’t end up using it, though. But I did want to make note of it because it’s a good resource. If we ever go through this study again at home, there’s a good probability I would use it then since I would have more time.
LET’S LEARN A LITTLE ABOUT OUR BLOOD.
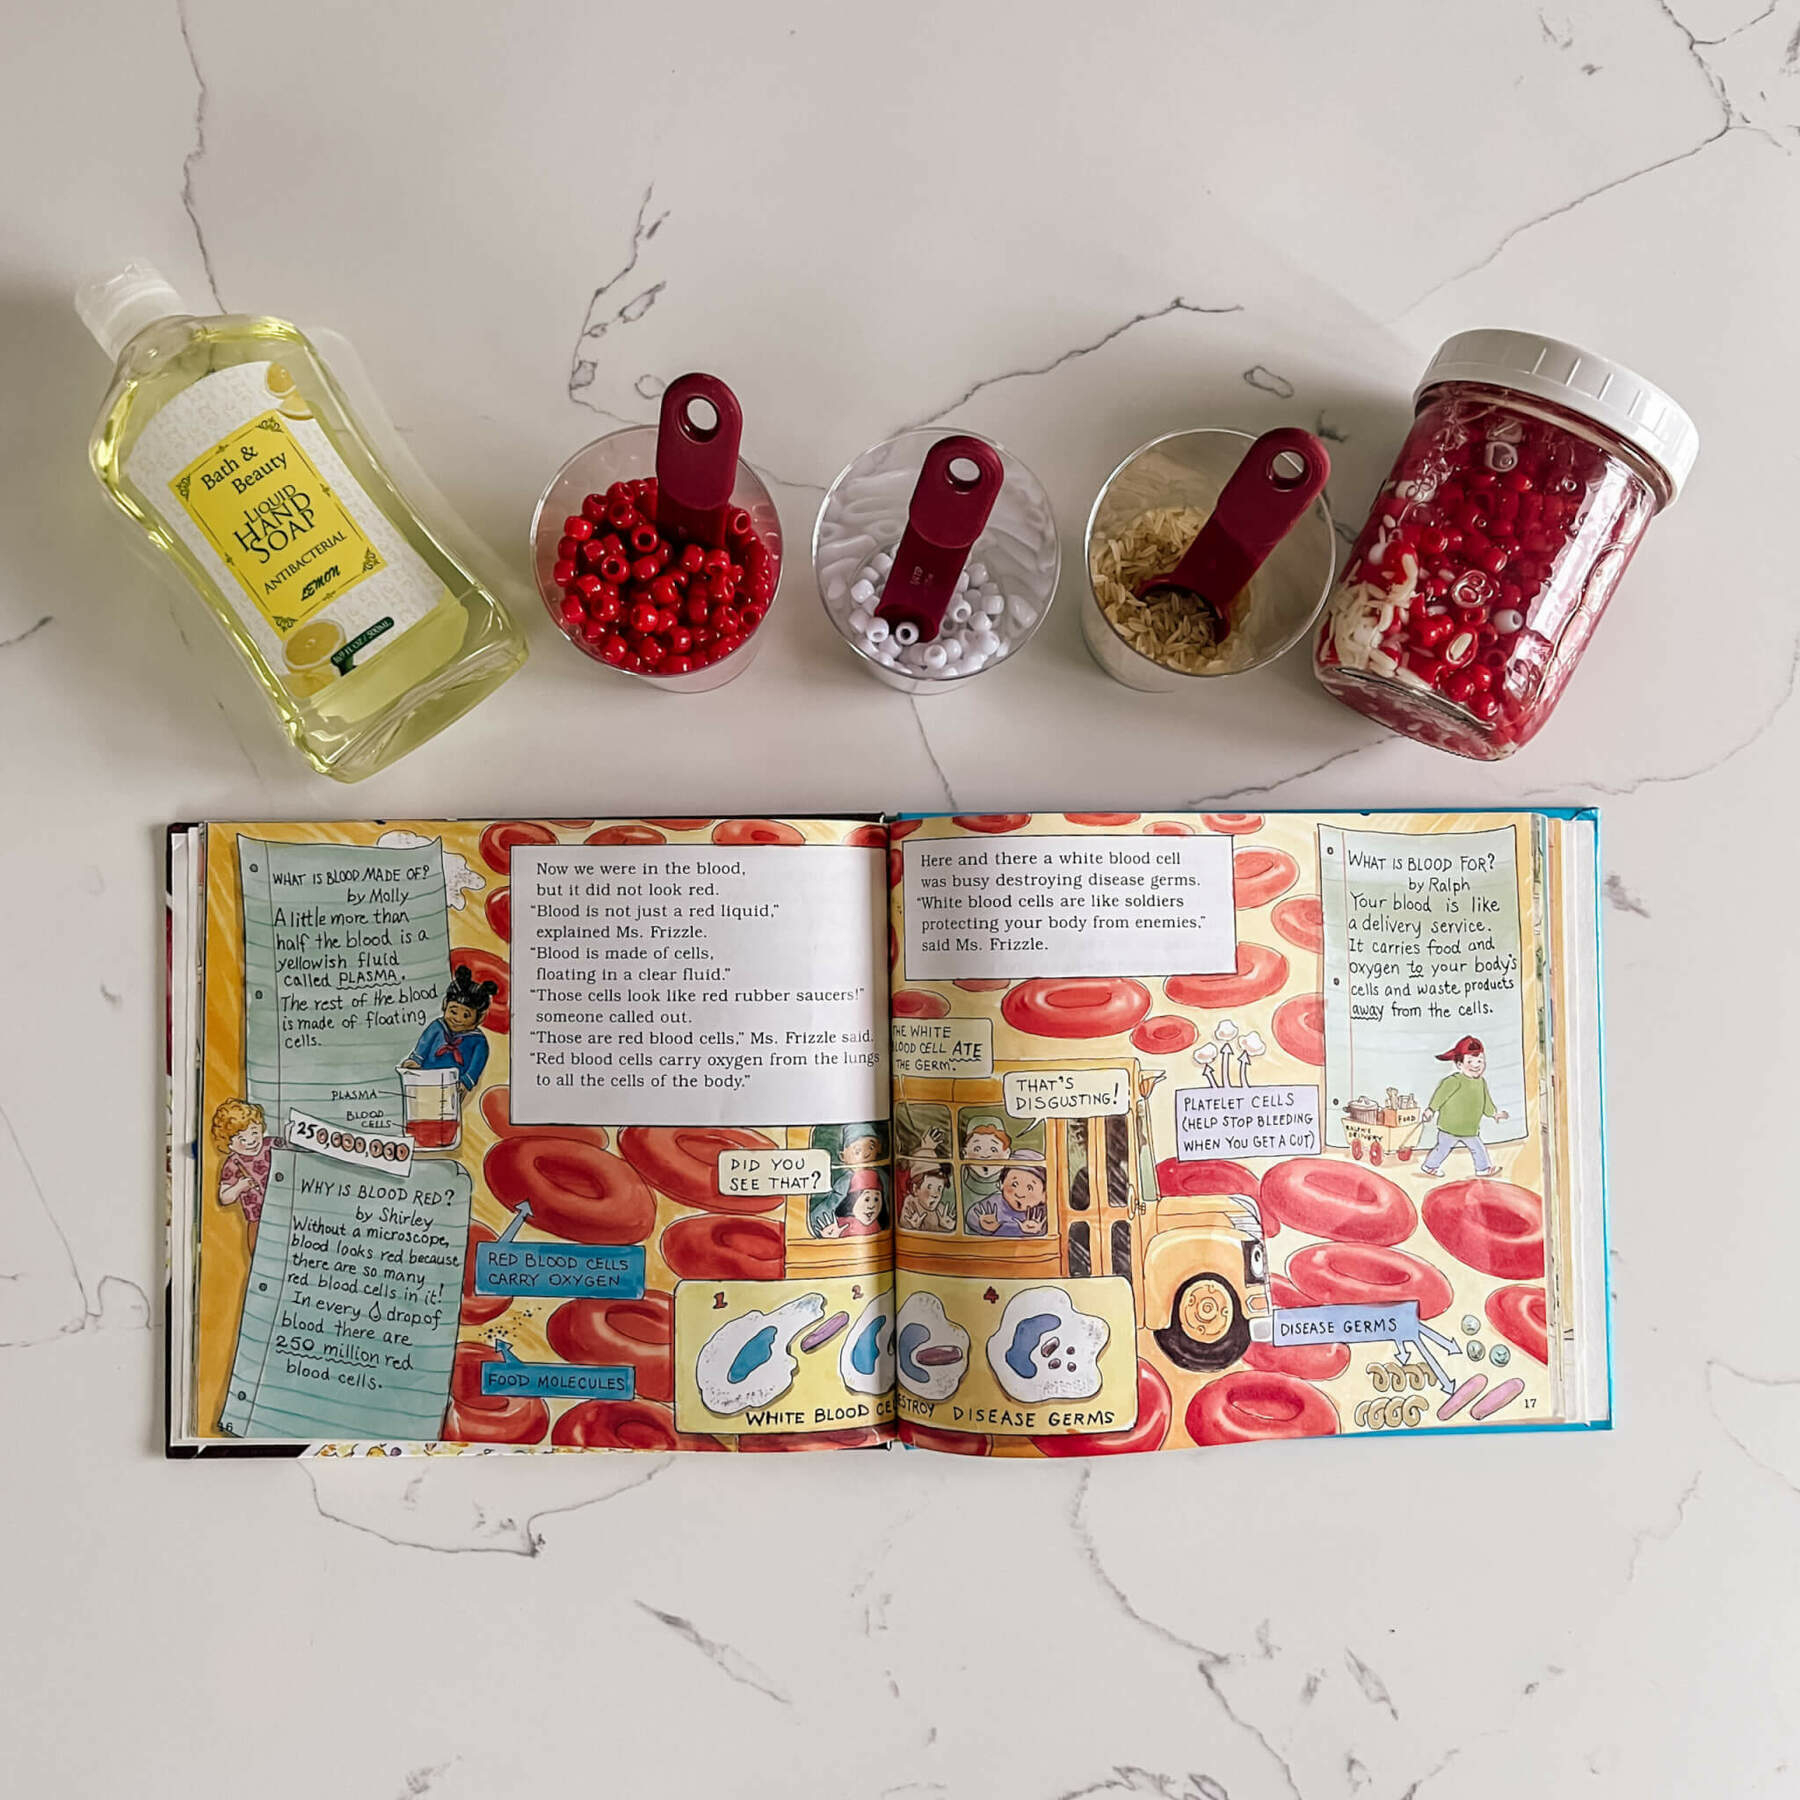
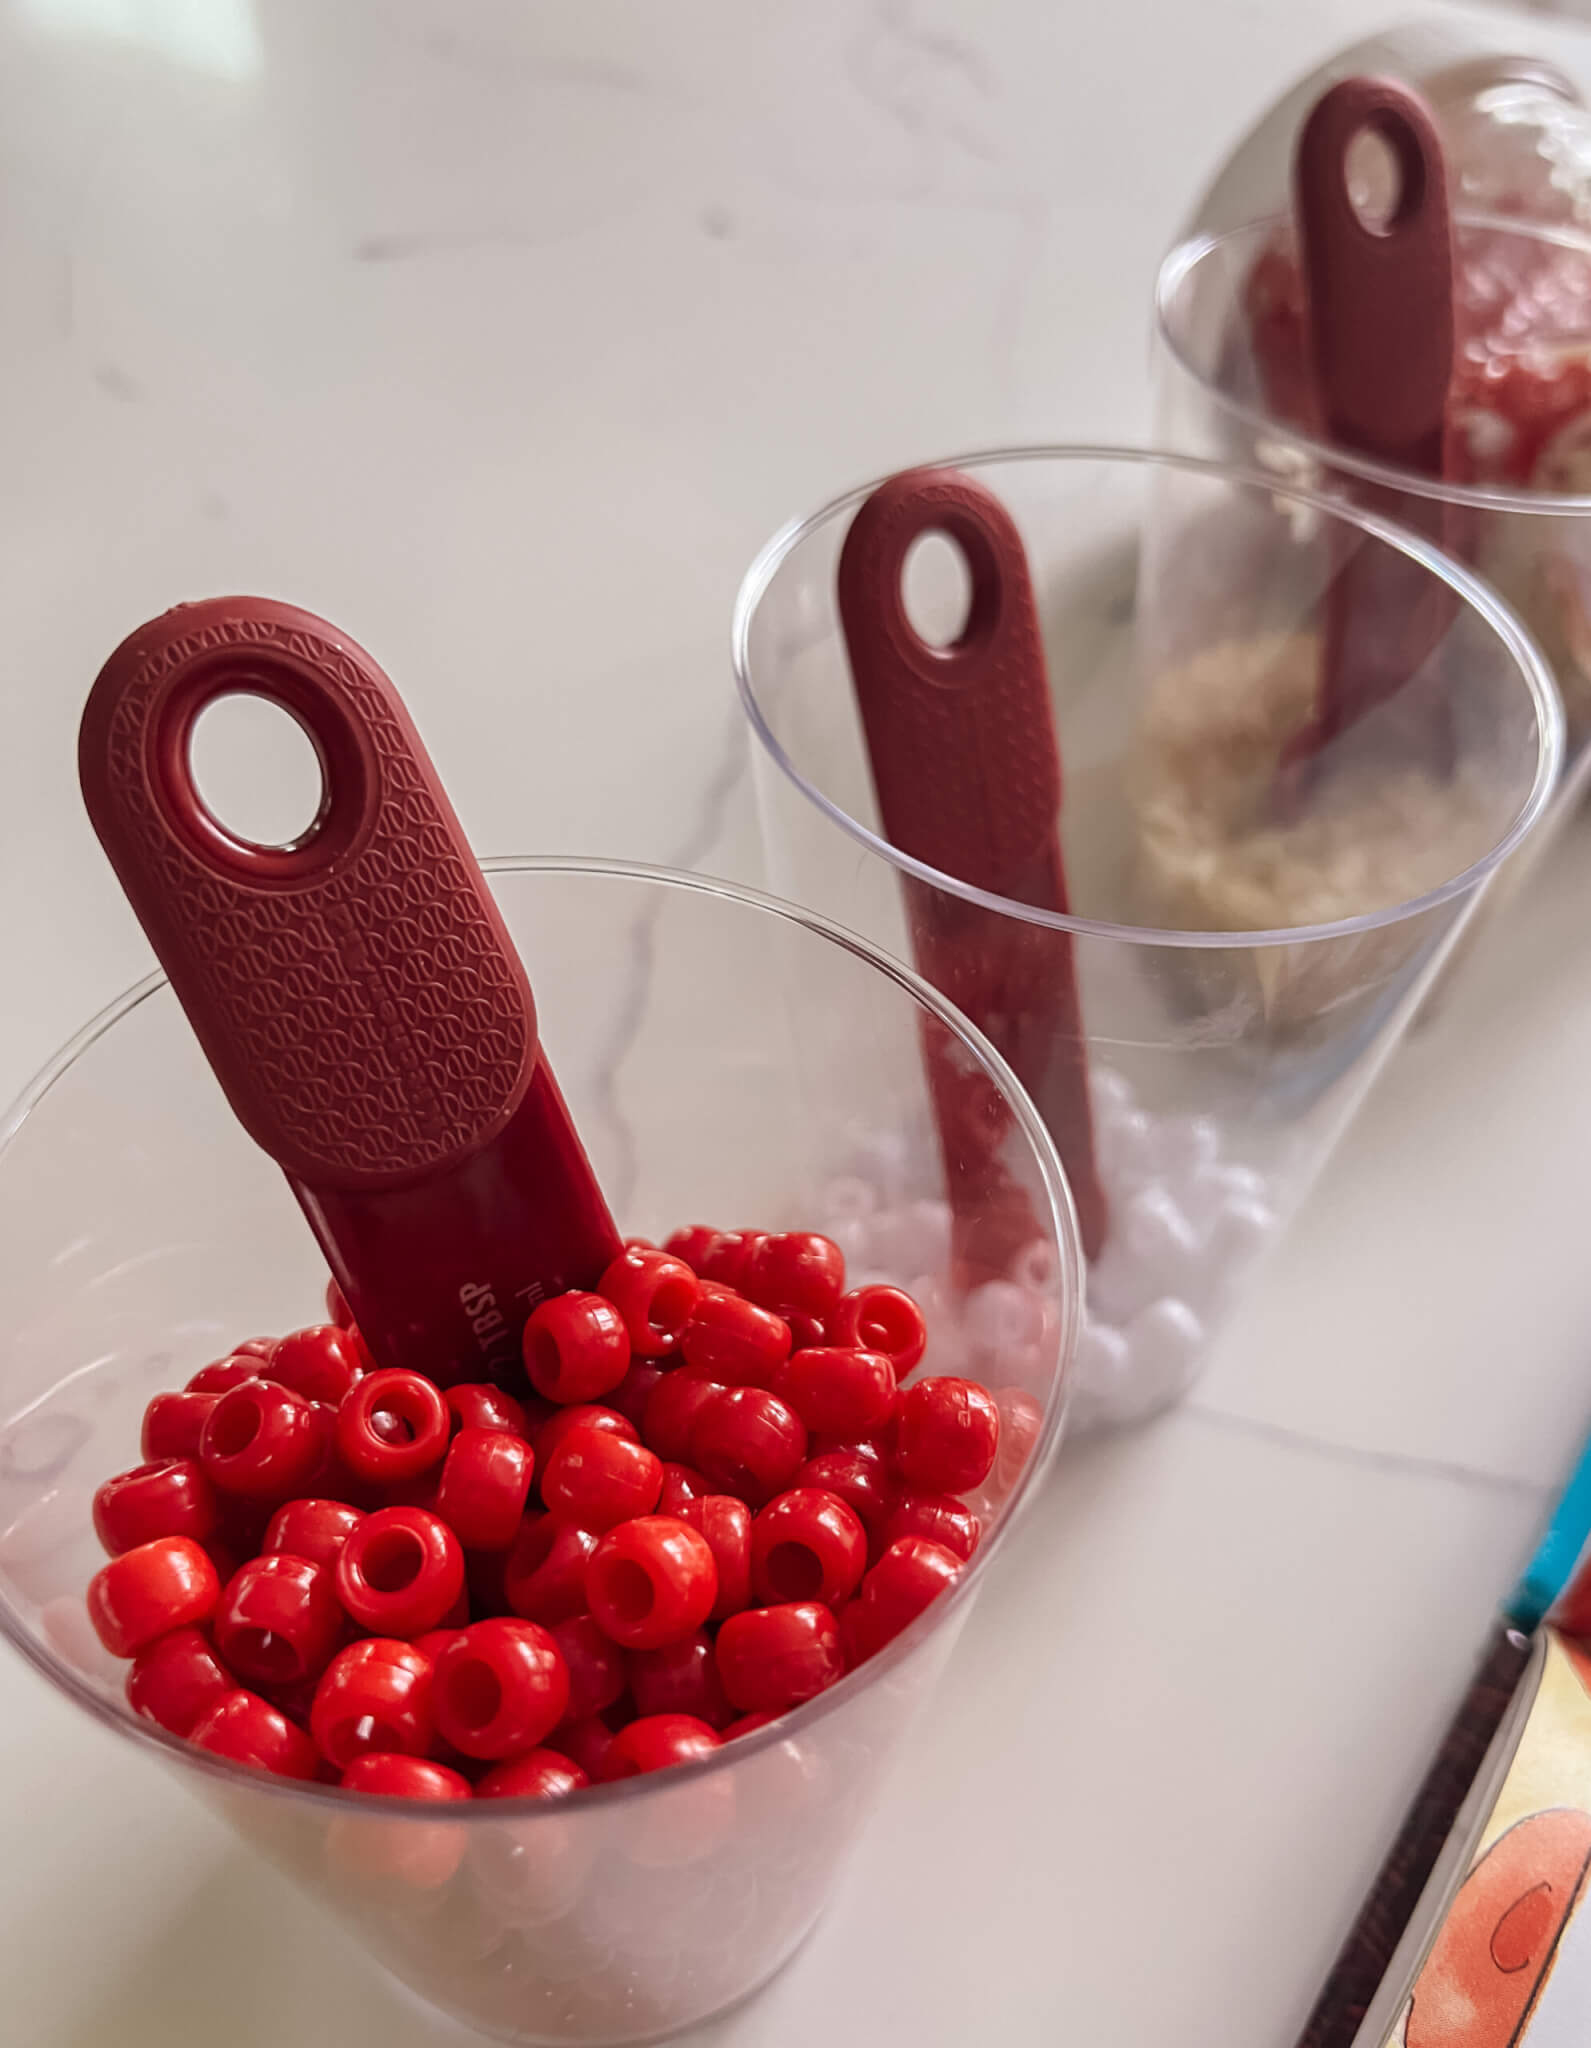
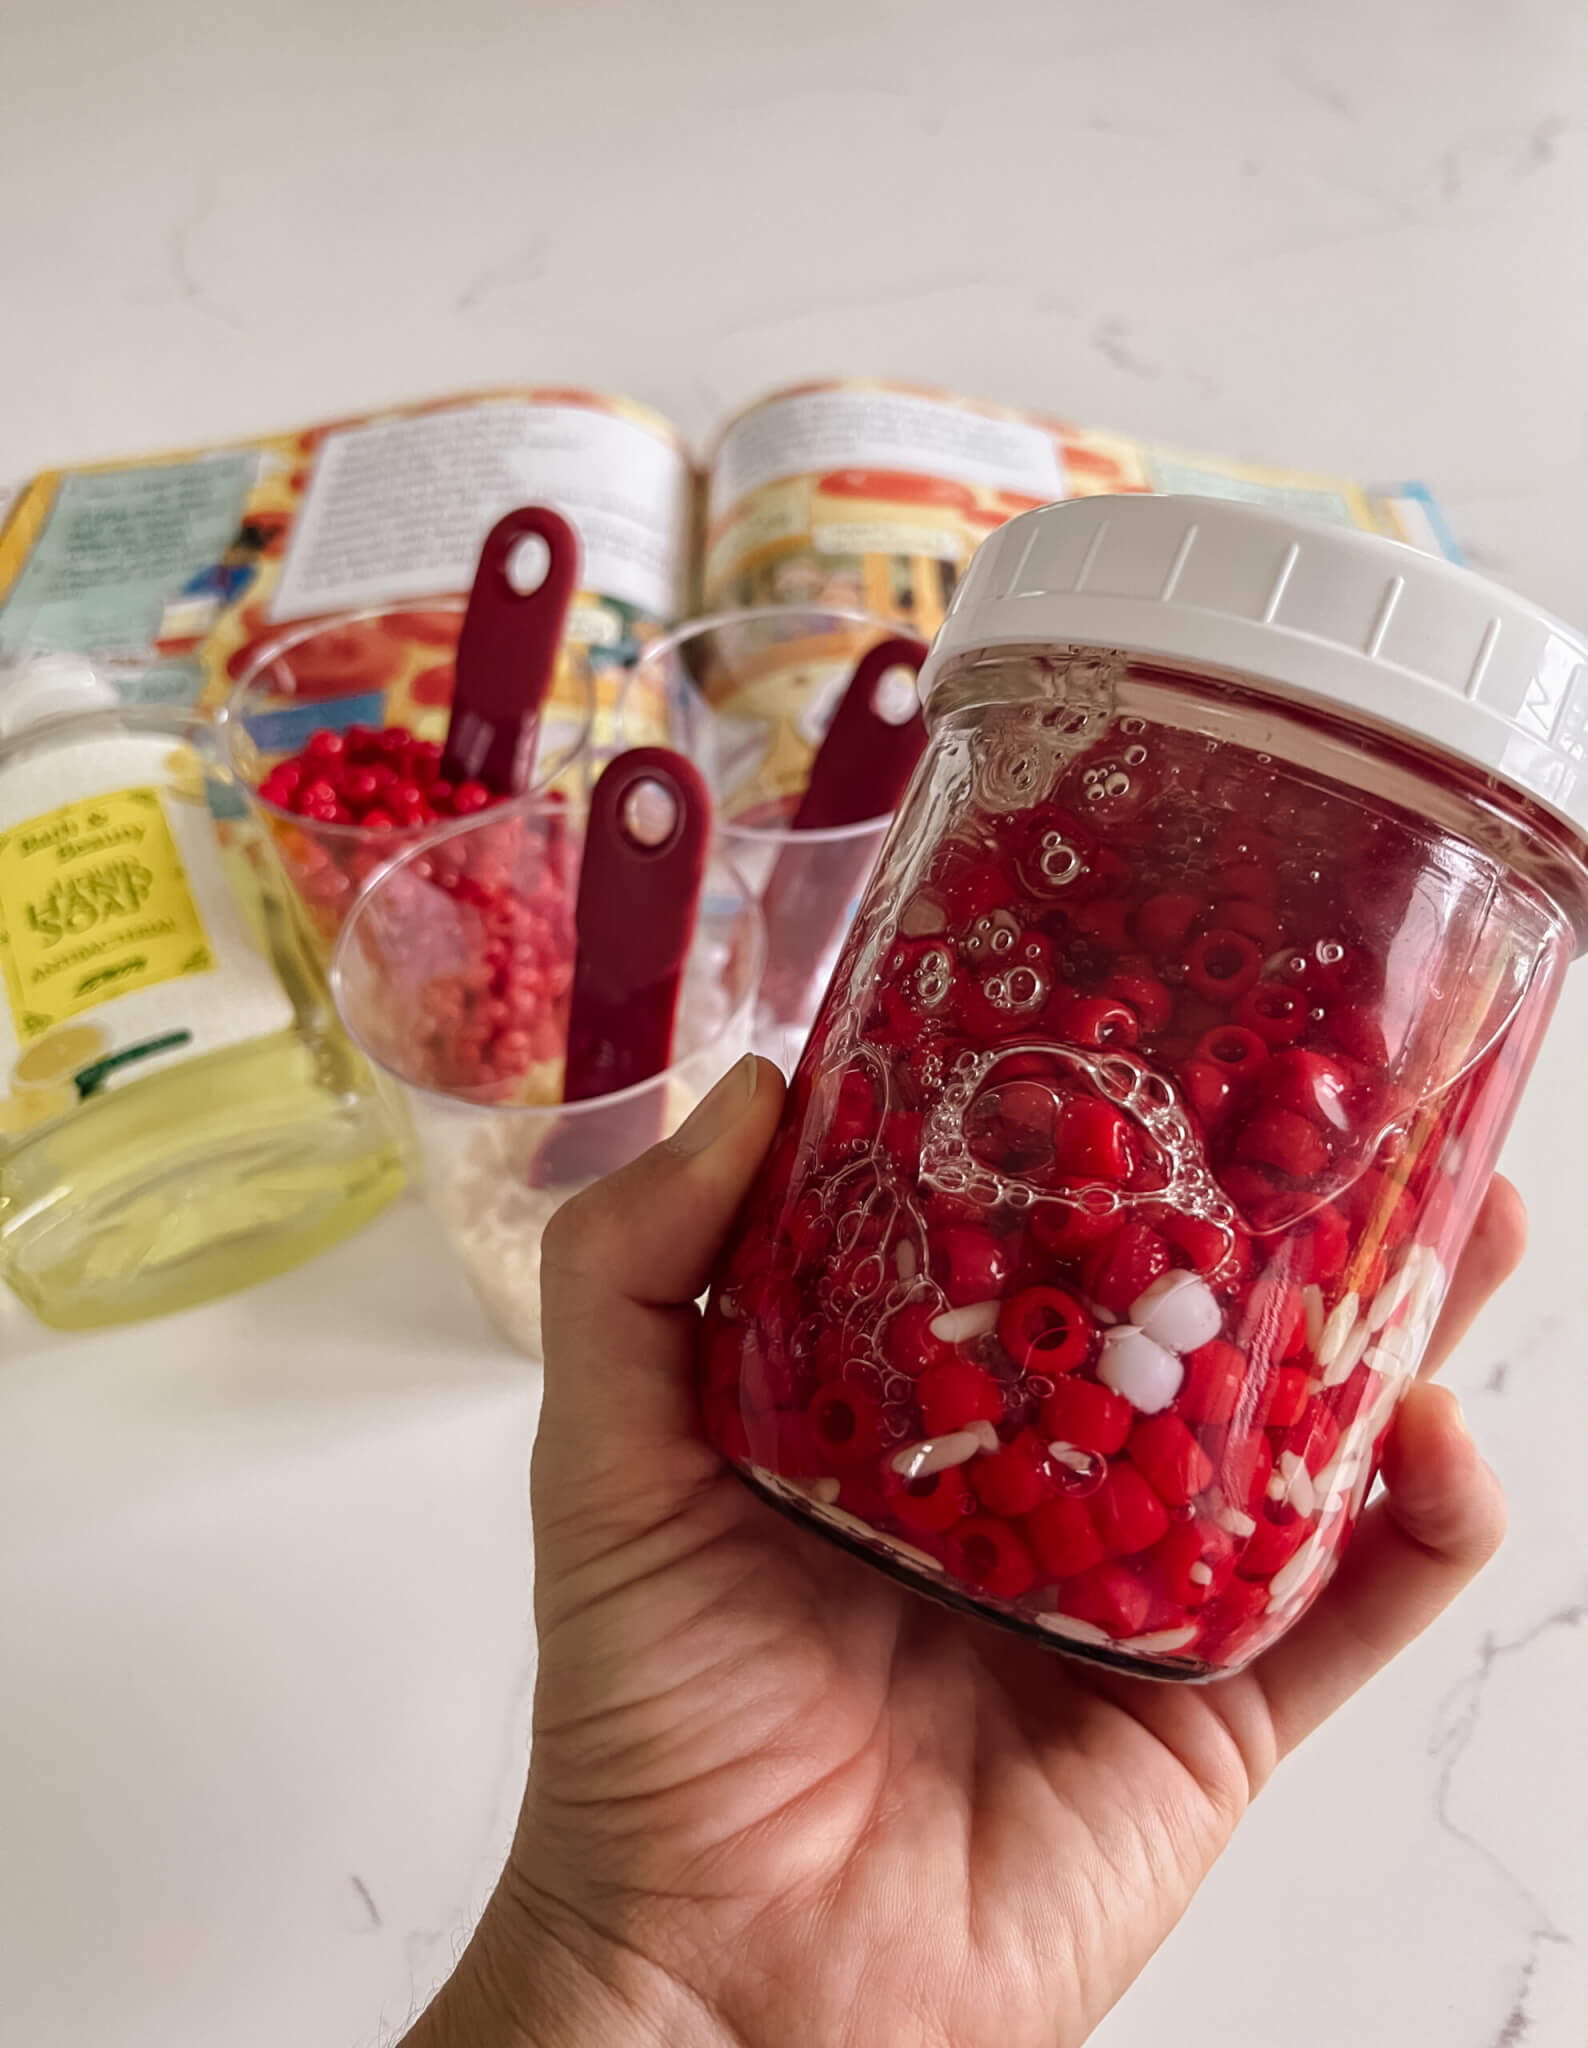
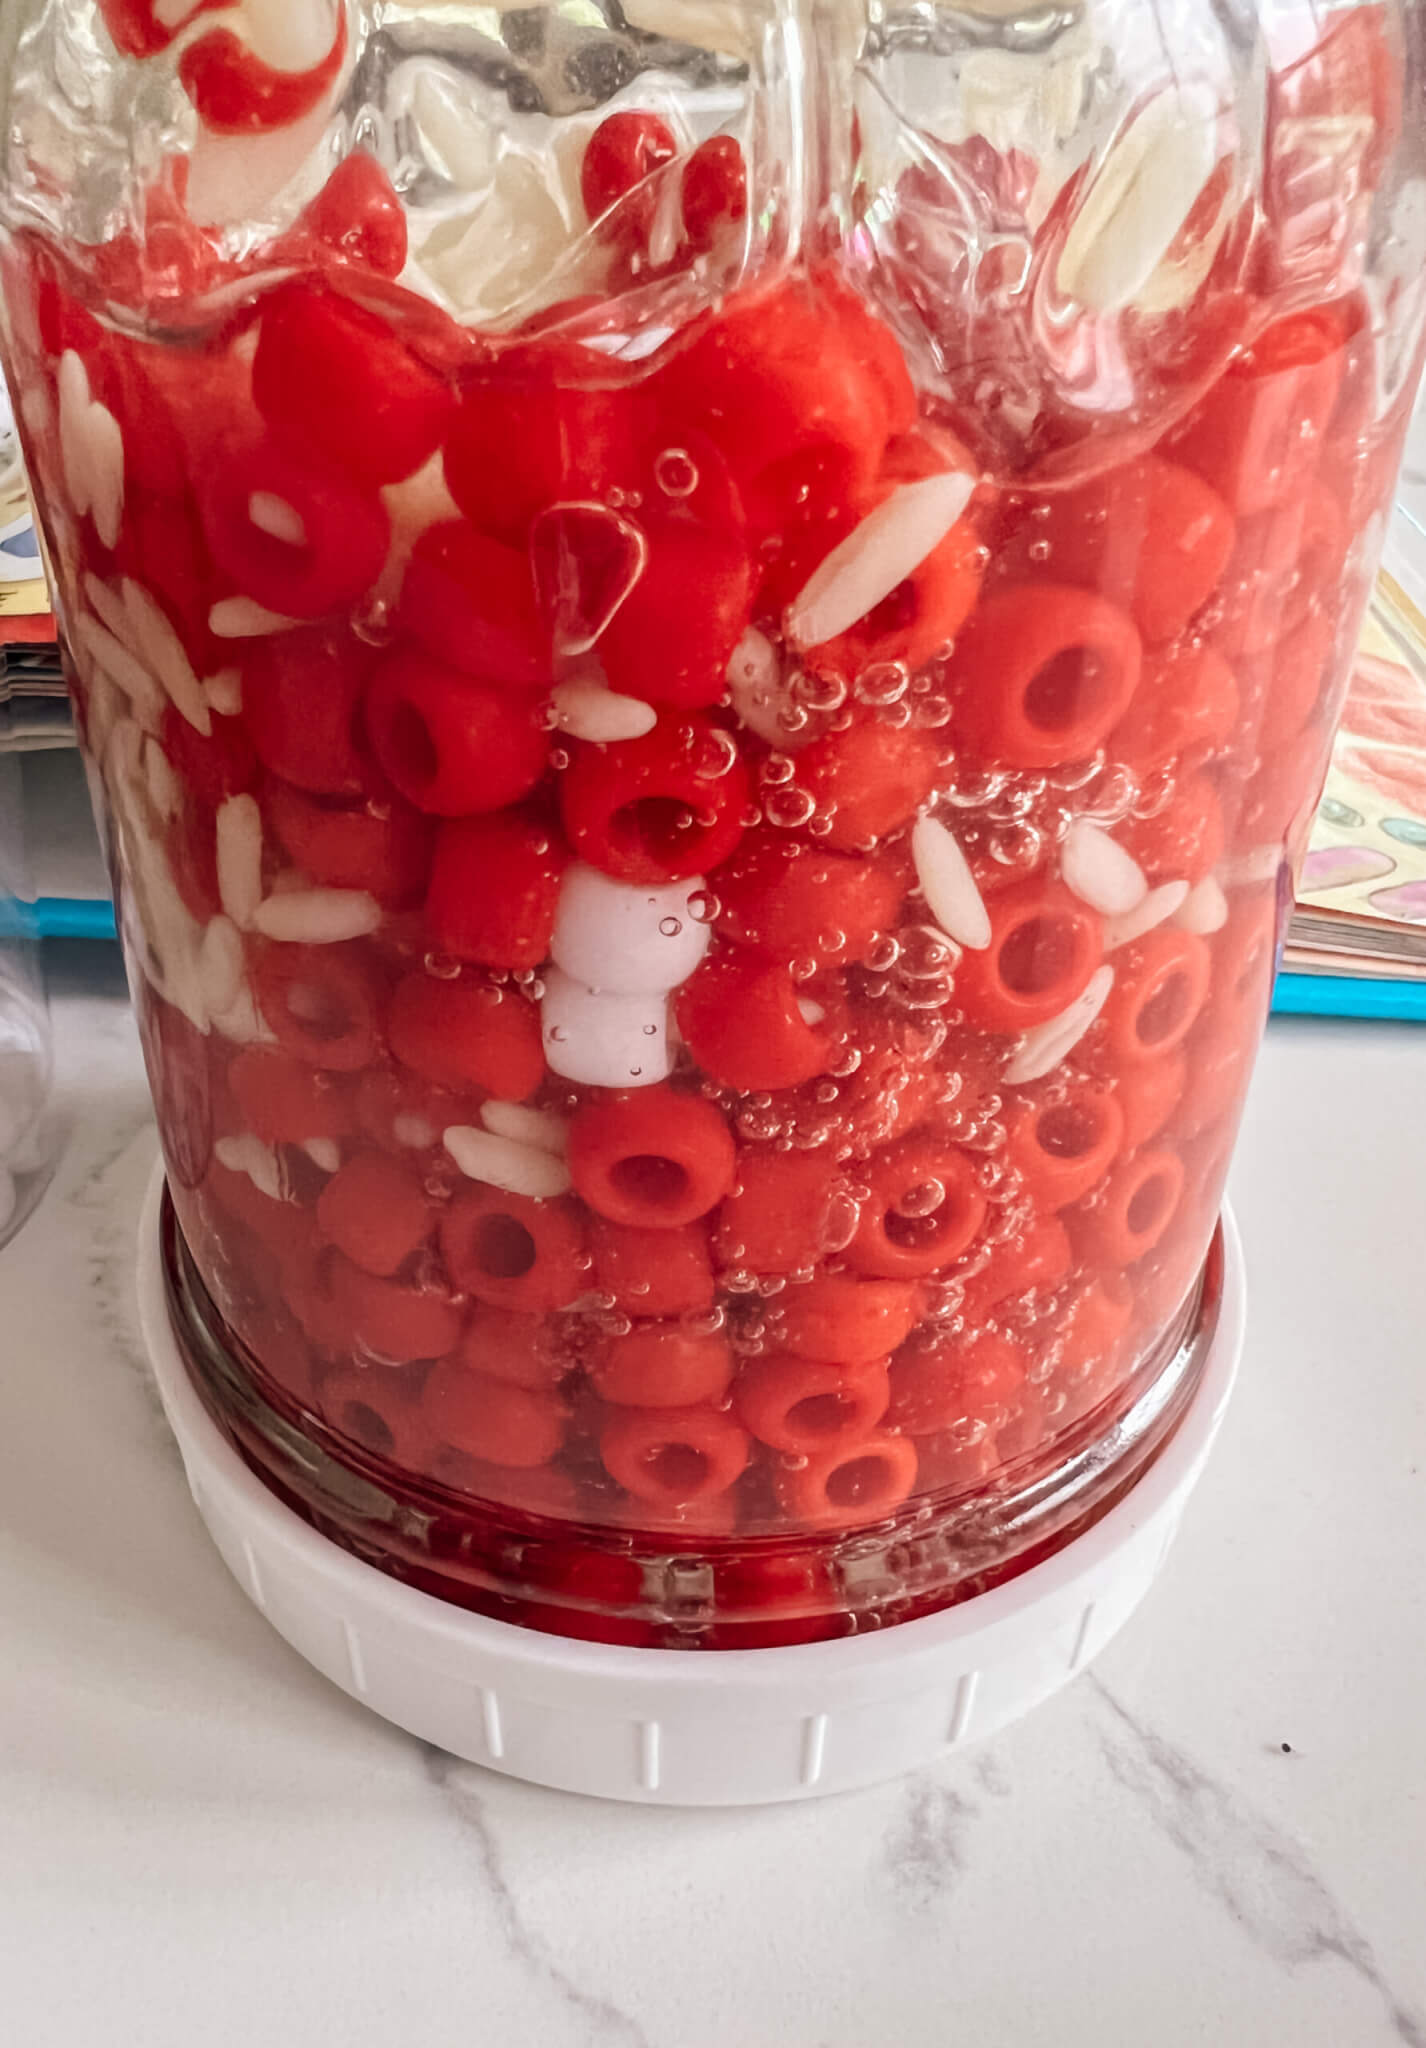
Since we mentioned that the heart’s primary job is to pump blood, I thought it would be fitting to have a section about blood. I started off this section by reading a portion from “The Magic School Bus: Inside the Human Body.” I liked the visual from that part of the book and the fact that it rather concisely covered the main components of blood and the purpose of our blood. After I read those two pages, our activity focused on what blood is made of. I based this activity off of the model in this blog post that I found via Pinterest. I didn’t have corn syrup, candies or sprinkles on hand, but I did have pony beads and rice. And I ran to Dollar Tree to pick up some yellow hand soap.I introduced each “component” of the blood by name and put it on the table in front of them. Then, I poured the “plasma” into a glass jar leaving enough room to add the other parts. We started with “platelets.” I had a small measuring spoon that each child used to scoop some rice into our model of blood jar. After that, we added “white blood cells.” We talked about how we don’t have near as many white blood cells and reiterated their important job of fighting off germs. The kids used another small (to ensure we didn’t get too many) measuring spoon to add white blood cells. Last, we added “red blood cells.” Even though my photos have the red blood cells in a clear cup like the others, I actually put them in a small bin with a big scoop so a lot got added at once (since we have so many RBCs). Alternatively, they could’ve just done several small scoops. After everyone had a turn adding the red pony beads, I closed the jar so we could let everything float around and observe the model of blood that we just made. I actually had to open the jar up and mix everything together real good because the soap was just a little too thick at first (it did become more liquid-y later). Anyway, after I did that, we had a short discussion on the color of blood and why it looks red even though it’s not made up of only red parts. It was a fun little project to do together and ended up being a good, simple visual.
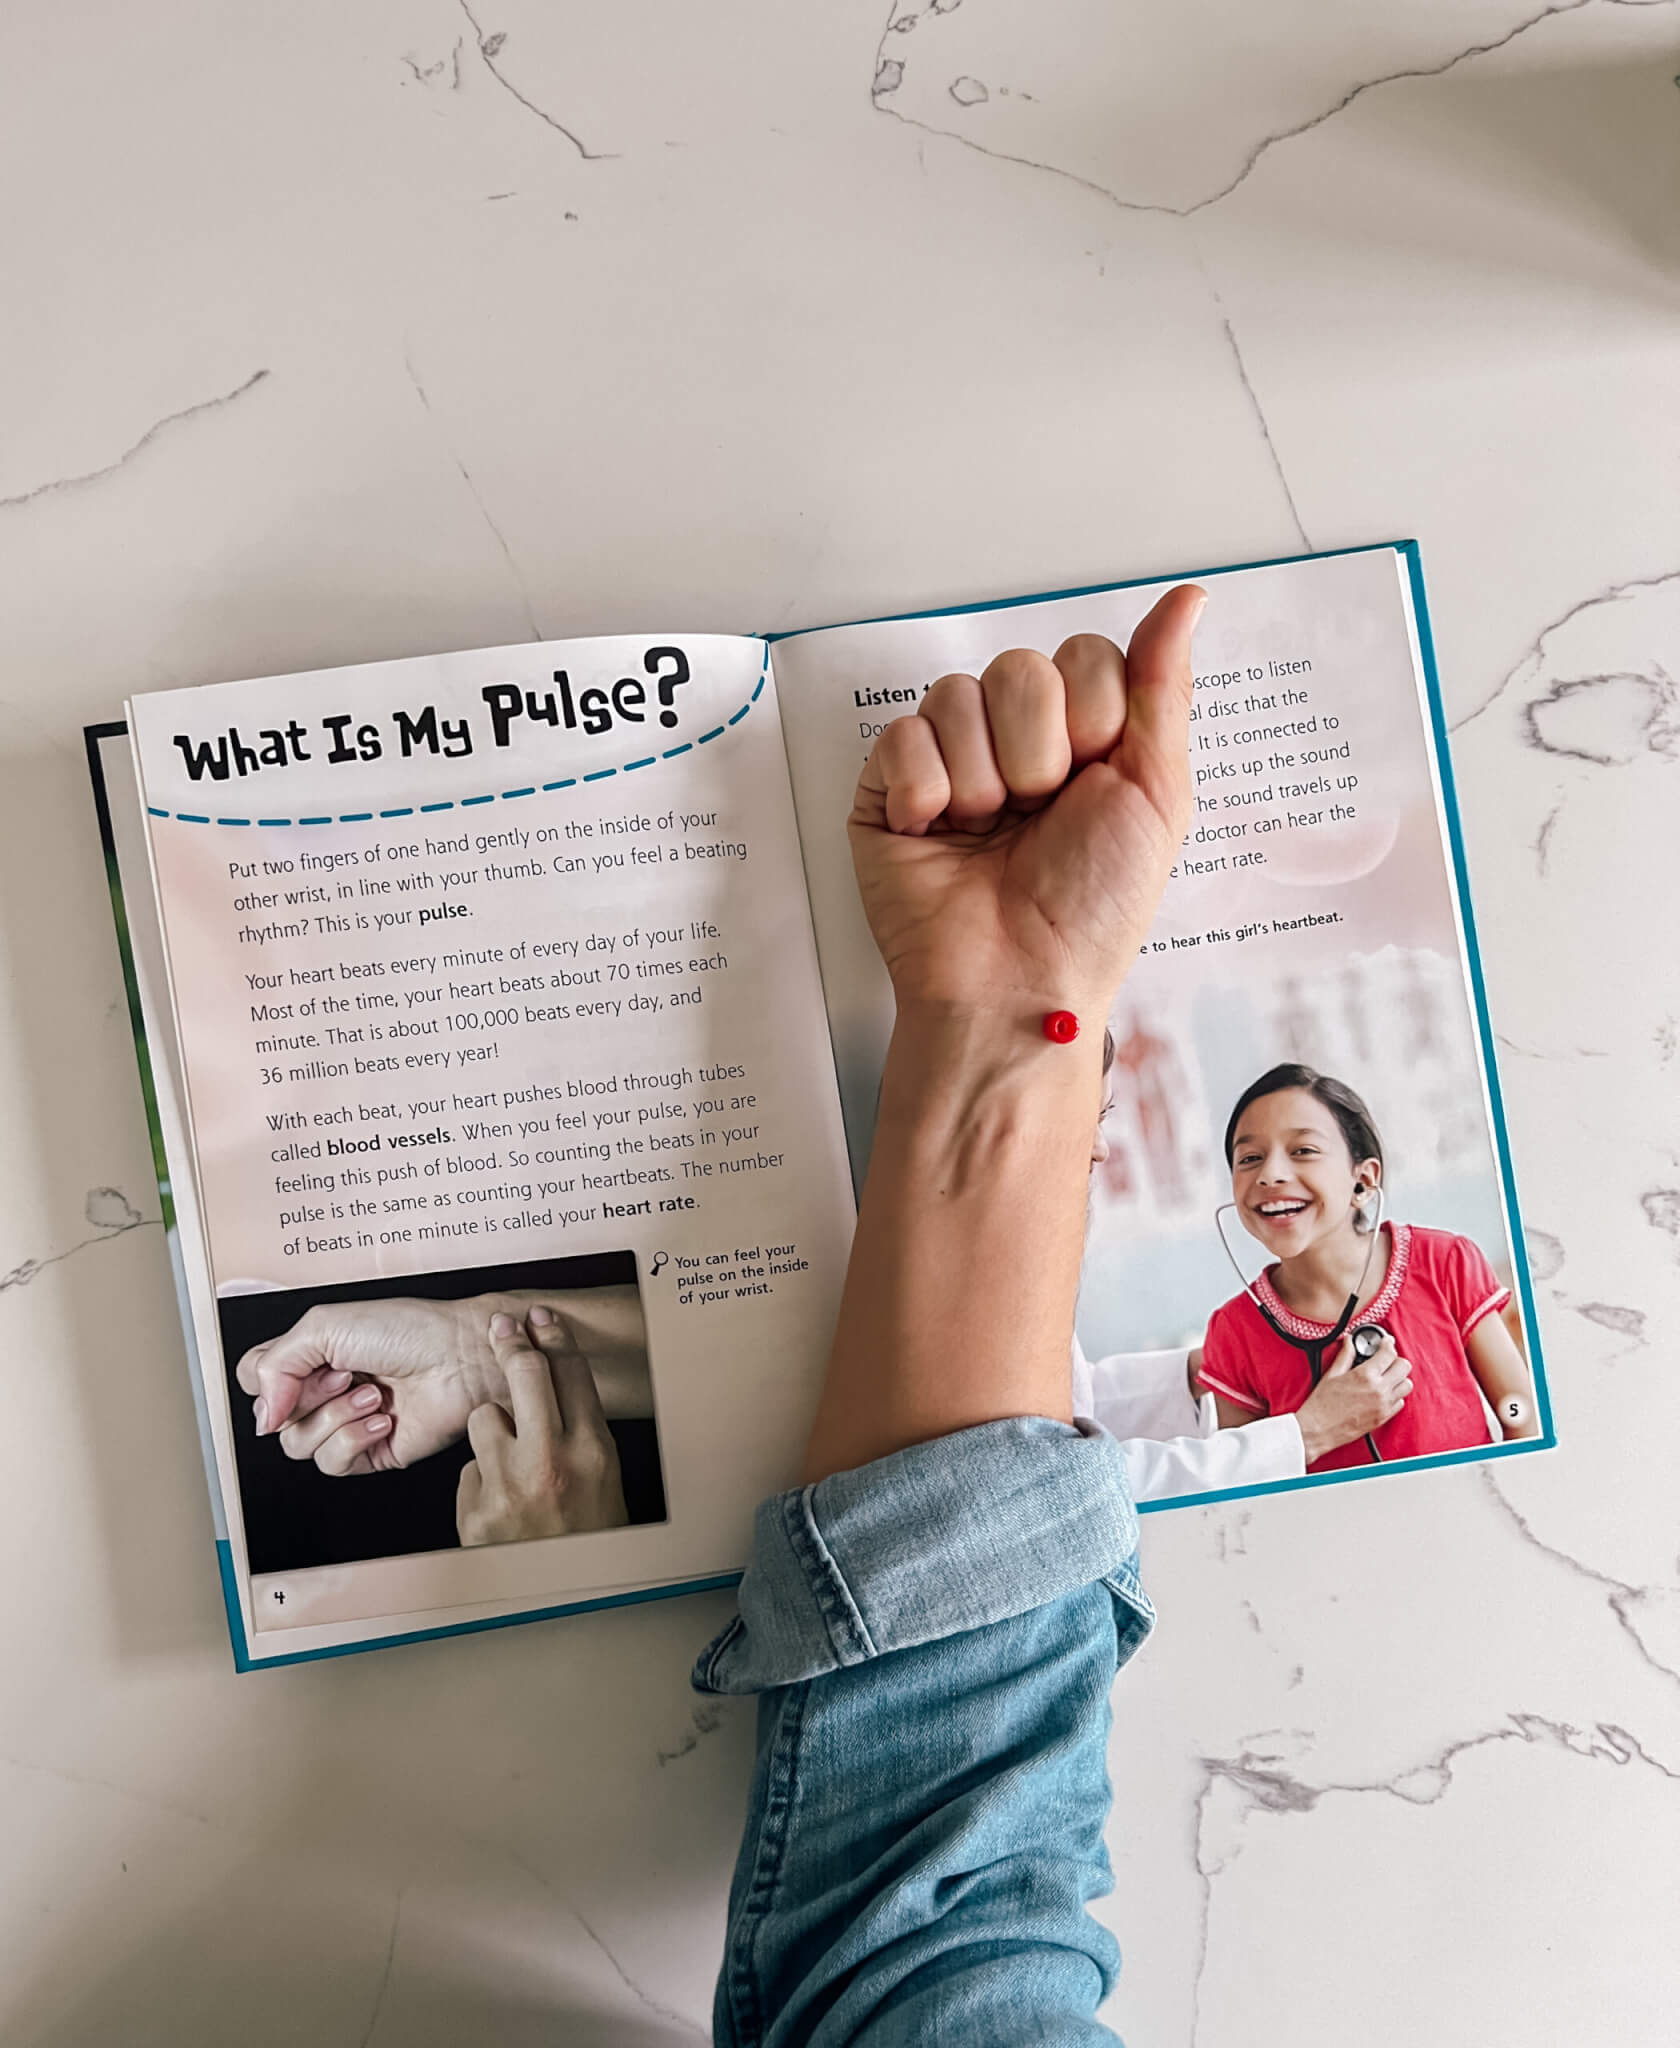
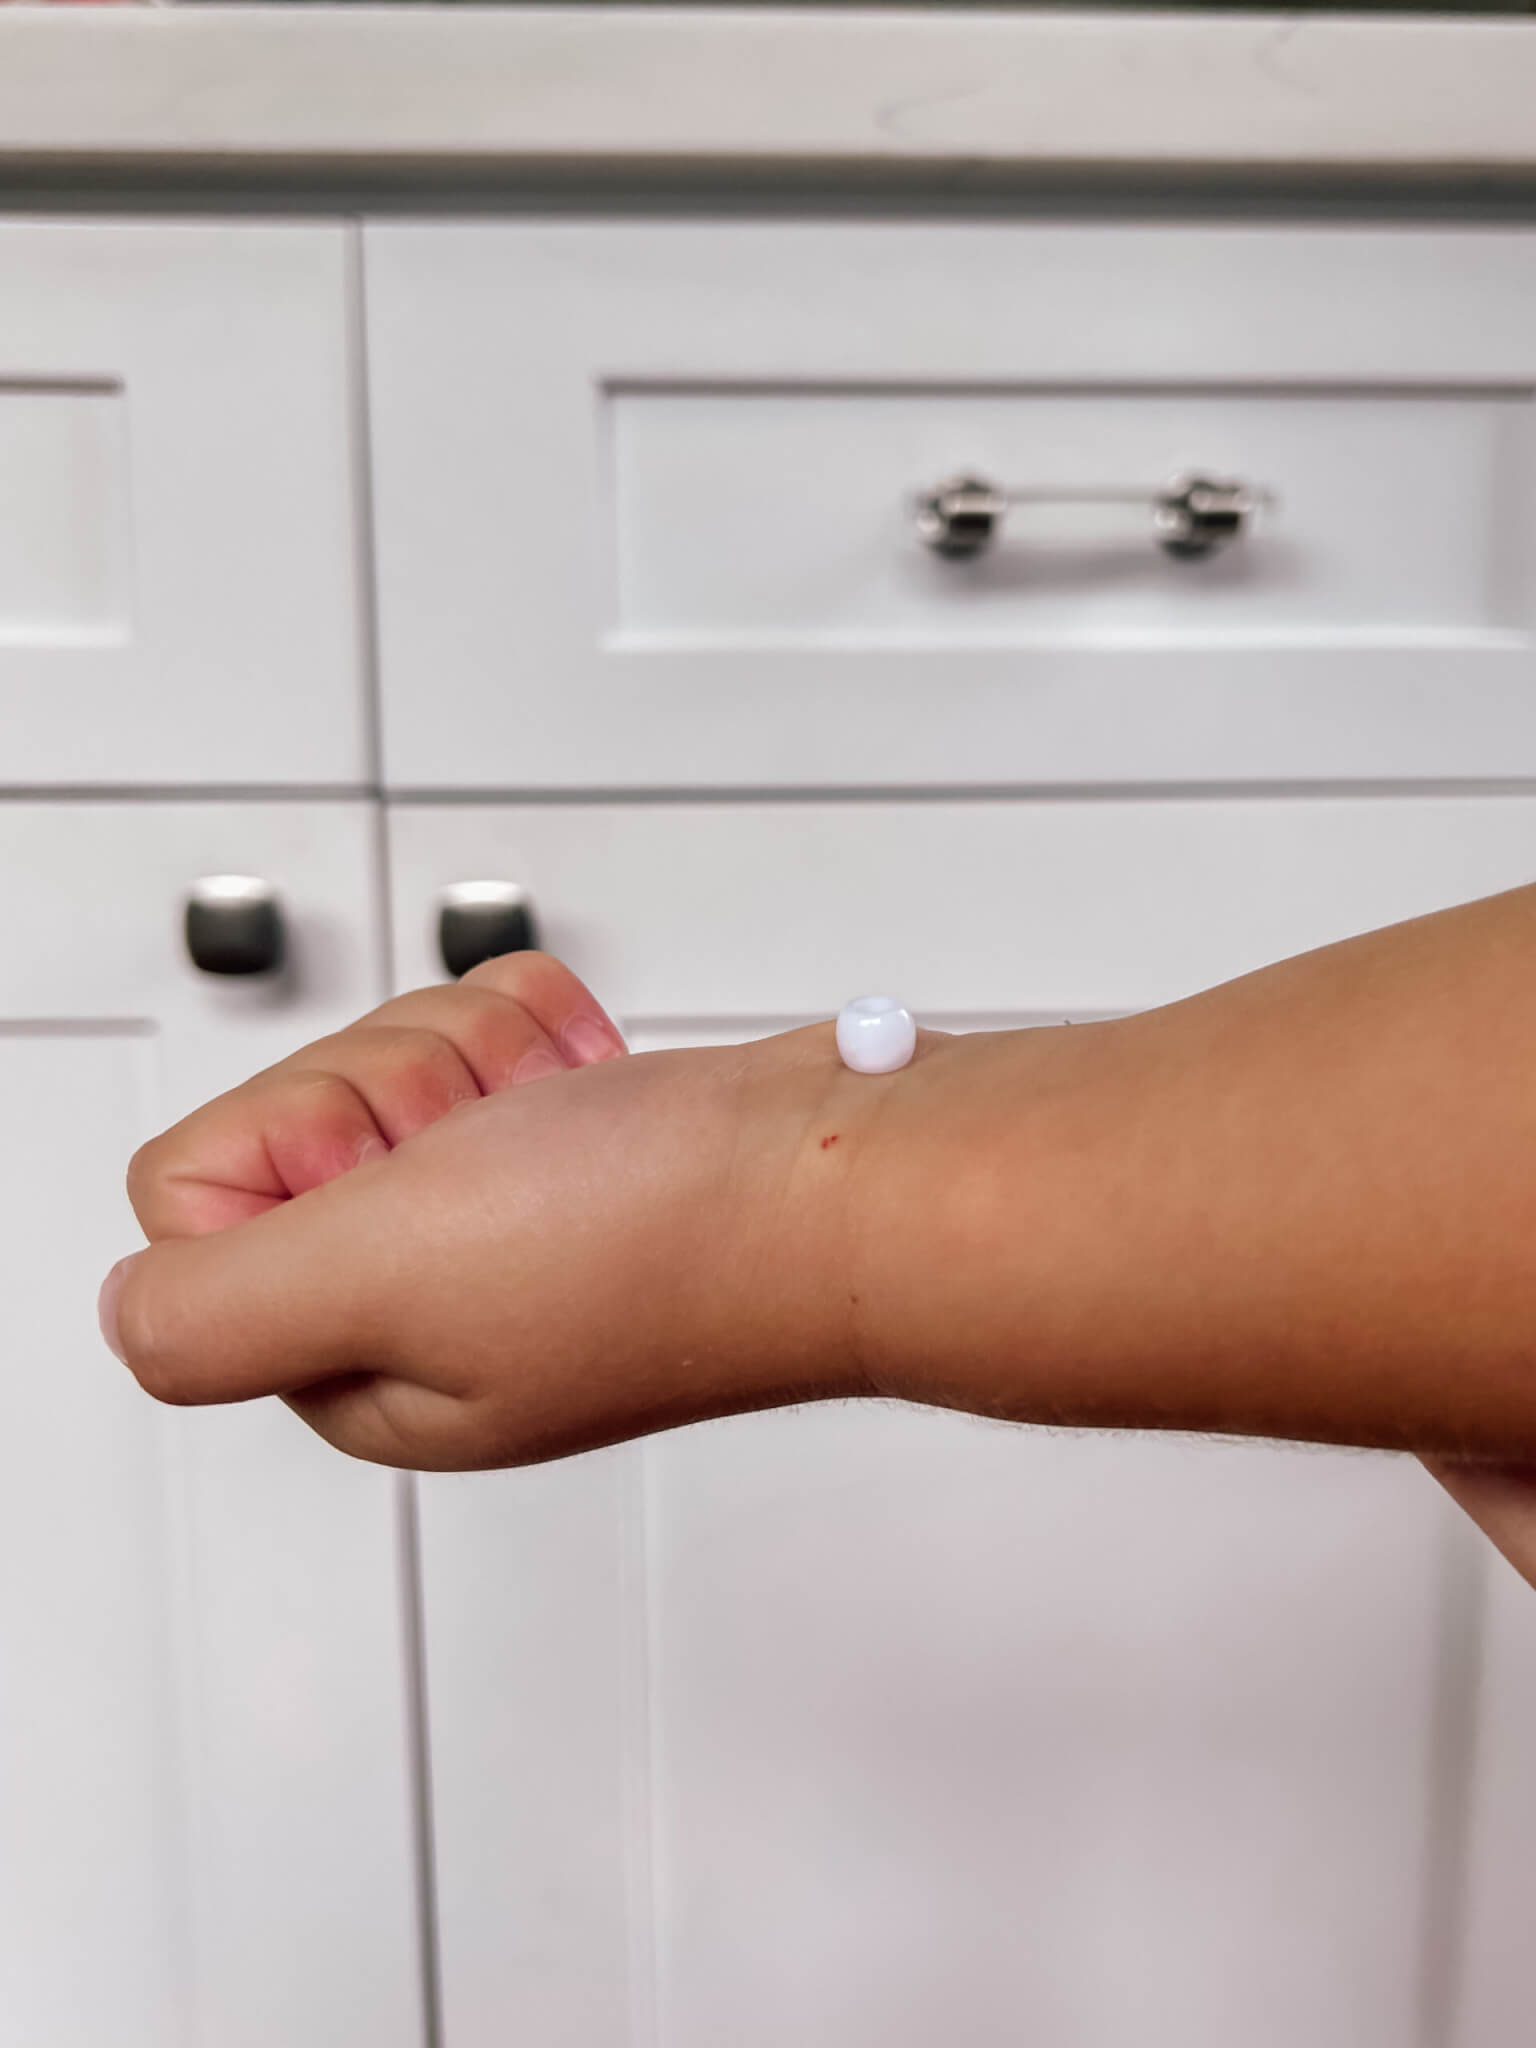
WHAT IS YOUR PULSE?
We transitioned to our discussion about the pulse by going back to the line of thought of the heart as a pump. And how that every time the heart squeezes or pushes blood out, that’s your heart beating. I mentioned that doctors can hear our heart beating with a tool called a stethoscope, which they were all fairly familiar with or had experienced before. Then, I asked if they knew that you could actually SEE your heart beating. That mostly got their attention. So, I proceeded to demonstrate. I used one of the leftover red beads from our blood model project and placed it on the pulse on my wrist. Everyone could see it moving, and I told them that was my heart beating and that another name for that is my pulse. My intention was to show each of them their own pulse as well. But I didn’t try out the small bead on tiny arms ahead of time, and they just couldn’t stay still enough for it to work. I did see somewhere where someone used a marshmallow with a toothpick in it (I guess to adjust it easily). This potentially could’ve worked better, but I still think it might’ve been difficult on small arms. I also briefly attempted to have them feel their own pulses. But I didn’t spend too much time there because it just didn’t feel like the right thing to devote energy to at that point. If I redo this at home with just my own kids soon-ish or when they’re older, I would definitely try to drive the point home a little more.After “seeing” our pulses, I had the kids stand up and move to our activity mat. We discussed physical activity and exercise as it relates to our heart beating and pulse. They (correctly) hypothesized that the heart beats faster when we are active. Then we tested out their hypothesis. We did 20 jumping jacks (mostly just jumping up and down), then took note of the fact that we felt we were breathing a little harder and faster. I don’t know if it hit home, but I tried to explain that when we move around more, our body has to do more work, and our heart has to beat faster to pump our blood through our body at the rate it needs to keep up with our activity. It was a good break and “get out the wiggles” moment if nothing else (though I do think they absorbed some).
Corresponding book: I pretty briefly referenced the book, “What is Your Pulse?” for this section because it just wasn’t the best use of time to go through more in our group setting. But I still wanted to mention this book here because, even though it’s old and possibly hard to find (we borrowed it from our library), it has a lot of good information broken down into appropriate questions on each pair of pages.
THE CIRCULATORY SYSTEM
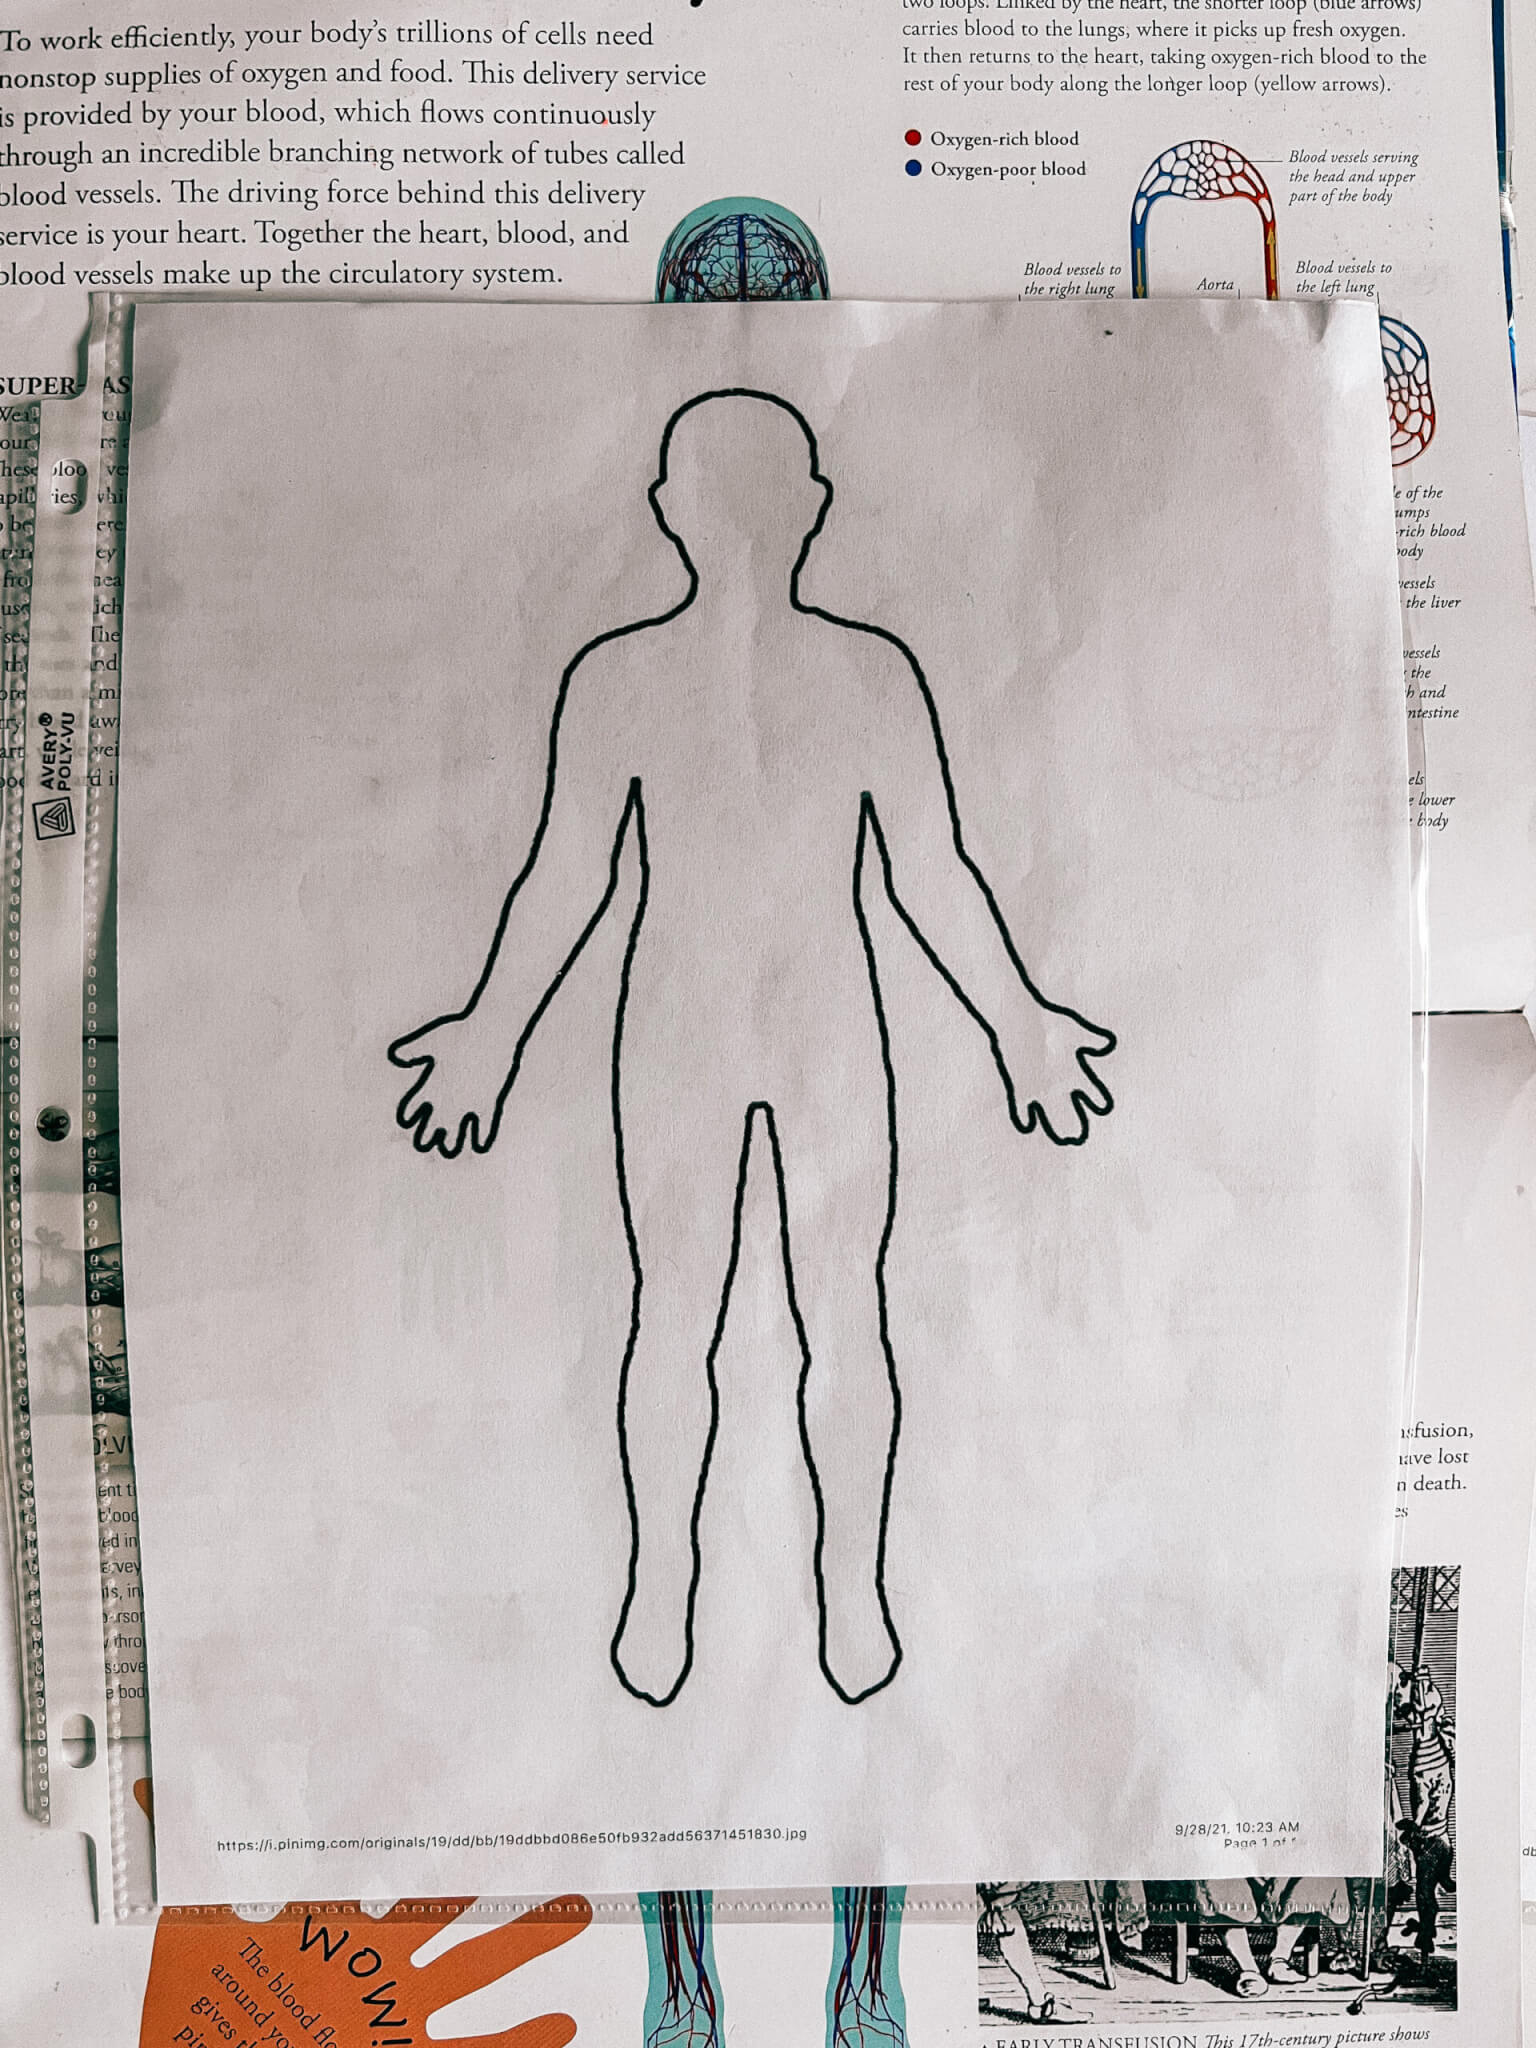
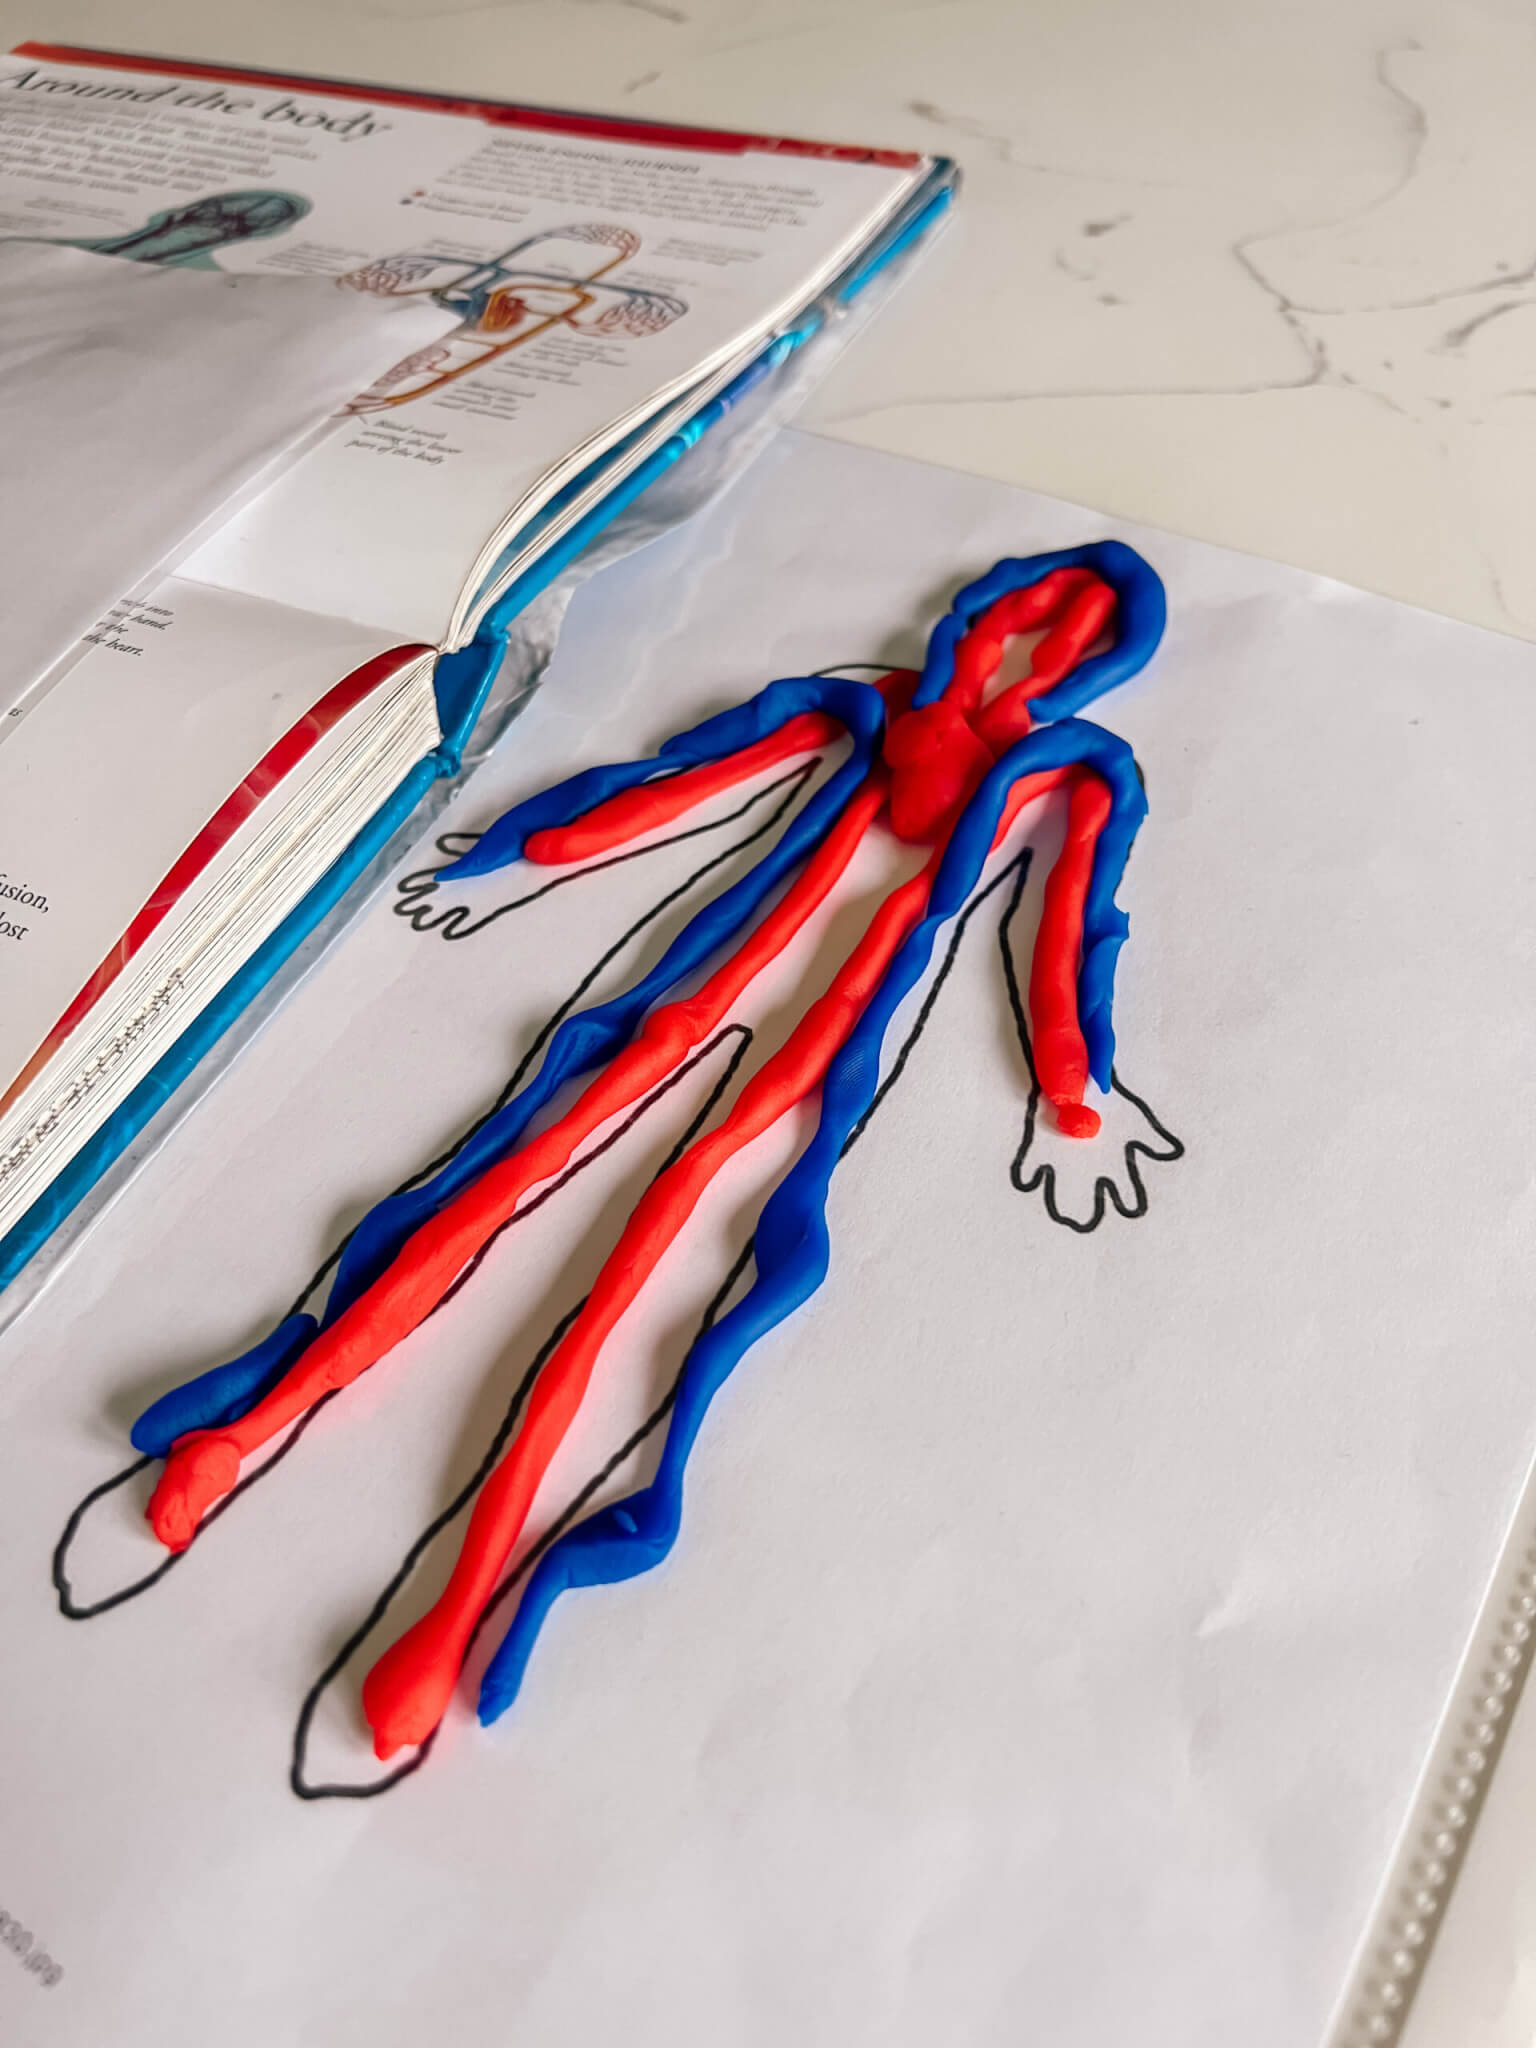
To wrap up our little study of the heart and circulatory system, I wanted to give the kids an idea of how expansive the circulatory system is. I chose to keep it simple, knowing that the last topic and corresponding activity would need to grab their attention to help them stay the course until snack time. I reiterated how the heart is a hardworking muscle that pumps blood through the WHOLE body—our head and neck, chest, stomach, legs, and feet. Then, I pulled out a visual from the book, “Human Body: A Visual Encyclopedia.” I quickly explained that all the red and blue lines in the picture were blood vessels and that they were like little tunnels that the blood traveled through… The blue are called veins, and the red are called arteries. I left it at that, then passed out human body outlines in sheet protectors and gave each child a small amount of both red and blue play dough. I told them they could look at the picture and make their own circulatory system. I also demonstrated quickly how to do it, making sure to emphasize that there are veins and arteries in every part of our body. I thought this was going to be a quick thing, but it turned out to be their favorite, I think. They each took time rolling out small strands of play dough and carefully placing it on their human outline. It was a good ending to our teaching part of the day.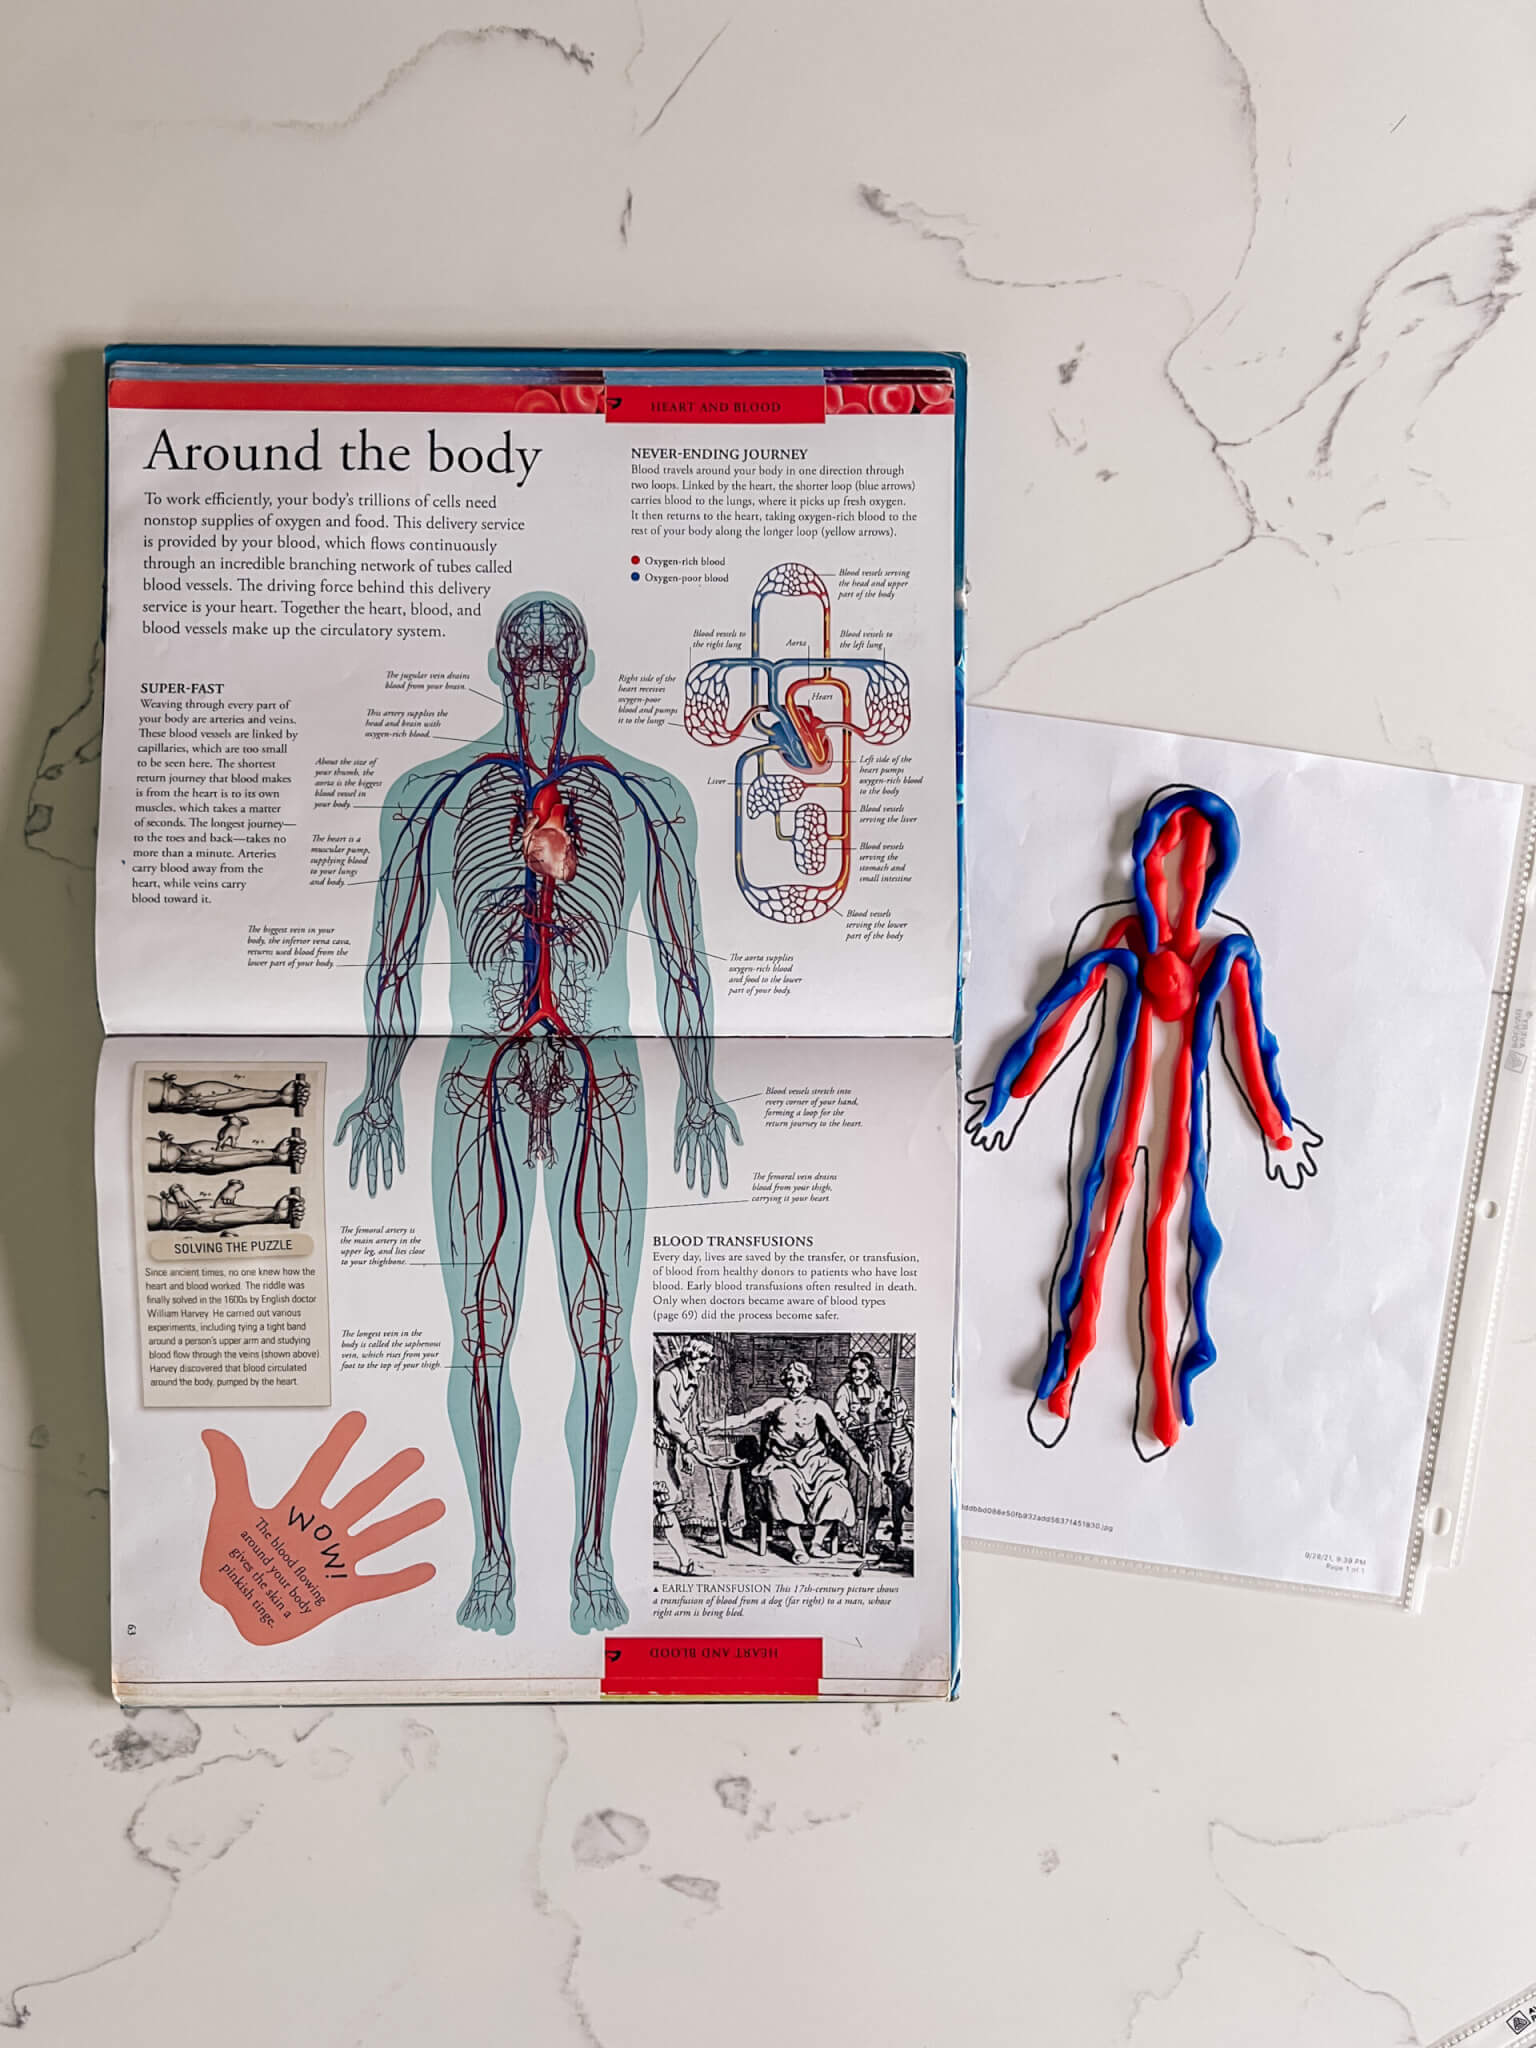
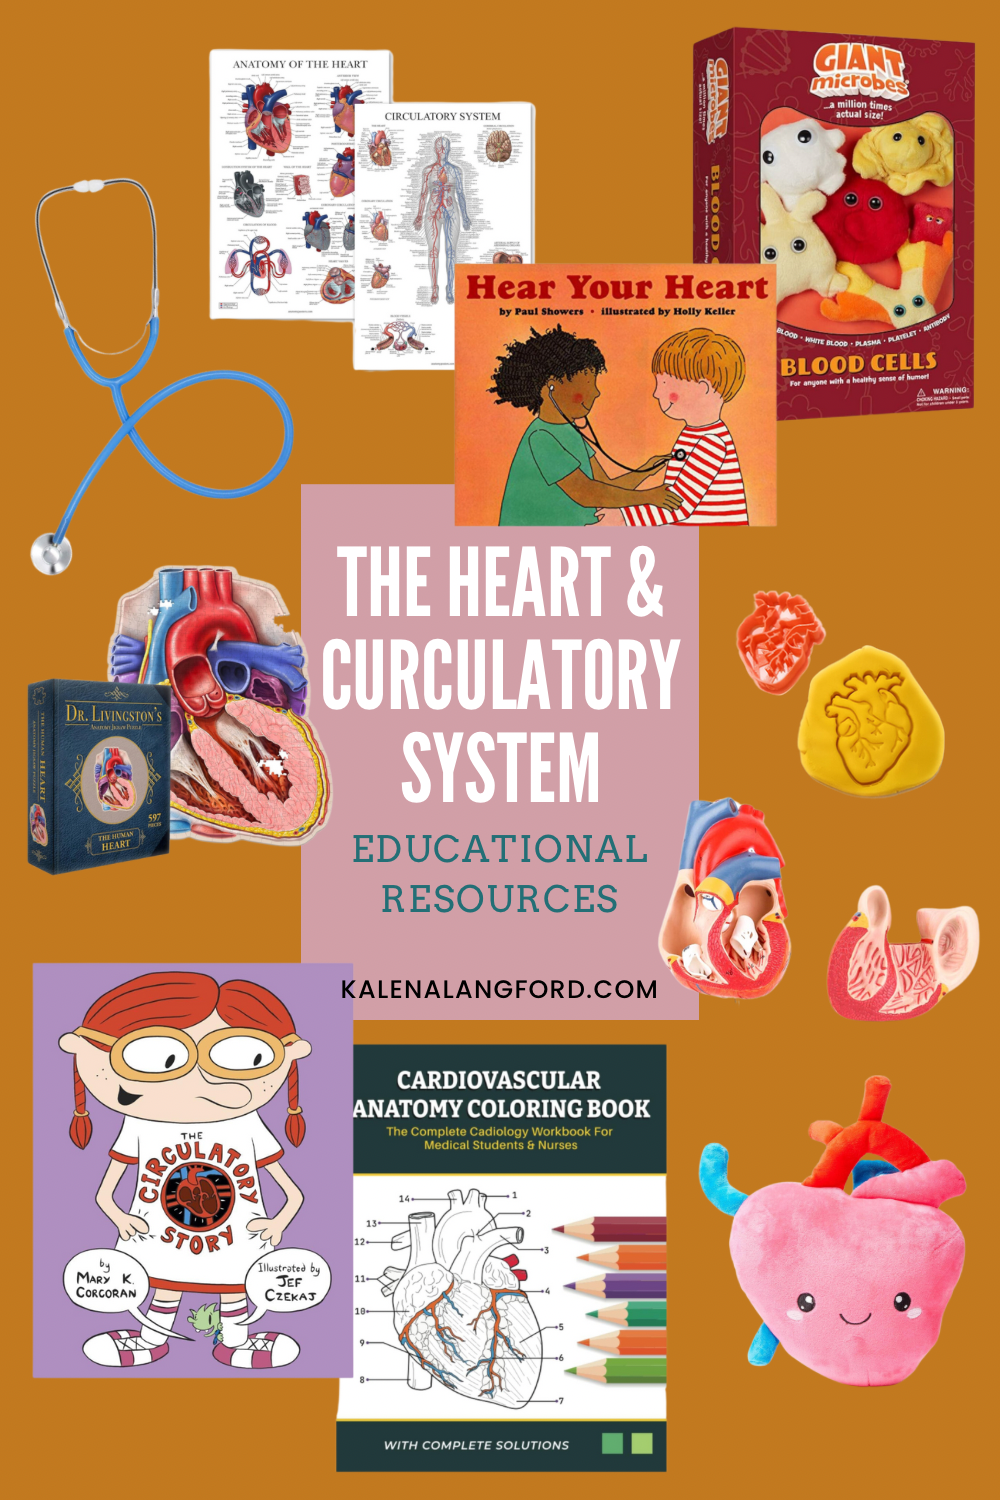
Well, now having written all that out, you can confirm that I get wordy. I hope that if you got this far, it’s been a help, though. You can also checkout my Amazon list (photo of some things below) with educational resources for learning about the heart and circulatory system as well as my Homeschooling Pinterest board (with a section for the same).
If you happen to use any of this or just want to show me some of your homeschool resources and lessons, I’d love for you to tag me on Instagram—@thelangfordhouse. I’m hoping and working on sharing more of our homeschool journey here and there.