Photos

    I’m mom of a birthday boy this week.

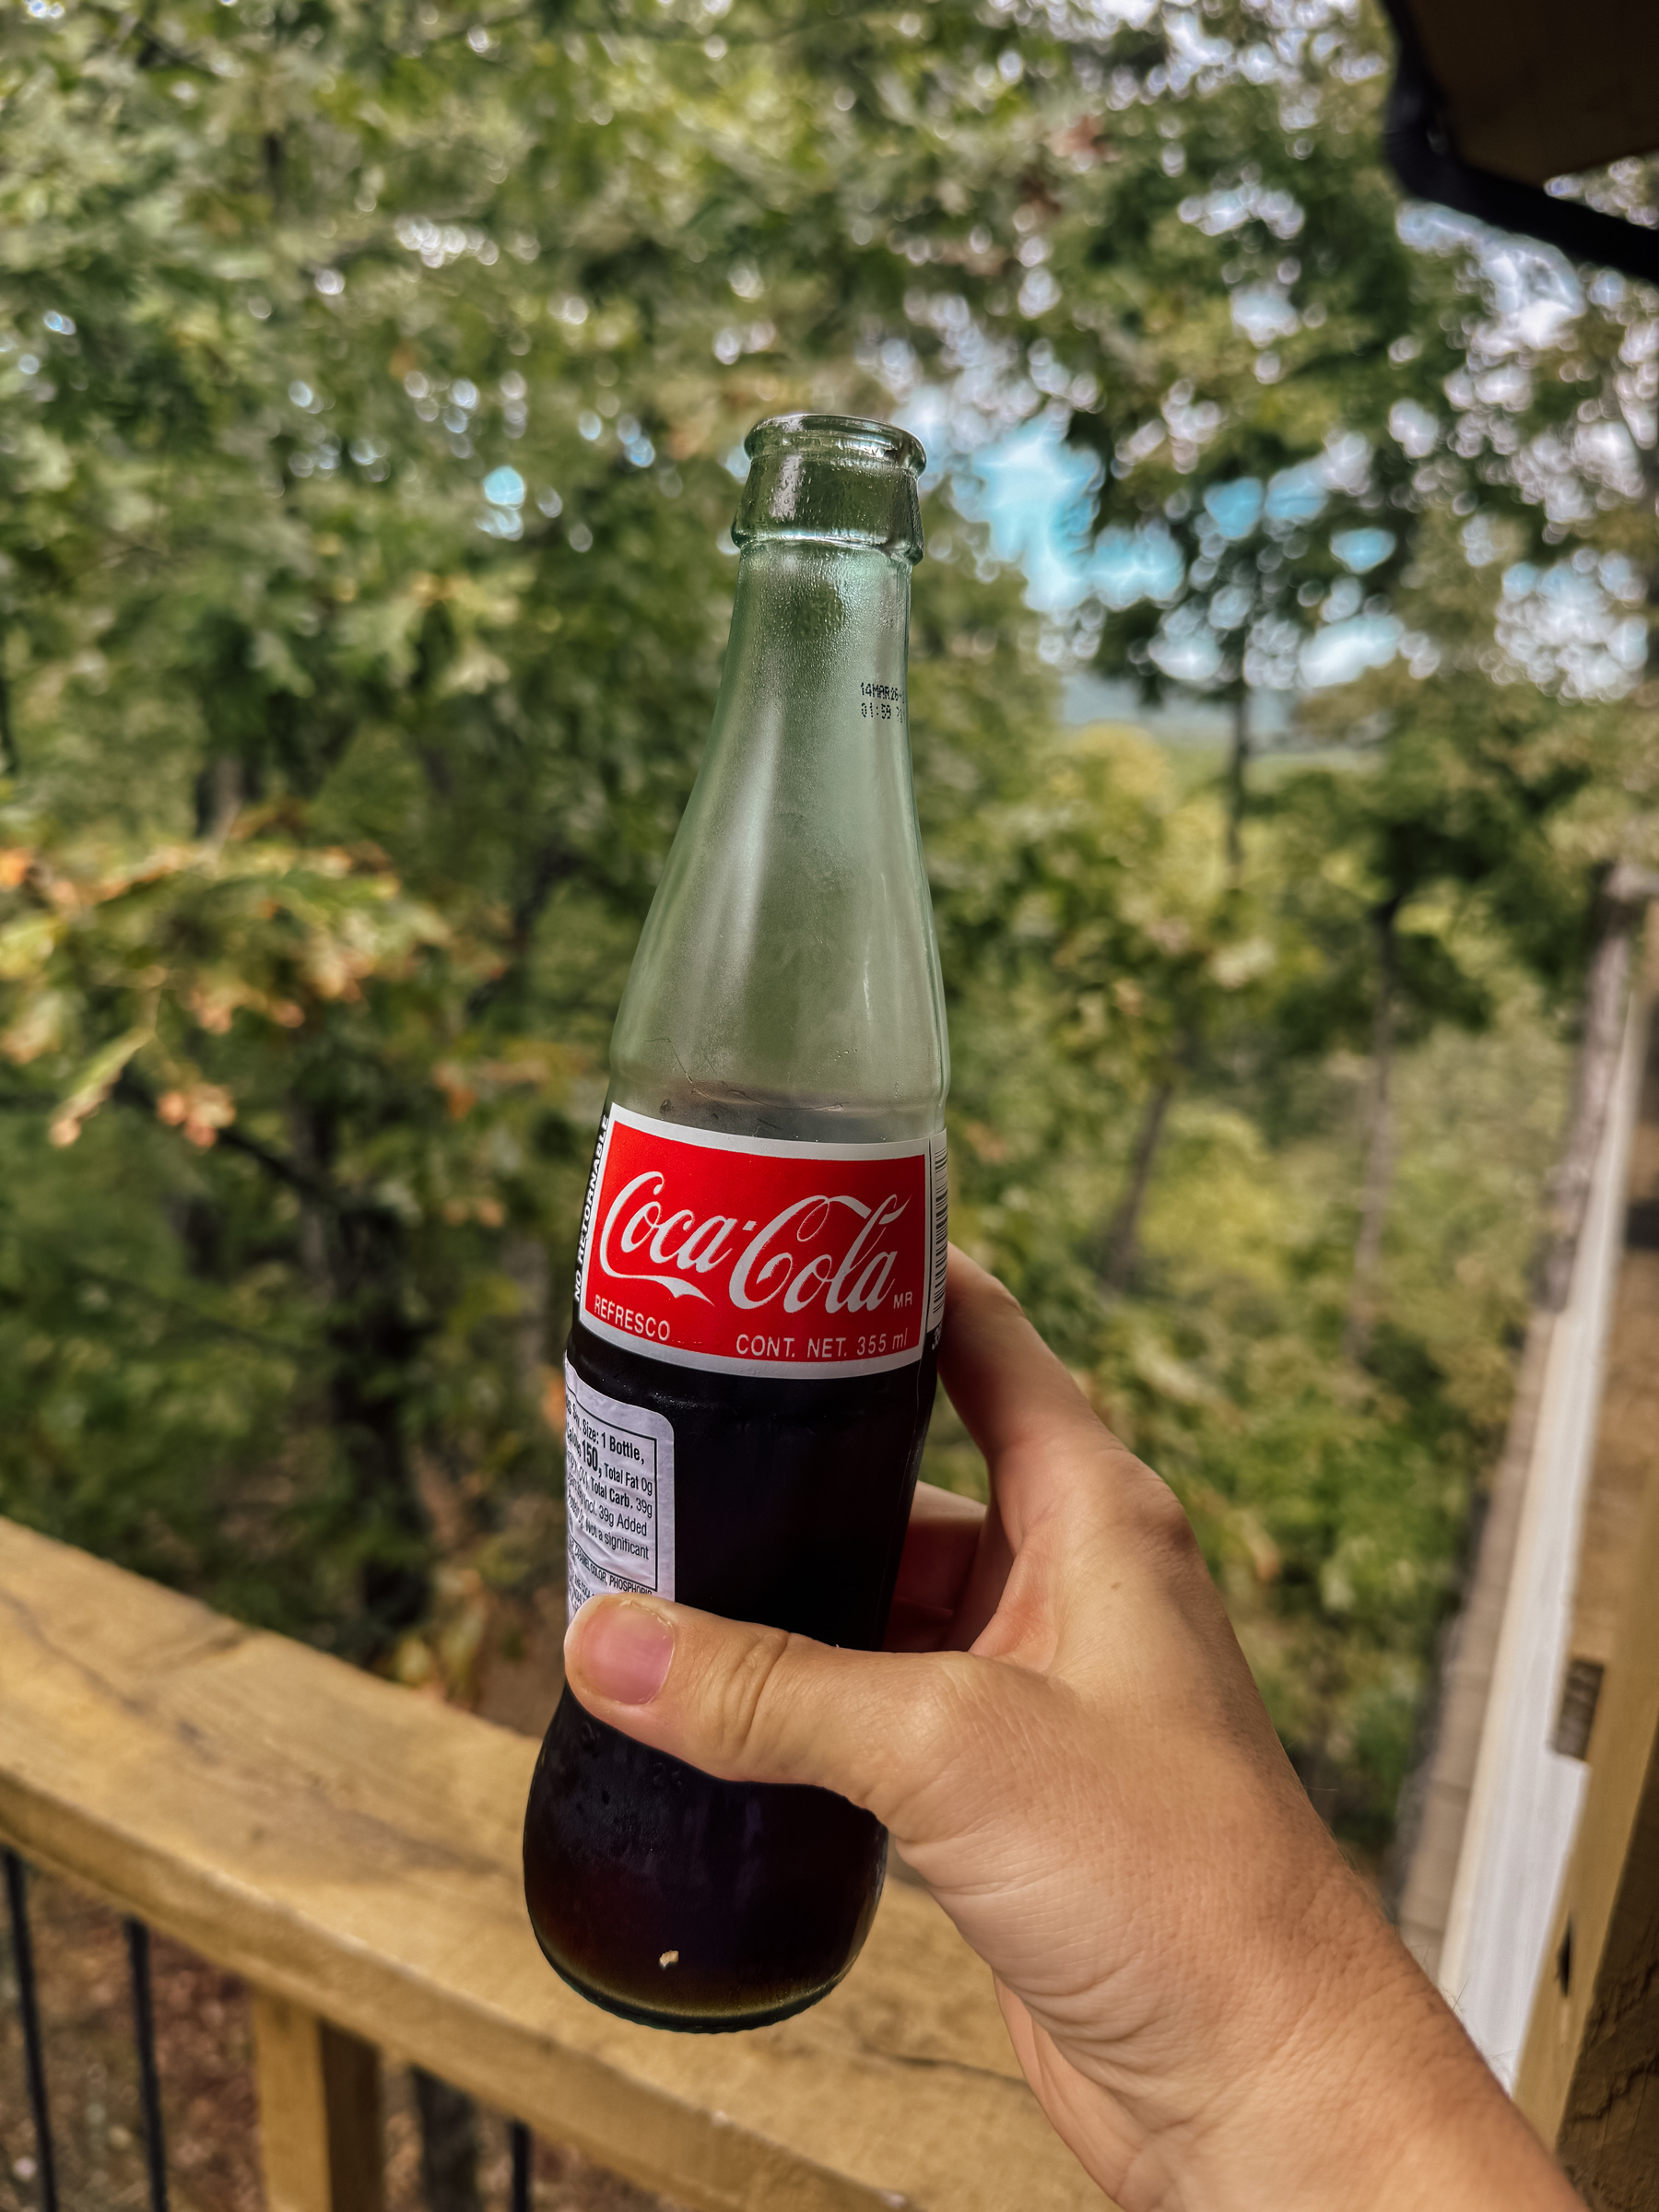
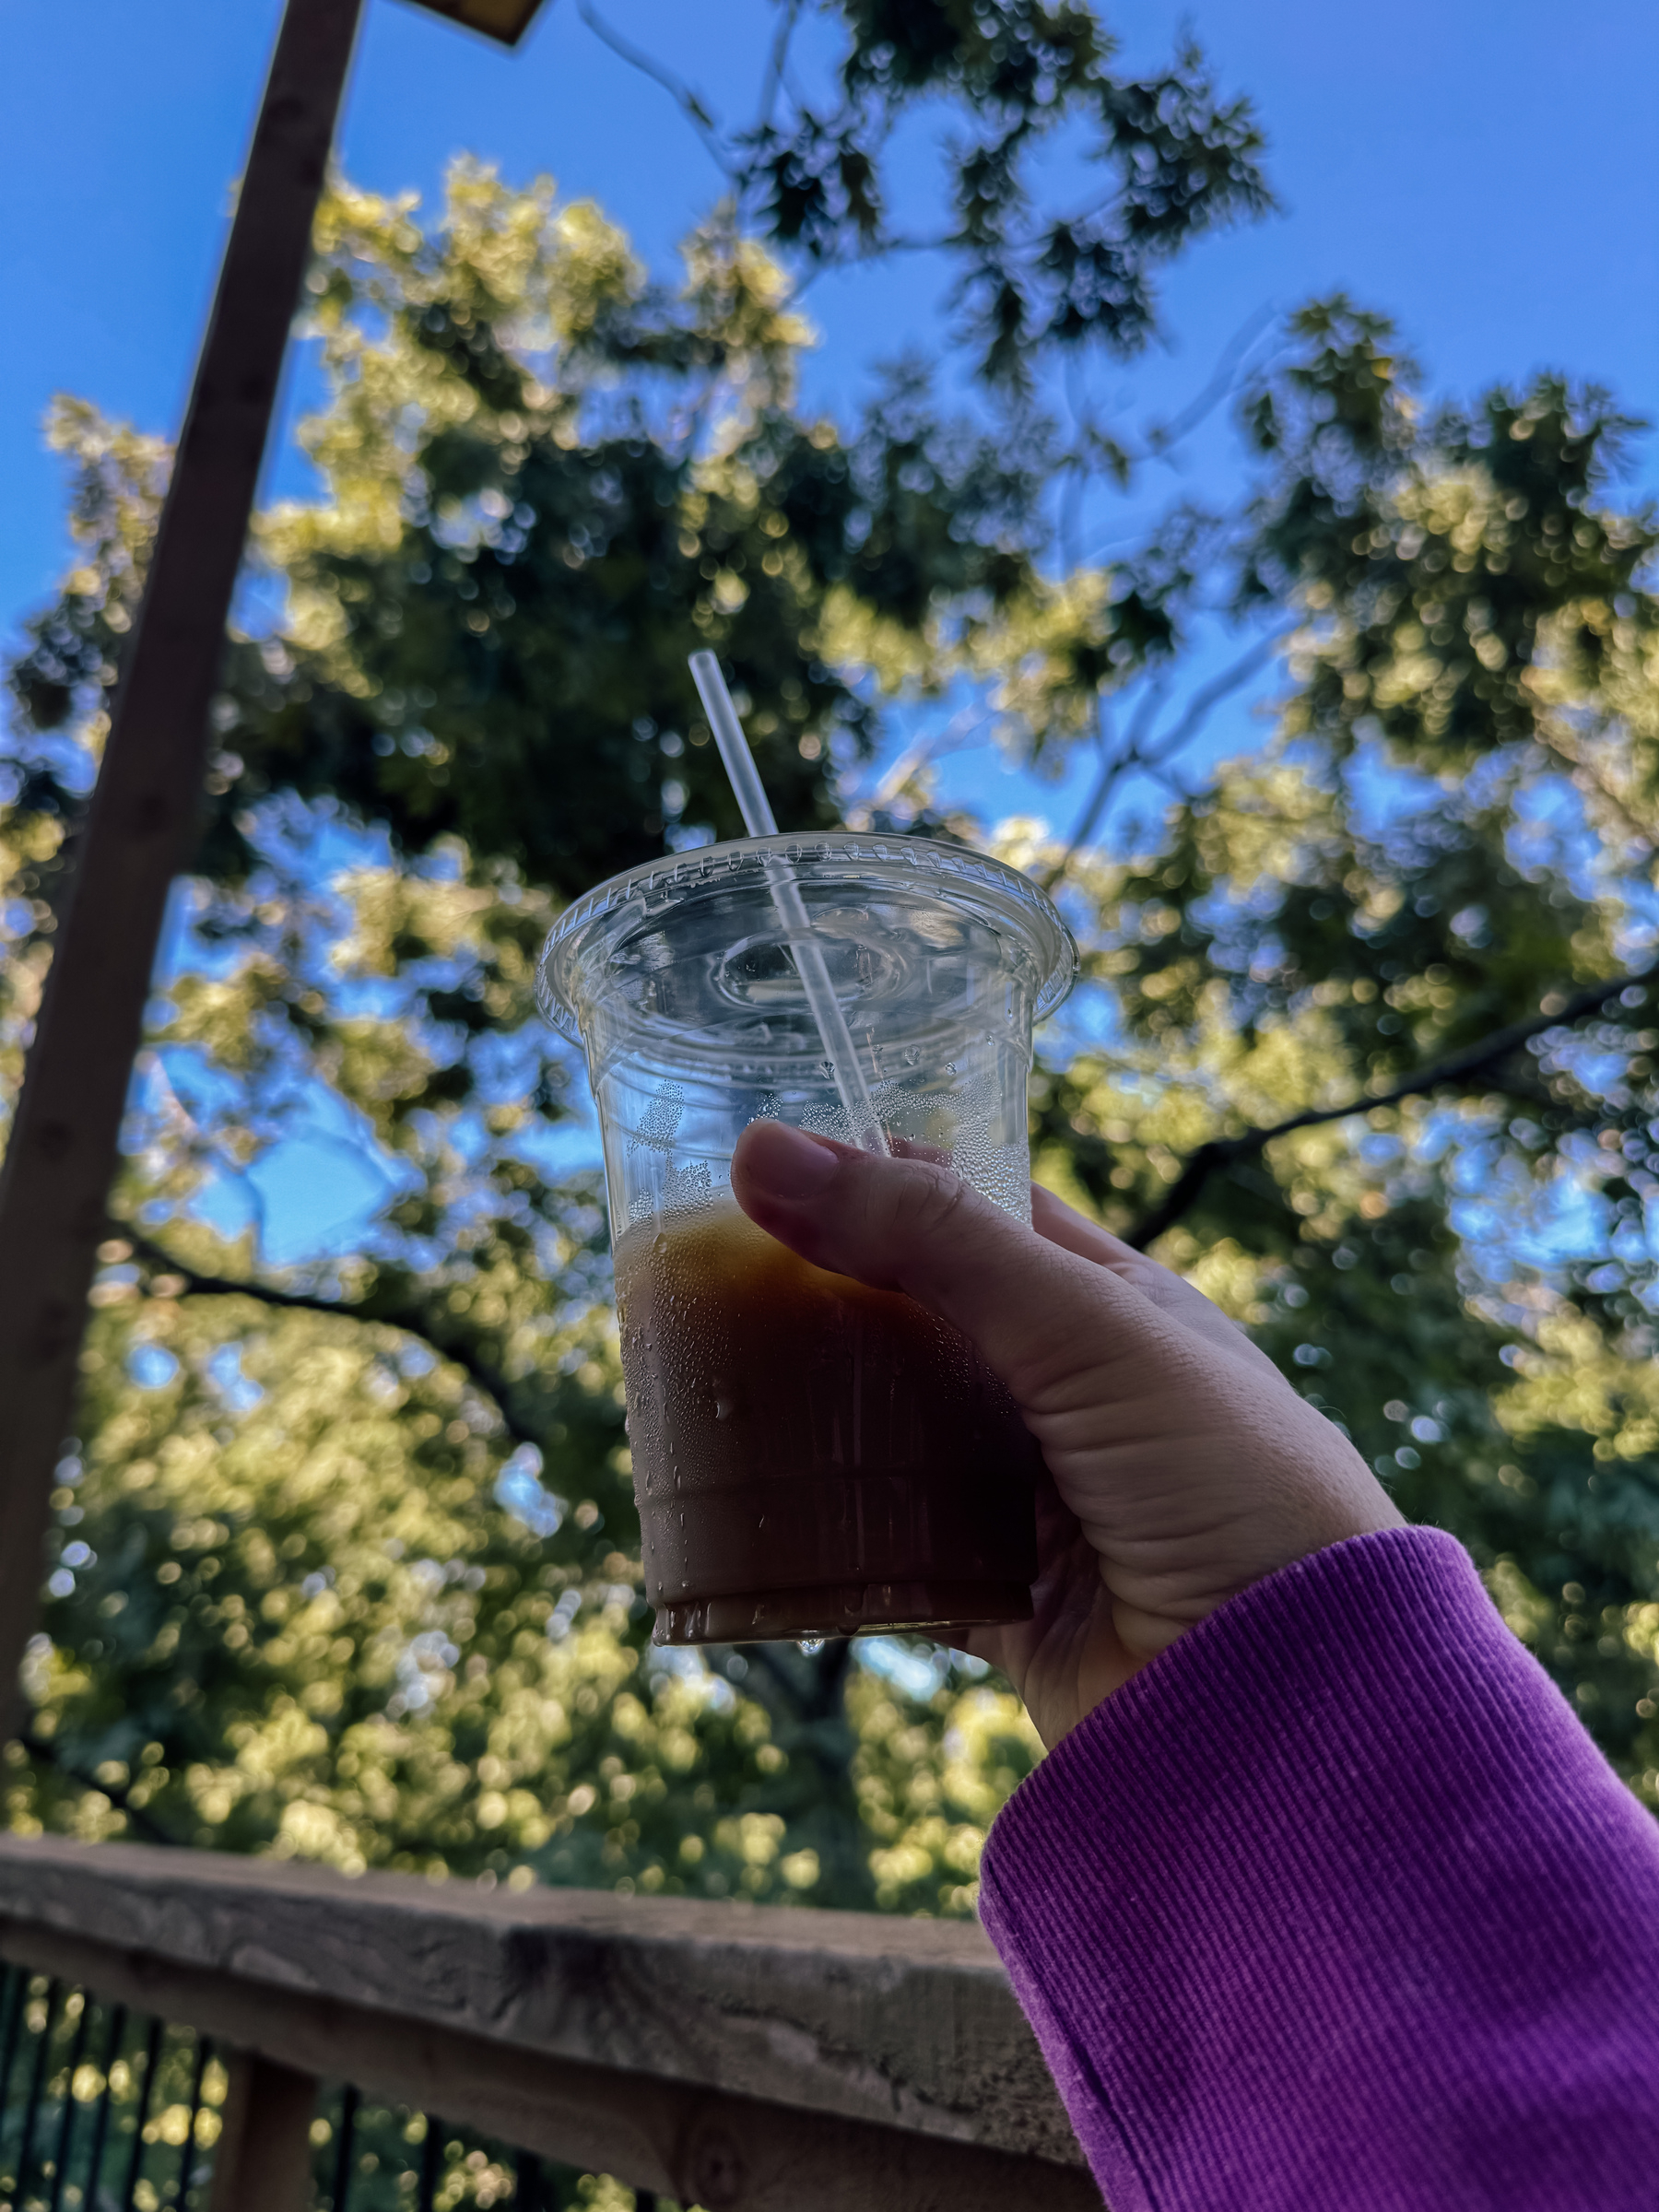
    Surprised him with coffee alongside his choice of eggs and venison sausage for breakfast.

    He requested alligator at Prejean’s for lunch, so we went and they celebrated him too. 🎇

    After baseball practice, we had pancakes and more sausage (by request) + gifts.

    A smiling child wearing a red t-shirt is holding up a blue tumbler in a kitchen setting.A smiling child is holding up a piece of fried alligator while seated at a table with a checkered tablecloth and dishes of food and sauces in a restaurant setting.A child wearing a cap joyfully holds a lit sparkler while sitting in a dining setting with other people around.A smiling child in a blue shirt holds an open Bible while sitting at a table.

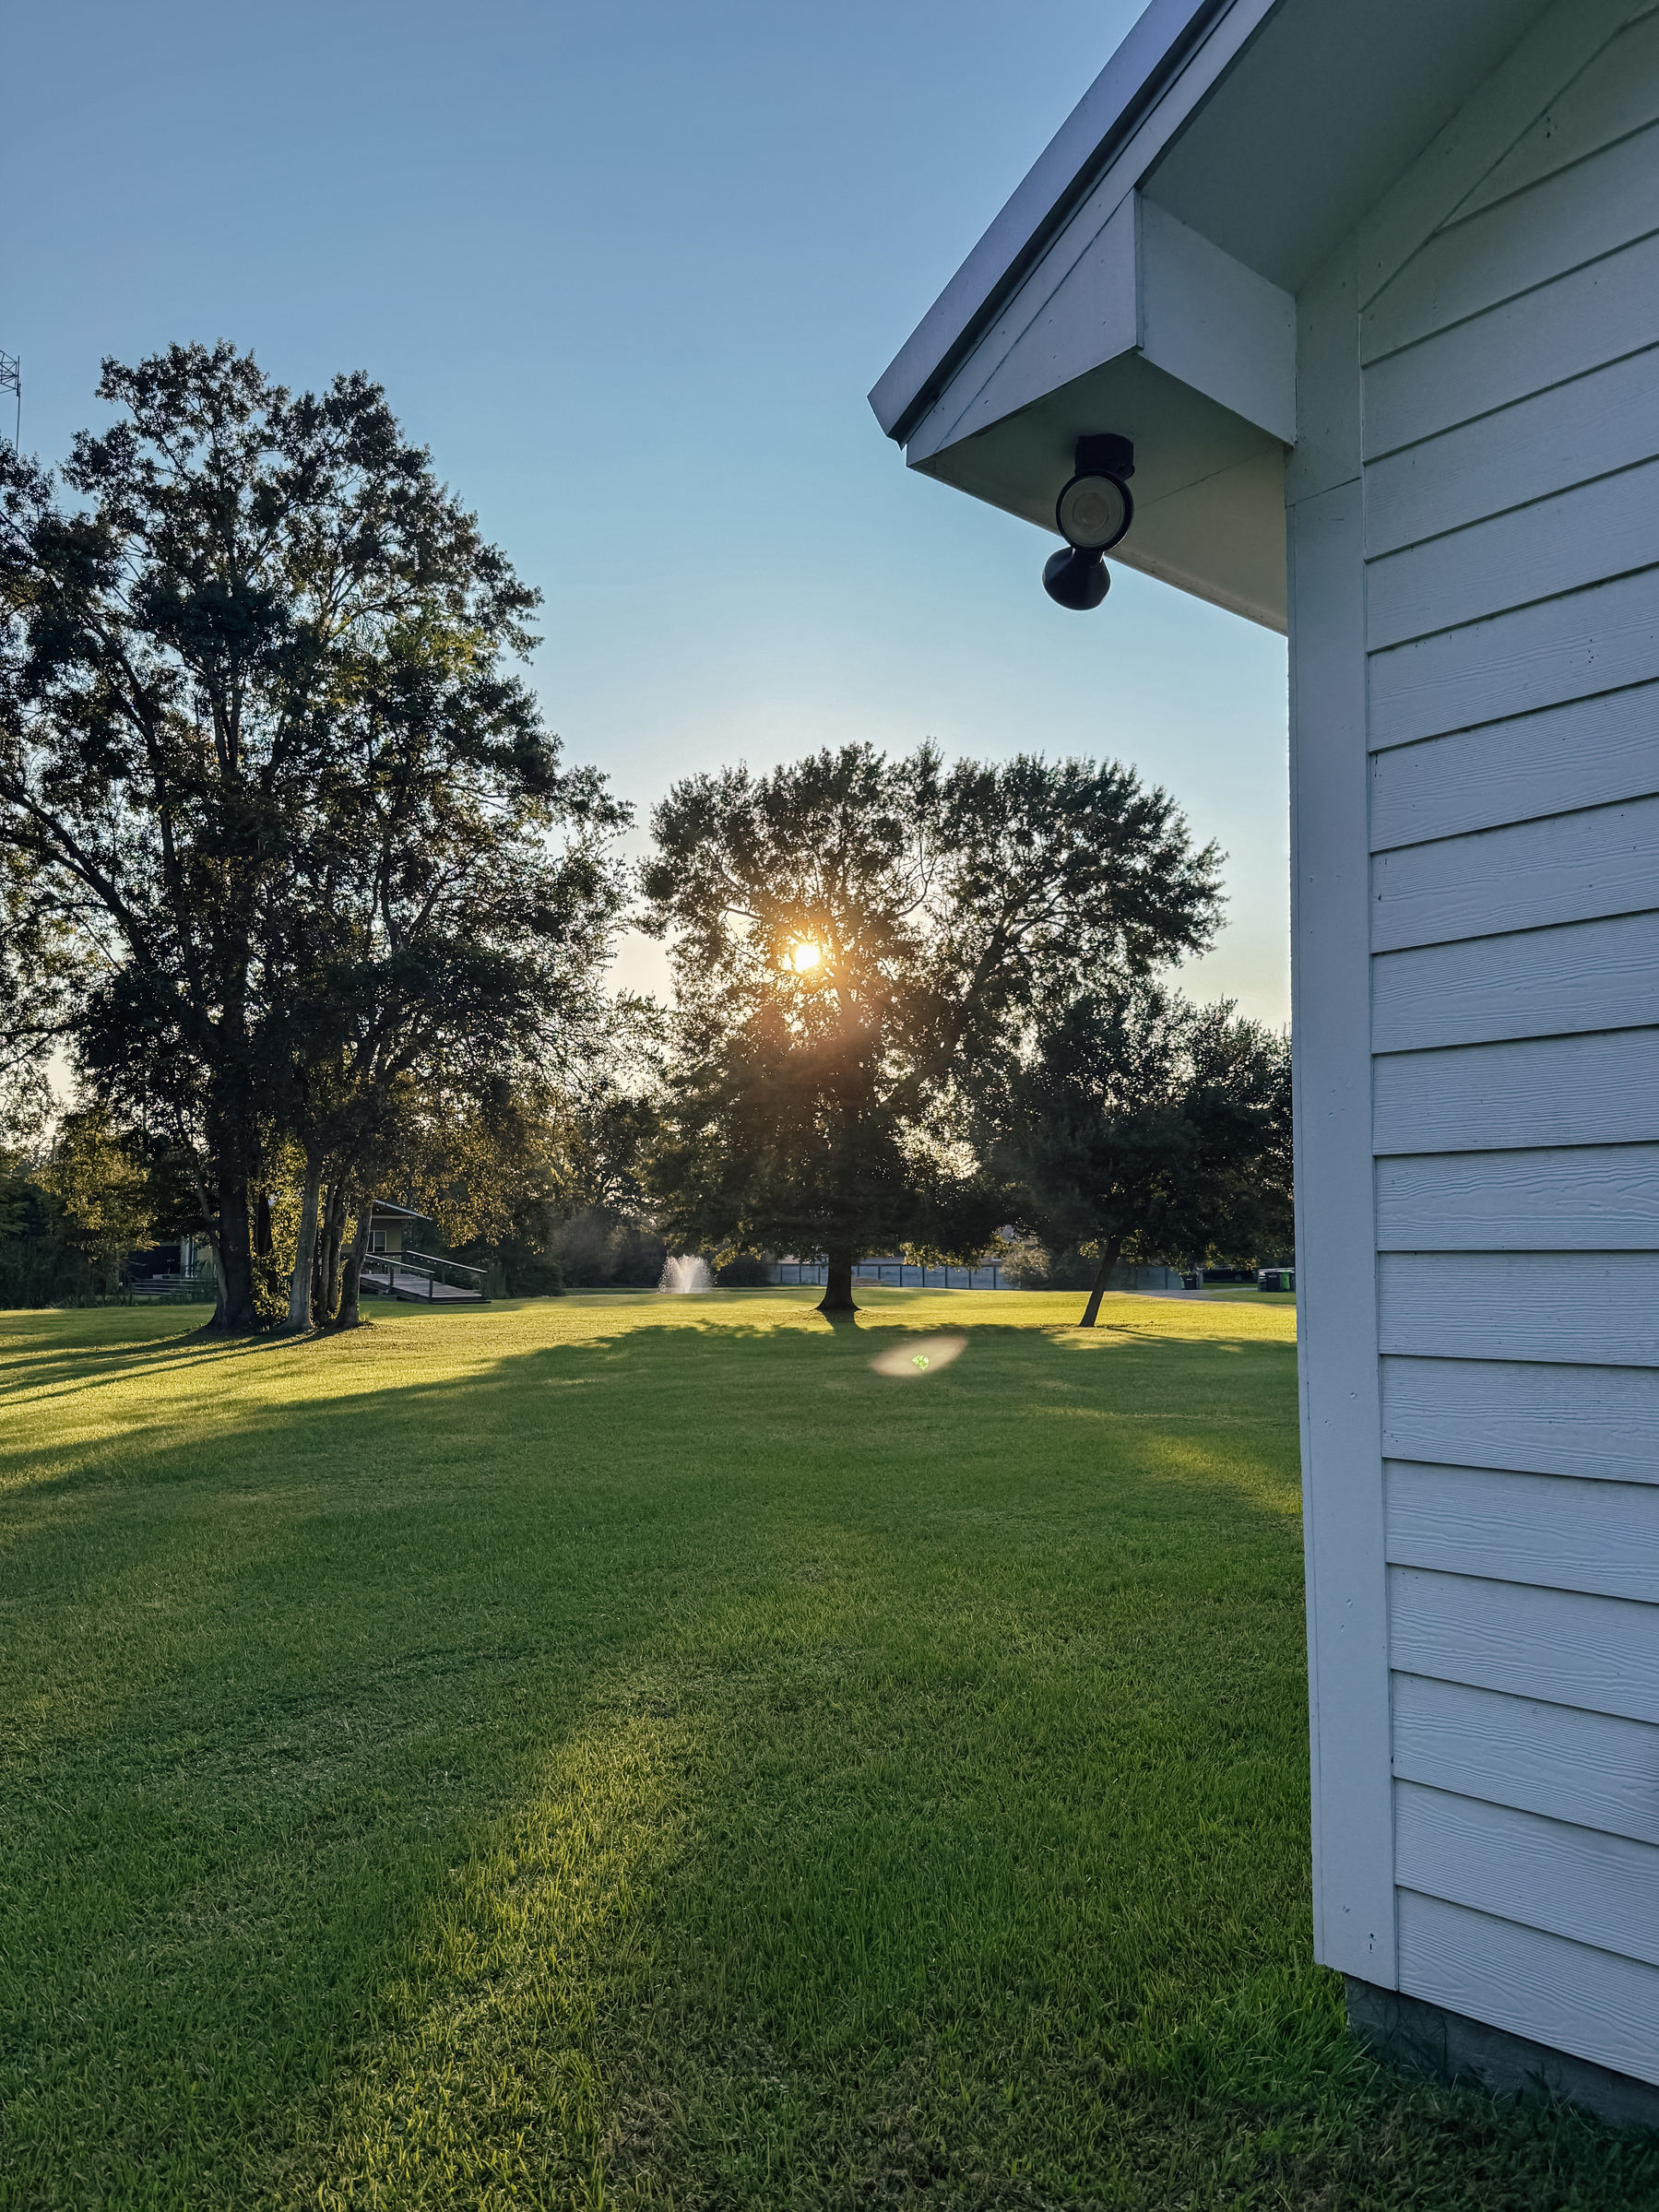
    It was a beautiful, moody morning.

    Sunbeams filter through the trees, casting light and shadows on a lush, green lawn

    Since I seemingly started a photo series of games played with the kids before bed (here and here), here’s another. Phase 10 last night. Me and B.

    A child is playing a card game at a kitchen table with a blue water bottle nearby.

    More Recent Thrift Finds

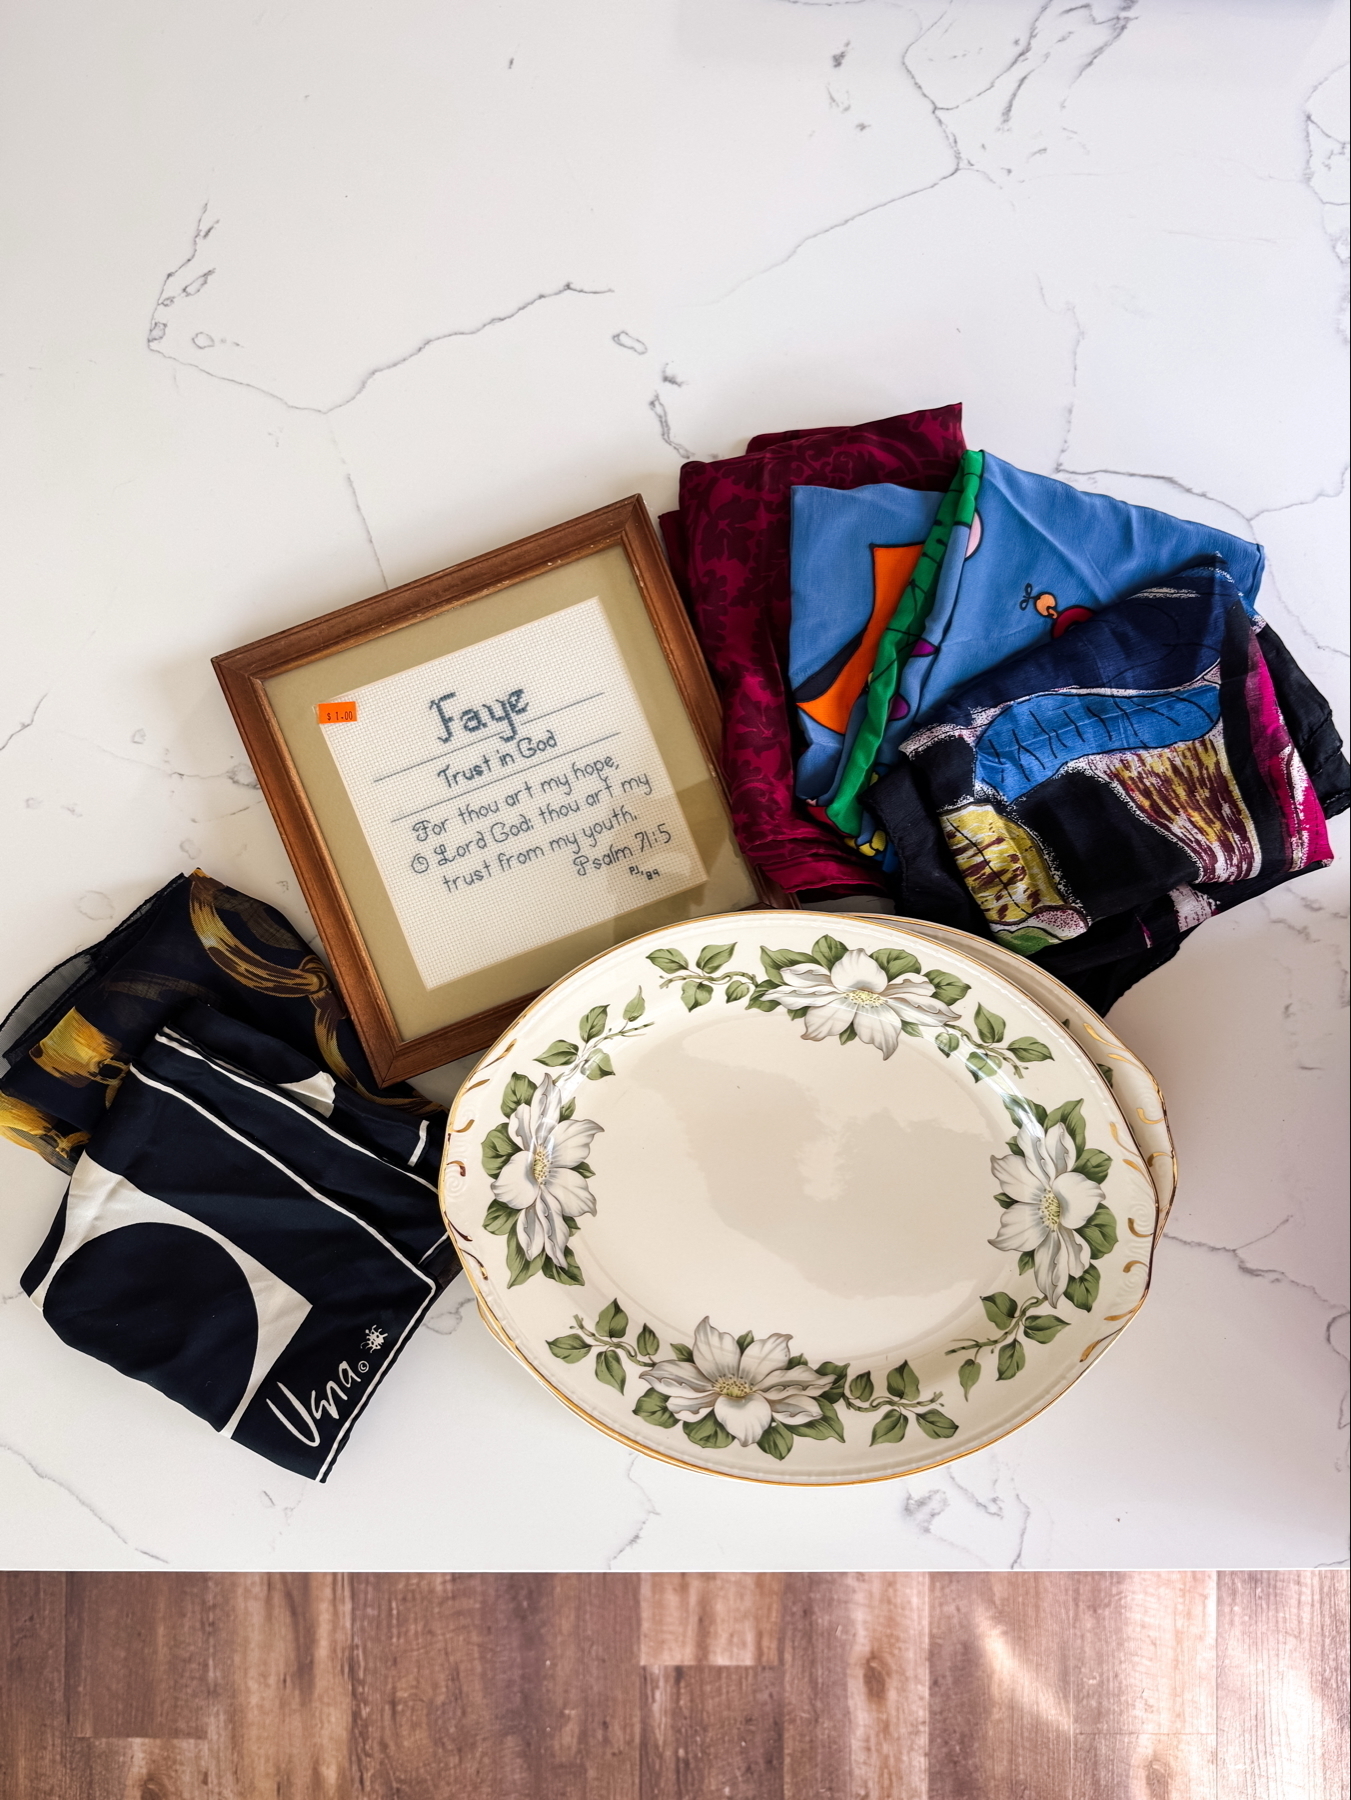
    I’ve finally been going through a box of stuff I’ve collected over the past 3-ish weeks and cleaning and washing things and putting them away. And I’ve decided I like documenting what I’ve found. It also looks pretty all together on my Pinterest board. 😊

    These 3 items were from 3 different places. And cities, actually. Paid approx $4 total.

    The basket is for who knows what. Might use it to hold some photo albums or Chatbooks. Might use it for gifting. Endless options.

    I think I’ll really use the sun tea jar for sun tea. I’ve wanted to try it for a while. It’s such a happy looking jar.

    My first thought with the spice cabinet was to remove the door and use it as art (I LOVE the font of the words, Herbs & Spices) and use the shelf part as an open wall shelf for one of the kids’ rocks or other curiosities. Or maybe Lego people.

    A wooden table holds an empty glass jar, a small woven basket, and a wooden herb and spice cabinet.

    Ready to go help Daddy with a project across the yard this afternoon. 👷‍♀️🔨🤍

    2 kids posing for a photo, 1 in a construction costume and the other holding a drill

    Setting a timer and sitting down to do this. Giving myself 15 minutes. 🧩

    A 1,000 piece puzzle in progress

    Co-op This Week | Subject: Babylonian Empire (Ancient Civilizations)

    I documented the activities we did at our co-op last week while learning about the Olmec ancient civilization. Decided I’d do the same thing again this week.

    To recap the quick details of our co-op: It is small-ish. Nine families. Eleven kids, ages 5-12. Five of the moms rotate lessons for the semester. Most lessons consist of several rounds of sharing information pertinent to the day’s topic and breaking between each sharing session to do a related activity.

    This week was my lesson. I was really excited about it because, as I mentioned in my last related post, my family and I recently saw Sight & Sound Theater’s live show, “Daniel,” streamed in a movie theater. Babylon is the location of the entire production. Seeing it inspired me to dive into my lesson early, and I started researching and reading. Even after the lesson now, I still plan to continue reading more. I appreciate the Babylonian Empire’s role in our world’s history, but the connections in the Bible are what completely intrigued me. Spending just a short amount of time (in the grand scheme of things) preparing for my lesson, I learned so much. One of my favorite perks of homeschool. It really is fun to learn WITH my kids.

    As for the lesson itself, I opened with a short video that somewhat cheesily summarized the Babylonian Empire and its’ inventions and key features. We continued that “overview” discussion after the video, then began to talk a little more in depth about King Hammurabi and his Code of Laws. After that, they made their own “stone tablets” by cutting out the shape on black card stock and “inscribing” a similar picture to Hammurabi’s Code and their own law with a pencil. I mentioned making the law they chose to write fair (in terms of proportional punishment), which was a characteristic of many of Hammurabi’s laws. They wrote most that way, and though some were silly and fun, it was interesting to see what was important to some of the kids.

    Knowing we had a couple of projects that would likely take up more time, I chose to go a little more simple for this project…although, it translated even better than I thought. Had we had more time or multiple days to work on it, I might would have decided to make a clay tablet, inscribe it using a bamboo skewer or sturdy toothpick, then paint it black.

    The next discussion/project combo centered around the Hanging Gardens of Babylon. A bit elusive due to the fact that there is no physical evidence they existed. But there are written references. And it is considered one of the Wonders of the Ancient World. The thought of it is intriguing. I explained where the name came from, then proceeded to give each kid supplies to make their own type of hanging garden. I really wanted to do a fun project with egg crates and more garden-ish materials, but I knew we wouldn’t be able to complete it in our allotted time. So, instead, I gathered items for them to create a hanging potted plant as a symbol of the Hanging Gardens. I used these pots that I already had on hand and punched two holes opposite each other near the top. I got a tropical-ish selection of flowers and leaves as well as a couple of packages of moss and a couple of pieces of floral foam from Dollar Tree. I cut the foam to fit in each pot ahead of time and gave everyone a pot, the flowers to arrange, moss to glue on top (regular school glue worked just fine as long as it had a few minutes to dry) and a piece of string to tie in the holes so that the pot could hang. (I wish I had taken a picture of the pot actually hanging…whoops.)

    The last big point we hit on was about King Nebuchadnezzar II. We discussed who he was, when he reigned in Babylon, and several stories related to him. Things I was (and the kids were) familiar with through the Bible like the Fiery Furnace and the dream he had about the statue that Daniel interpreted. But also things I wasn’t as familiar with like his incredible military strategy and the Ishtar Gate that he had built.

    Our last project centered around the Ishtar gate, which was made of blue-glazed bricks and had various animals throughout glazed in brown and gold. I found this post about making a mosaic of the Ishtar gate, but never got it to load correctly. So, I made up my own. The supplies were a piece of white card stock as a base, various colors of blue card stock that I precut into small rectangles, and a piece of yellow construction paper with a lion printed on it. The lion was one of the animals on the gate, and it actually was representative of the goddess, Ishtar, so that’s the animal I chose to include in our craft. I made a document in Canva with 4 lions in a striding motion like on the Ishtar gate, then cut some yellow construction paper to 8.5” x 11” (because that was easier and likely quicker than figuring out how to adjust the printer’s paper tray and settings and such) to print on. I just cut each sheet into 4 rectangles so that the kids could cut out their lions. I used clear Elmer’s school glue to make the example, and it worked well. But some chose to use a glue stick in class, and that worked well also. The mosaics came out really nice!

    That was all for class time. But I know ourselves as well as some of the other families are reading Story of the World, Volume 1 alongside our weekly meet-ups. It is a great additional resource for studying ancient civilizations.

    Last couple of quick things to share: This collection of resources for homeschooling through ancient civilizations and my Ancient Civilizations Pinterest board

    Thrift finds from last week: (Paid $2.43 for everything)

    An old 2-hole punch because they look cool and the kids will have fun with it

    A bowl for water for the cat

    A saucer to use under a potted plant

    An unopened set of stationary with pretty bird art…might frame one and use the rest

    A 2-hole punch, a green ceramic bowl, a small plate, and a set of cards with a bird illustration are arranged on a quartz countertop

    A me and B game of Blokus last night. Another game we really enjoy.

    Game of Blokus in progress

    Family game of Play Nine last night. One of our faves. The kids crushed us.

    Family card game, Play Nine, in progress.

    Co-op This Week | Subject: Olmecs (Ancient Civilizations)

    Yesterday was our co-op day. We’ve been studying Ancient Civilizations this semester. Our focus this week was the Olmecs.

    If you are not familiar with this group of people, they were an ancient Mesoamerican civilization believed to have thrived along the Mexican Gulf Coast from approximately 1200 to 400 B.C.

    Our co-op is small-ish. Nine families. Eleven kids, ages 5-12. Five of the moms rotate lessons for the semester. Most lessons consist of several rounds of sharing information pertinent to the day’s topic and breaking between each sharing session to do a related activity.

    This was not my week to teach, but I wanted to share my kids’ work, perhaps as inspiration, and definitely as a keepsake for myself to look back on here.

    The first project of the day was making stone heads out of air dry clay, which was representative of the giant stone heads the Olmecs were known for creating. The kids were shown several photos as inspiration and given toothpicks and popsicle sticks to use to carve and shape.

    A child carving a face with a toothpick into clay shaped like a head

    A child carving a face into clay shaped like a head

    A clay head with a face carved by a child She was so proud of the helmet.

    Two clay heads with faces carved by children Hers and his. He was slightly less enthused with the project, thus putting much less time and energy into it. But he still did it and knew what it represented.

    The second project was patiently wrapping rubber bands around a wadded up piece of paper to make a bouncy ball. They used the small rainbow loom bands. This activity was meant to correspond with learning that the Olmecs were the first known civilization to use rubber.

    A child making a bouncy ball with colorful rubber bands

    Two “homemade” bouncy balls

    The last project for the day was constructing a pyramid with homemade Rice Krispie treats and vanilla buttercream icing (so, so yum…our resident baker was the teacher, which is always exciting 😋). This was a nod to the Olmecs building pyramids or pyramid-like structures like most other ancient groups of people.

    A child making a Rice Krispie pyramid

    A child making a Rice Krispie Pyramid

    A Rice Krispie pyramid His. I took a photo of hers–which was wider and flatter than her brother’s–but some of the other kids were in the background, and I wanted to respect their privacy so chose not to post.

    The Olmec lesson may sound somewhat simple, but doing projects with 11 kids can take up a big chunk of time. And some lessons are shorter or less involved than others. It’s so wonderful that each week is similarly structured, yet approached from a different mind. And we’re always encouraged to dive deeper into each topic.

    Next week is my second lesson to teach for the semester. I’ve been excited about it since watching the Sight & Sound Theatre’s “Daniel” last month when it was in theaters on Labor Day weekend. So much to unpack and learn.

    3 of us have also been doing a lot of baseball watching, while 1 does the playing. ⚾️🤍

    A child in a blue shirt and hat takes a picture through a netting, while a "KEEP OFF" sign is visible in the foreground and a baseball field is in the background.

    Back to baseball for a couple months 😊⚾️🧢

    Photo of a boy batting

    Testing out his creation

    A boy’s eye at the end of some rolled up paper

    A few thrift finds from this week:

    A book ($1) titled, “Glorious Flowers,” that’s packed with beautiful art of various flowers…aiming to frame them

    A set of measuring cups ($1) for a new project

    A Boska cheese grater ($0.12)

    A silver spoon ($0.12)

    And a pretty little glass vase ($1)

    A flat lay of some thrift finds

    Last Sunday in August 🩷🧡💛🩵💜

    A girl posing in her Sunday best

    Went to our first (and last) Mississippi Braves game a couple of weeks ago. Scored a bunch of merch half off and these super great photos of some really cool people. ☺️

    A young girl smiling through a photo cutout of a baseball playerA boy smiling through a photo cutout of a baseball player

    Driving over the Mighty Mississippi

    View of bridge from car

    We had a late morning appointment and an early-ish afternoon appointment today, so we stayed “in town,” got smoothies, and roamed the aisles of Walmart to fill the majority of the time in between. It was a fun change of pace.

    Two kids in a big buggy on the LEGO aisle in Walmart

    Christmas in July Craft: Pipe Cleaner Snowflakes

    We had a Christmas in July event with our homeschooling community a couple of weeks ago. I brought supplies to make pipe cleaner snowflakes. It was super easy to put together and relatively inexpensive. And it went a long way for a large group craft (we had close to 40 kids).

    I got a pack of 200 white pipe cleaners. Kept to just one color to keep it simple. And picked out 6 bright, Summer-y colors of pony beads. I picked up those supplies at Hobby Lobby on a week when the beads were half off. But even when not on sale, I’ve found Hobby Lobby to be the most cost effective place for those particular items.

    Creating the snowflakes is pretty easy, but younger children might need help combining three pipe cleaners to make the basic snowflake shape. I just twisted every other short stem tightly around the middle.

    All these photos are from snowflakes we made at home before and after the event, so they are a few different sizes (and we used a few different beads than the original 6 colors). But for the group, I cut pipe cleaners in half (a small pair of beading wire cutters is super handy for that). That way only 5-7 beads was needed per stem. I saw multiple ways to finish these off on Pinterest and gave the kids the option to finish it however they wanted. A lot chose to use more beads and wrap the very end of the pipe cleaner around itself to keep the beads from falling off. In that case, the ends were just straight. Some, like myself and my children, chose to add one or two extra small pieces of pipe cleaner to the ends for more of a traditional snowflake vibe.

    This was an easy and pretty quick craft. And it was fun to do with the “Christmas in July” theme to change it up. My kids and I have made 3 or 4 each, and I’m actually planning on us putting together several more and making them into a garland for real Christmas season!

    PS - If you’re doing this at home or in a smaller group and would like a book to go along with it, I recommend Snowflake Bentley.

← Newer Posts Older Posts →